Is the M4 iPad Pro Worth the Upgrade? A Photographer’s Perspective
When the M4 iPad Pro was released, I found myself contemplating whether it was worth upgrading from my existing iPad Pro. I know Apple Silicon is nothing to write off, but my previous iPad Pro was still performing well. So, is the upgrade really worth it?
When the M4 iPad Pro was released, I found myself contemplating whether it was worth upgrading from my existing iPad Pro. I know Apple Silicon is nothing to write off, but my previous iPad Pro was still performing well. So, is the upgrade really worth it? Let’s dive in.
iPad Pro for Photographers
As a full-time headshot and portrait photographer, I primarily use my iPad Pro as a light-duty laptop. It handles email, scriptwriting for YouTube, reading, and watching videos effortlessly (the new display is amazing). However, I don’t rely on it for photo editing. My current shooting and editing workflow makes it challenging to use Lightroom on my iPad without misplacing images.
While CaptureOne has released a solid mobile version, I haven’t found the right workflow for regular iOS use. Lightroom’s mobile app is also commendable, but transitioning from Lightroom Classic is a chore.
In the store, the new iPad Pro’s thinner and lighter design, along with the latest keyboard with a trackpad, impressed me. My old iPad keyboard lacked a trackpad, and the difference it makes is significant. The 11-inch size is perfect for air travel, fitting comfortably even with the seat in front reclined.
iPad Pro Performance and Usability
You might wonder if an M4 chip is necessary for an iPad. Honestly, probably not at the moment, but with Apple’s recent advances in AI technology (aka Apple Intelligence), this iPad is built to last several years. At the moment, it’s the only hardware with an M4 chip! I opted for a 512 GB 11-inch model with a keyboard.
In a casual test, I photographed soccer games and imported hundreds of JPGs into Lightroom Mobile. The iPad handled it effortlessly. The only limitation was the slow hotel WiFi.
As a light video editor, I’m excited to test Final Cut Pro on the iPad, which my previous iPad Pro couldn’t support. The iPad is certainly versatile, serving as a second screen for client proofing, and allowing direct shooting into the iPad, adding redundancy and flexibility in the field.
iPad Pro Practical Benefits for Photographers
For photographers like me, iPad Pro is a valuable tool. It streamlines my workflow, especially on location shoots with just a few clients. The portable setup allows for quicker job execution, saving time and money.
iPad Cost
If there are downsides, it’s price. A 512 GB iPad Pro costs around $1200, and that’s before adding a keyboard or AppleCare. Thankfully, my old iPad trade-in helped offset some of the cost. Beyond a certain price point, a MacBook Air might be a more economical choice unless you specifically need iPadOS.
Conclusion
All things considered, M4 iPad Pro offers a notable performance boost. If you’ve been holding off and prefer the iPad form factor despite the cost, this upgrade won’t disappoint.
Learn more about corporate headshot options.
Got more headshot questions? Check out the headshot FAQs.
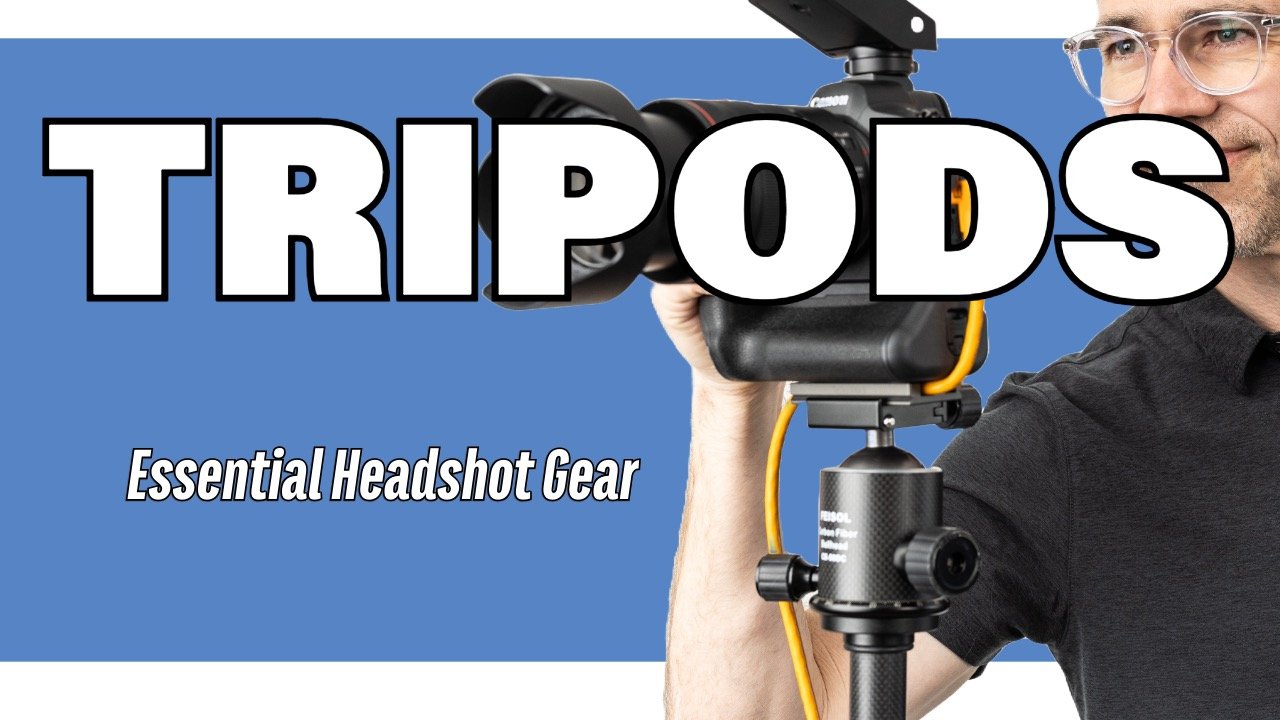
The Tripod—Headshot Gear Essentials
Tripods may not be the most glamorous piece of photography equipment, but I believe they are essential, especially in headshot photography.
Tripods may not be the most glamorous piece of photography equipment, but I believe they are essential, especially in headshot photography.
Consistency and Precision in Headshot Photography
The primary benefit of using a tripod is the ability to achieve consistency and repeatability in your work. As a corporate headshot photographer, maintaining the same look across different sessions and locations is crucial. A tripod helps ensure my framing remains consistent, which is vital for corporate profiles where uniformity is often required.
Enhanced Interaction and Ergonomics
Beyond consistency, tripods allow photographers to focus more on interacting with the subject rather than holding the camera. This is particularly useful in portrait photography, where capturing the right expression is key. With the camera securely mounted, you can step aside and engage with your subject more naturally, which often results in better, more genuine expressions.
Using a tripod can significantly reduce physical strain—a huge long term benefit. We photographers often suffer from neck, back, and shoulder pain after long sessions. A tripod alleviates much of this by enabling a more ergonomic friendly posture.
The Myth of Creativity Restriction
Some might argue that tripods restrict creative freedom. However, for certain types of photography like corporate headshots, consistency is more beneficial than extreme angles or unusual perspectives. Of course, if you see a brilliant creative angle, you can always take the camera off the tripod as needed.
Conclusion: A Long-term Investment in Quality
A tripod is a vital tool for any serious photographer, particularly those specializing in headshots. While the initial investment might seem substantial (you get what you pay for), the benefits—consistency, ergonomic support, and enhanced interaction with subjects—far outweigh the cost. Investing in a quality tripod, like those made by Feisol or Mefoto, ensures durability and reliability in your photography practice. Visit your local camera store to check out the options.
Whether you're photographing in a studio or on location, incorporating a tripod into your workflow will not only improve the consistency of your images but also enhance your overall shooting experience (so you’ll be ready for the next project).
Learn more about corporate headshot options.
Got more headshot questions? Check out the headshot FAQs.
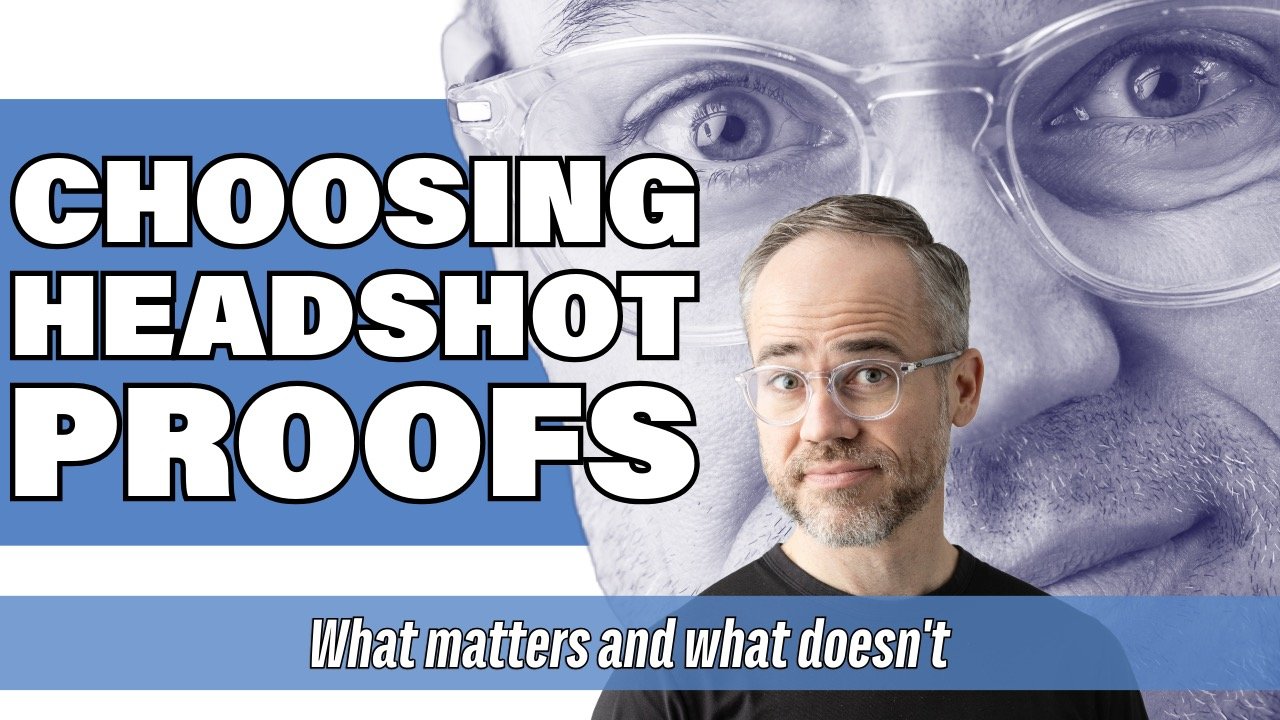
How to Pick Your Best Headshot
Let’s be honest, seeing yourself through the lens of high-resolution photography can be daunting. Many of us are accustomed to the forgiving nature of Instagram filters or Zoom enhancements, which skew our perception of reality. This shift can make viewing unretouched headshot proofs a challenge.
Let’s be honest, seeing yourself through the lens of high-resolution photography can be daunting. Many of us are accustomed to the forgiving nature of Instagram filters or Zoom enhancements, which skew our perception of reality. This shift can make viewing unretouched headshot proofs a challenge. But I assure you, you have better things to worry about. Here are a few things to keep in mind for context.
Straight Out of the Camera
Headshot photographers, often show proofs that are straight out of the camera, with only minor adjustments for color and contrast. The goal is to capture a great image right from the start, minimizing the need for heavy retouching and keeping the image as natural as possible. Yet, the best in camera captures will reveal minor imperfections like facial lines or flyaways. And that’s ok.
Too Close For Comfort
One common pitfall is the urge to zoom into these proofs to pixel-level detail. This level of scrutiny is unnecessary and unhelpful, as no one else will inspect your headshot with such intensity. People viewing your headshot, whether on LinkedIn, a company website, or a business card, will focus on your major facial features and overall expression. These images are generally viewed at a much smaller scale where many minor imperfections become invisible.
Don’t Zoom In & Second Opinions
So when reviewing your proofs, please resist the temptation to zoom in! Instead, view your images at the intended display size. Thumbnails, for example, are an excellent way to gauge the effectiveness of a headshot. Ask for feedback from trusted friends or family, who are likely to view your photo more objectively than you might.
Remember, the goal of a headshot is to represent you as you are today. Your audience wants to see the real you (today, not from twenty years ago). A little retouching is perfectly acceptable but stay true to your current appearance. You've hired a photographer to handle (and worry about) the details, so you don’t have to.
Book your session today!
Learn more about corporate headshot options.
Got more headshot questions? Check out the headshot FAQs.
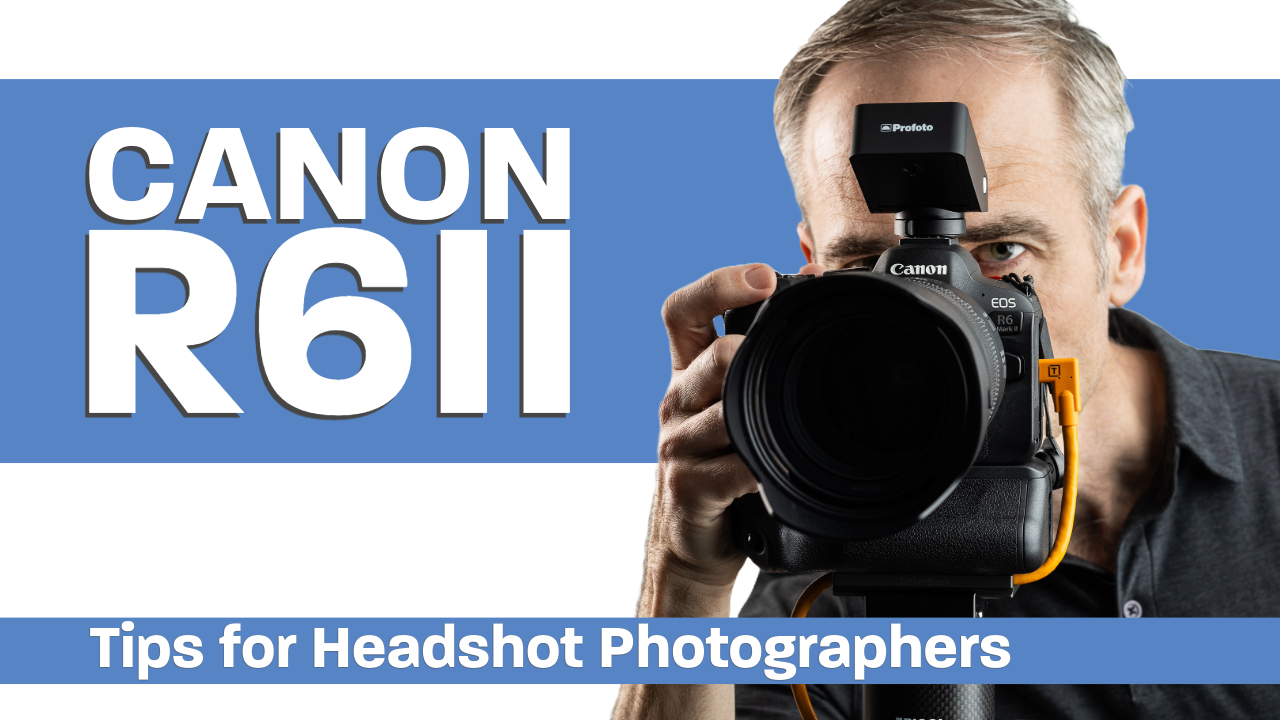
The Canon R6 Mark II for Professional Headshots: A Guide
As a professional photographer specializing in headshots and portraits, making the switch from Nikon to Canon was a decision that significantly impacted my workflow and the quality of my work. In this detailed blog post, I share my journey and insights on why the Canon R6 Mark II has become an indispensable tool in my photography business. If you're contemplating a switch to mirrorless or considering the R6 Mark II for your photography needs, this post is for you.
As a professional photographer specializing in headshots and portraits, making the switch from Nikon to Canon was a decision that significantly impacted my workflow and the quality of my work. In this detailed blog post, I share my journey and insights on why the Canon R6 Mark II has become an indispensable tool in my photography business. If you're contemplating a switch to mirrorless or considering the R6 Mark II for your photography needs, this post is for you. For a more detailed exploration, make sure to watch the accompanying video where I dive deep into the features, accessories, and real-world application of this camera.
Making the Switch: From Nikon to Canon
The Transition
My loyalty to Nikon was unwavering until the Canon R6 made its debut in 2021. The switch was driven by the need for a more compact, efficient, and versatile camera for my headshot work. The Canon R6 Mark II, with its 24mp sensor, may not boast the latest tech in 2024, but it offers the reliability, image quality, and functionality essential for professional portraiture.
Why the R6 Mark II?
While the R5 was part of my gear for a brief period, its larger file sizes without significant advantages led me to opt for the R6 Mark II exclusively. Its balance of features, size, and performance, especially when paired with the 24-105 f4 lens, provides a compact solution that meets the demands of studio and on-location corporate jobs.
In Practice: Utilizing the Canon R6 Mark II
Custom Settings and Everyday Use
One of the R6 Mark II's standout features for me has been the custom settings dial, which allows for quick adjustments and consistency, especially when working with studio strobes. The Eye AF feature, despite not being flawless, has proven to be incredibly reliable for tracking subjects—a significant upgrade from my Nikon days.
Tethering and Workflow Efficiency
Tethering is a critical part of my workflow, and the R6 Mark II's compatibility with Capture One has streamlined this process. Features like saving directly to both an SD card and laptop, and the innovative but occasionally quirky Re Tether function, have made in-studio work more efficient.
Essential Accessories for the R6 Mark II
Battery Grip and L Bracket
While I'm generally not a fan of battery grips due to their bulk, the added longevity they offer for event photography is undeniable. The L Bracket has been a game-changer for vertical shots, despite some challenges with tethering due to the placement of USB-C connections.
Bluetooth Trigger and Beyond
The Canon BR-E1 wireless remote has become a favorite accessory, simplifying tasks like white balance test shots and lighting tests. It's a small, affordable tool that significantly enhances shooting and setup efficiency.
Conclusion: The R6 Mark II for Headshot and Portrait Photography
The Canon R6 Mark II isn't just a camera; it's a comprehensive tool that meets the nuanced needs of professional headshot and portrait photography. Its combination of performance, versatility, and user-friendly features makes it a worthy investment for professionals looking to upgrade to mirrorless technology.
If you're on the fence about switching or upgrading your gear, the R6 Mark II deserves serious consideration. For an even closer look at how this camera performs in real-world professional settings, watch my video review. Share your thoughts, experiences, or questions in the comments below or on the video page—I'd love to hear from fellow photographers!
Learn more about corporate headshot options.
Got more headshot questions? Check out the headshot FAQs.
Banner Photography for Sports Teams
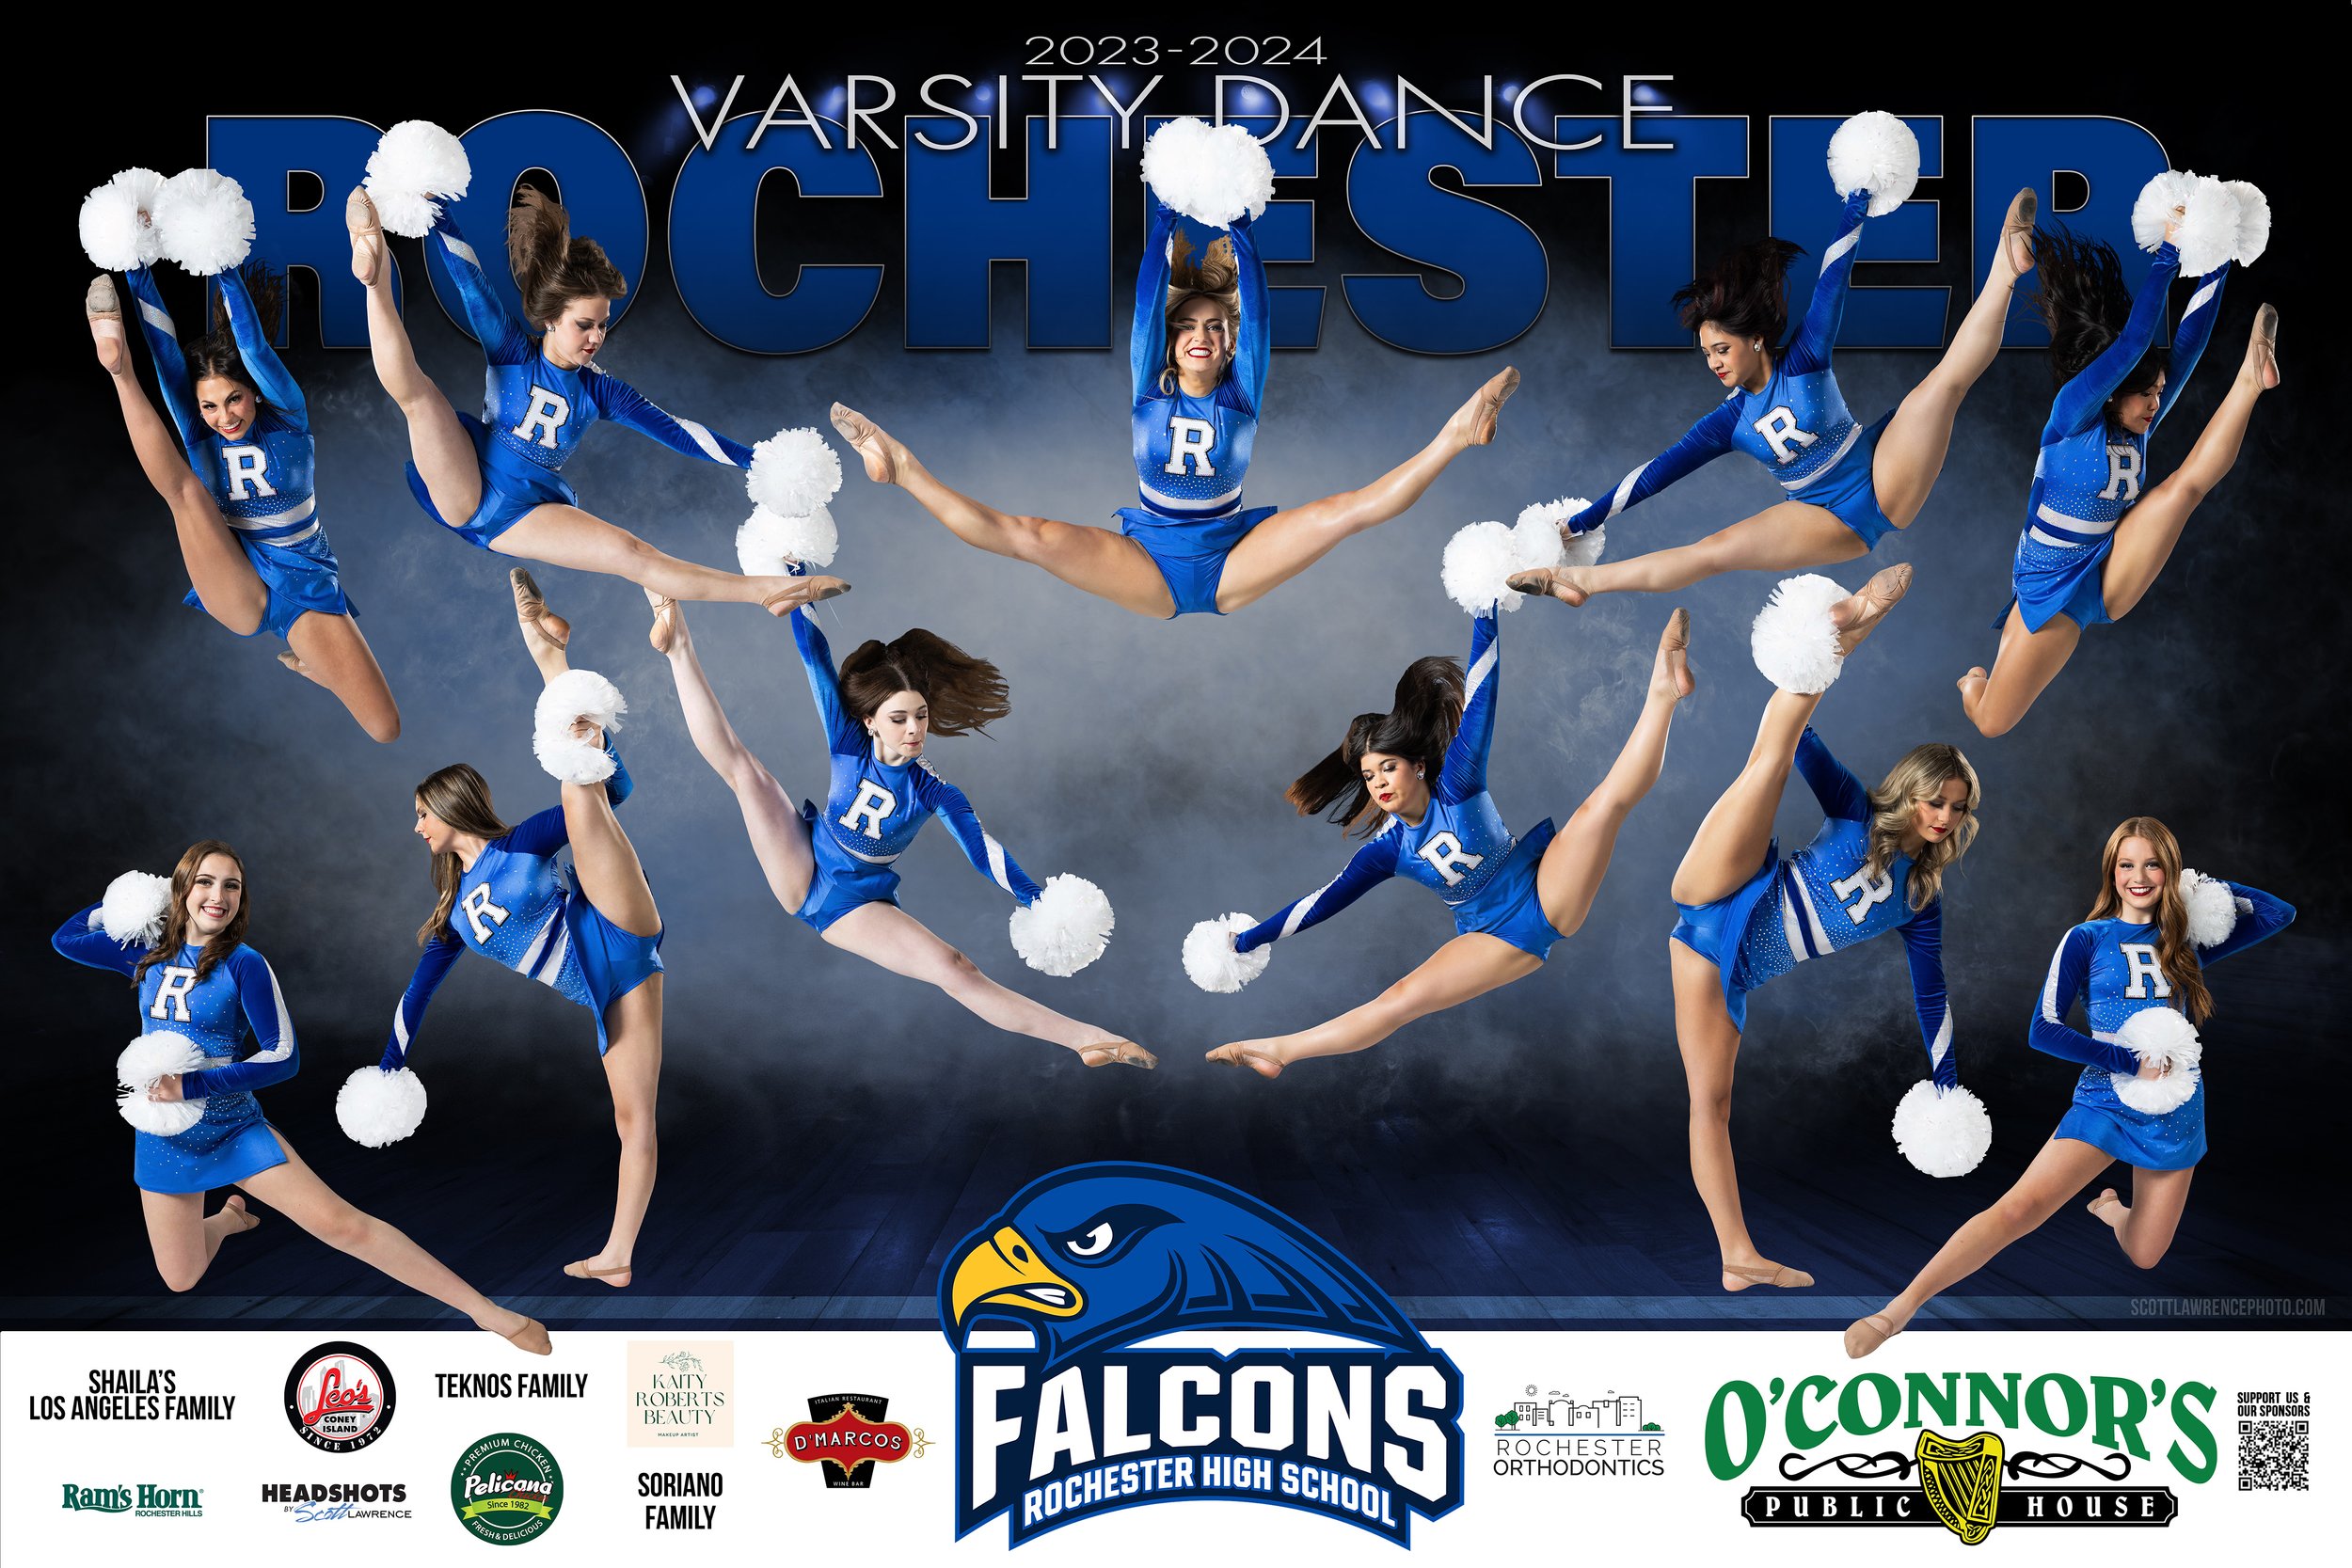
Large format banners not only serve as a powerful display of team pride at games, competitions, and fundraisers but also play a crucial role in building morale among players and fans alike. Typically showcased on stadium fences or gym walls, these banners can range from 6 to 8 feet wide, offering a grand visual statement.
Welcome to the dynamic world of team sports banner photography, an essential element for high school and college sports teams to show their spirit and unity.
Large format banners not only serve as a powerful display of team pride at games, competitions, and fundraisers but also play a crucial role in building morale among players and fans alike.
Typically showcased on stadium fences or gym walls, these banners can range from 6 to 8 feet wide, offering a grand visual statement.
Crafting the Perfect Team Banner
The process of creating a team banner starts with understanding the size and composition of your team. For larger teams, simpler poses are recommended to ensure everyone fits seamlessly into the design, whereas smaller teams can explore more dynamic and complex arrangements. Additionally, individual senior banners offer a personalized touch to celebrate the final year of athletes, providing a memorable keepsake.
It's important to note that the aim is to capture the athletes in a more competitive and aggressive stance, moving away from the traditional, more casual school photo approach. This captures the essence of the team's spirit and determination, signaling a bold message to competitors.
The Photographic Process
The photography session is meticulously planned, with each athlete photographed individually under studio lighting, typically within a spacious school facility. This allows for a controlled environment to achieve the best possible individual shots, which are then expertly combined into a cohesive team composite. This process also includes an opportunity for light retouching and customization, ensuring each athlete looks their best.
Choosing a theme or template for the banner is a collaborative process, incorporating team logos and colors to create a visually striking design that resonates with the team's identity.
Usage and Impact
Team banners find their place in a variety of settings, from outdoor stadiums to indoor gymnasiums. The versatility of these banners extends to different occasions, with some teams opting for multiple banners to suit various events throughout the season. The size of the banner is crucial, as it needs to make an impact even from a distance, hence the recommendation to opt for slightly larger dimensions than initially considered.
Banners also offer an excellent opportunity to engage local businesses and sponsors, providing valuable exposure while supporting the team financially. This mutual benefit encourages community involvement and can significantly aid in covering the costs associated with creating the banners and other team expenses.
Beyond the Banner: Media Day
The banner photography session can be transformed into a comprehensive media day for the team. This offers a chance to capture a wide range of images for use across social media, effectively creating a stock catalog of images ready for the entire season. Planning for multiple uniforms and incorporating props can add a dynamic layer to the content, enriching the team's visual narrative.
Final Thoughts
Creating a sports team banner is a collaborative and detailed process that requires early planning and coordination. It's not just about the banner itself but about capturing the spirit, determination, and unity of the team in a visual format that can be shared and celebrated. For more information on the process, options, and pricing, engaging with a professional photographer early in the season is key.
Remember, a team sports banner is more than just a decorative element; it's a symbol of pride, achievement, and community. So, take the step to elevate your team's spirit and visibility with a professionally crafted sports banner.
Ready to Book?
Complete the form below and we’ll be in touch!
Got headshot questions? Check out the headshot FAQs.
The Blog
Headshot tips, client features, and more!


