
Mistakes That Ruin Corporate Headshots (and How to Avoid Them)
Thinking about offering corporate headshots to your clients? Or maybe you’ve already started, and you’re realizing it’s not as simple as setting up a light and pressing the shutter.
After more than a decade photographing everyone from local financial advisors to executives at international firms, I can tell you this: corporate headshots are deceptively tricky.
The technical side matters, but your soft skills often make or break the session.
In my latest video, I walk through the most common mistakes photographers make when shooting corporate headshots. A few quick examples:
Inconsistent setups – Why a tripod is your best friend when you’re asked to match a headshot six months later, and you’re when you’re in this for the long haul.
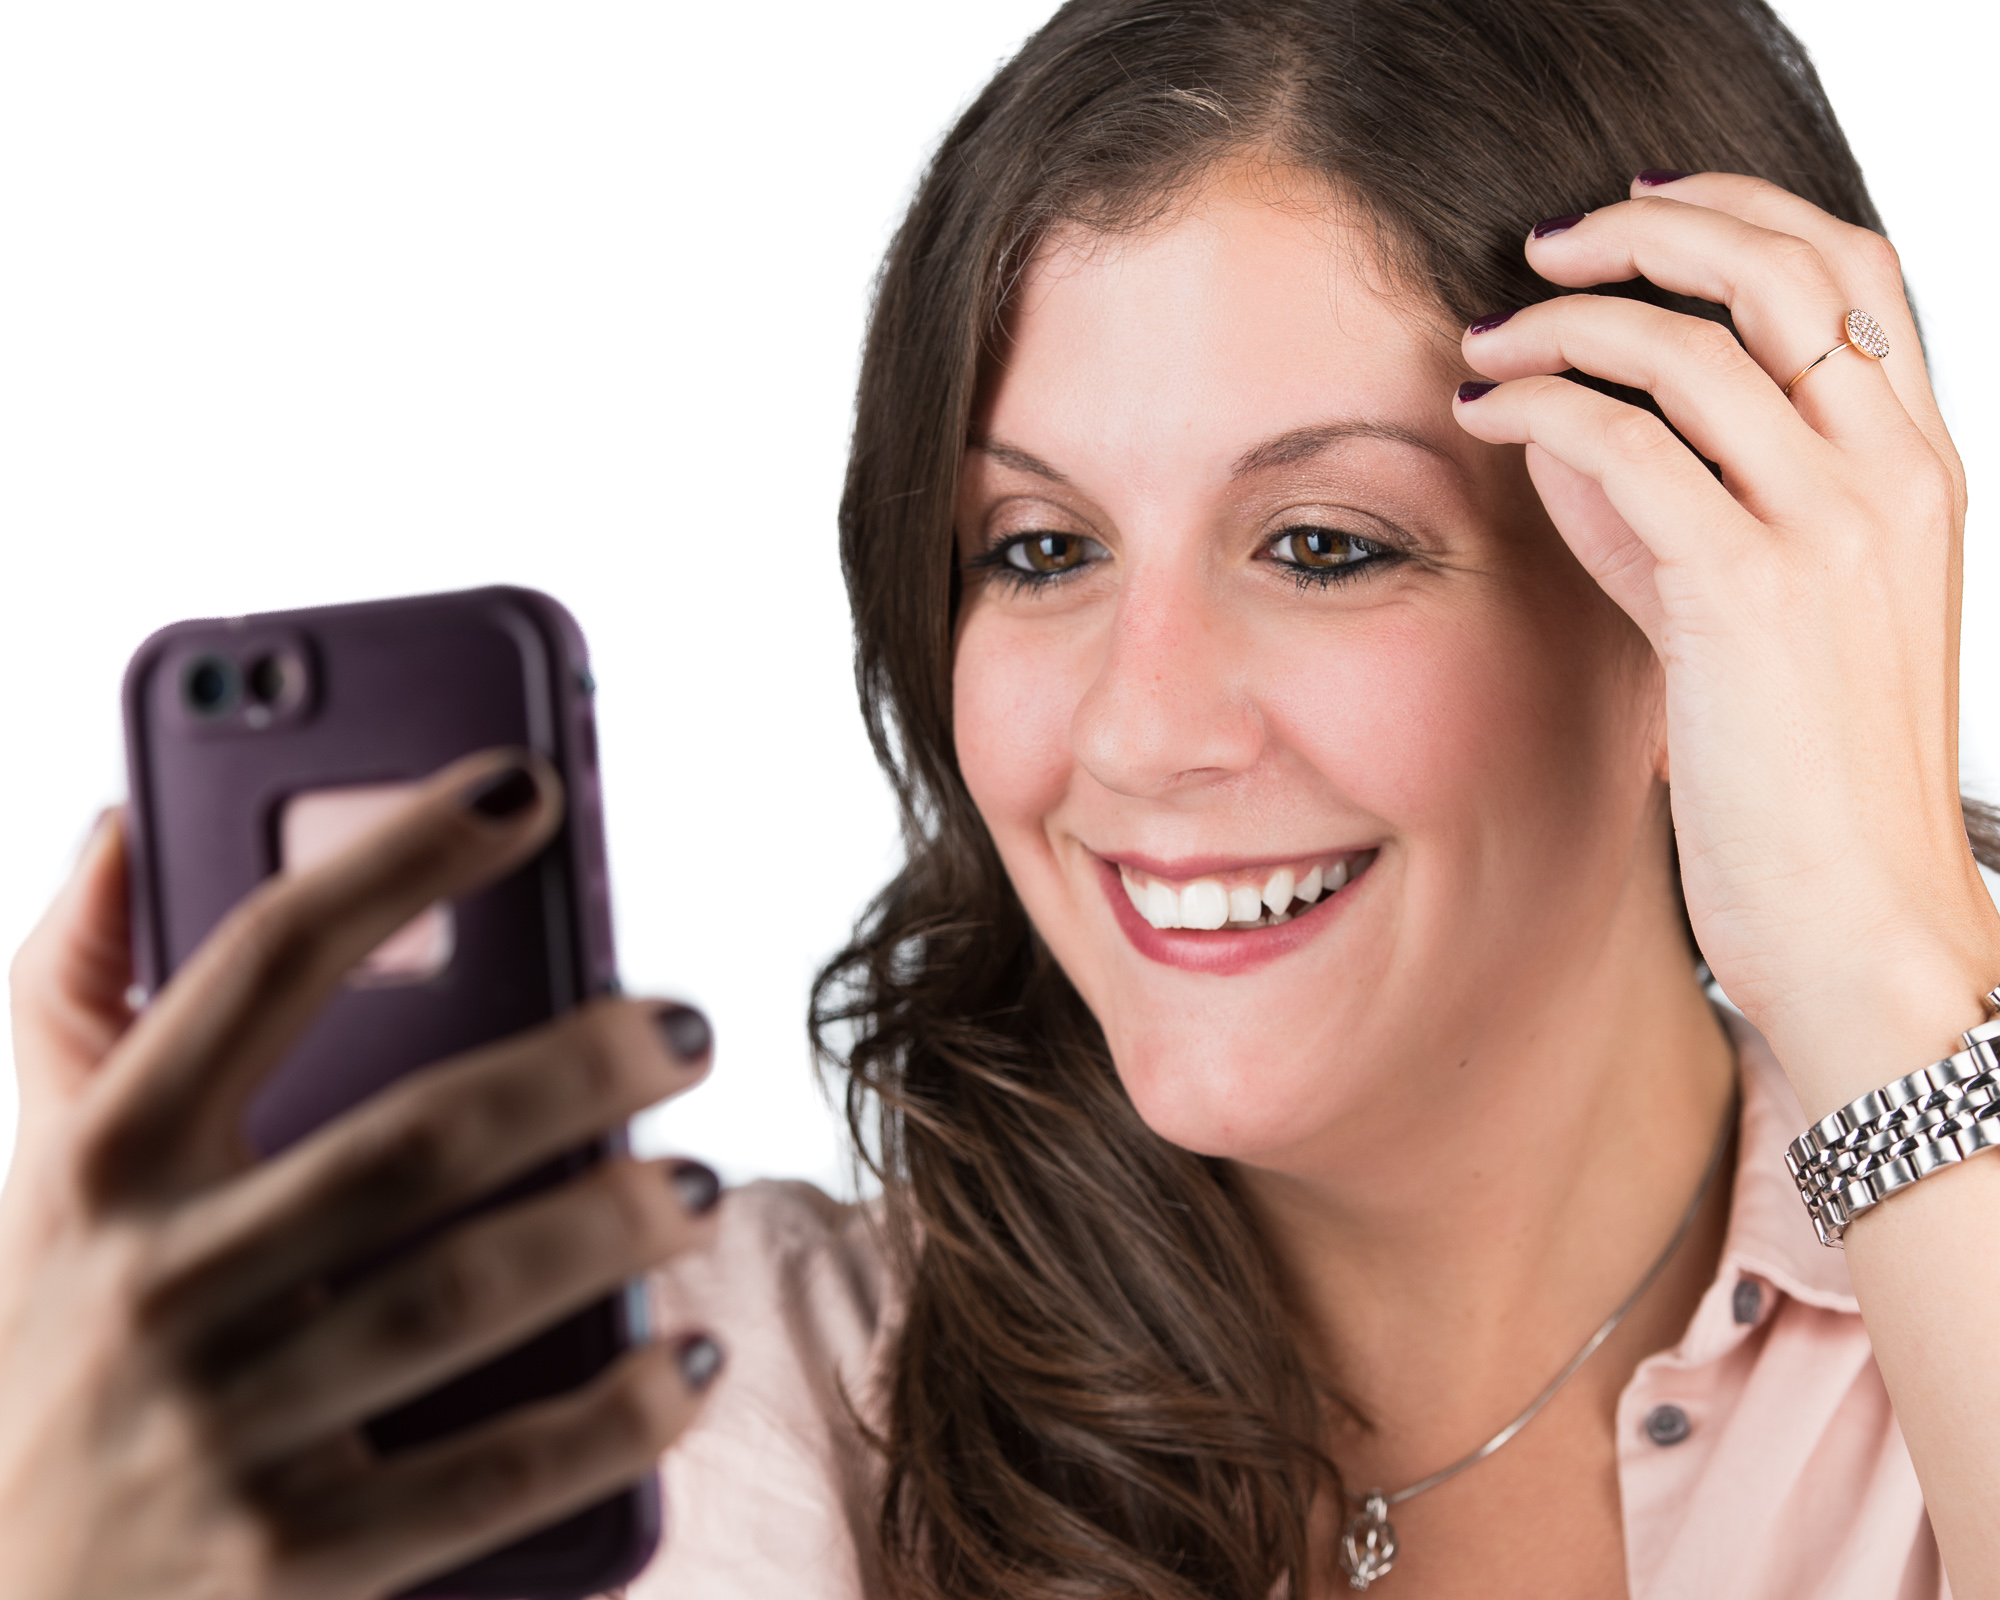
Camera angle missteps – A selfie-style high angle might work for Instagram, but it undercuts authority in a professional image.
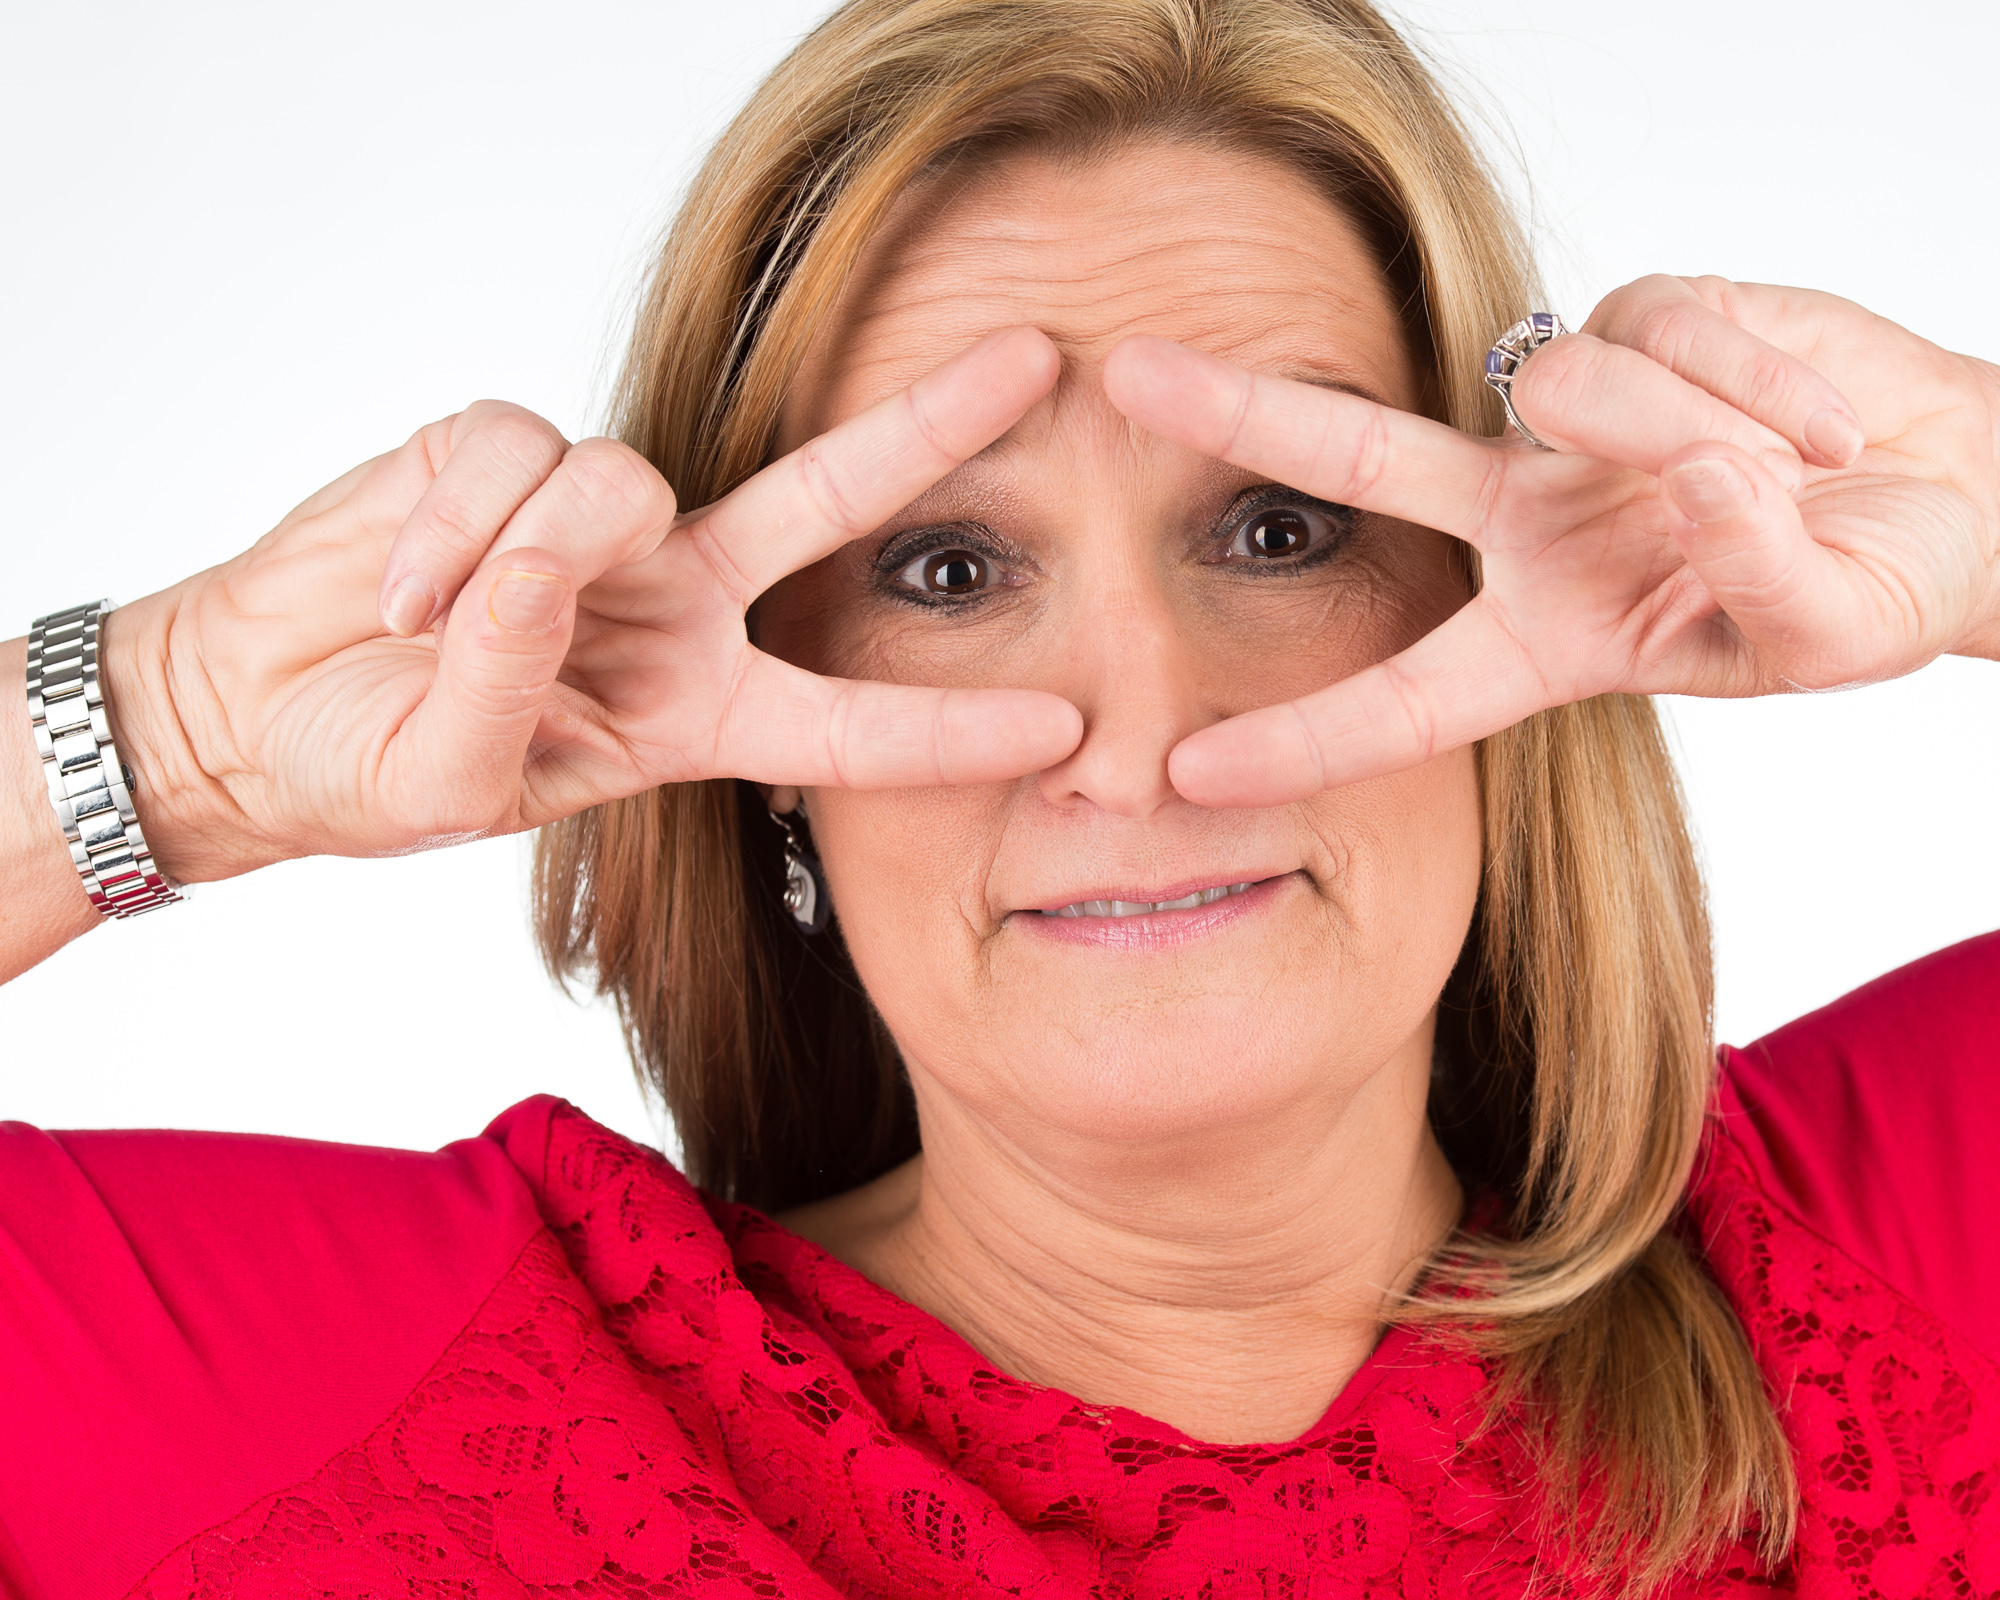
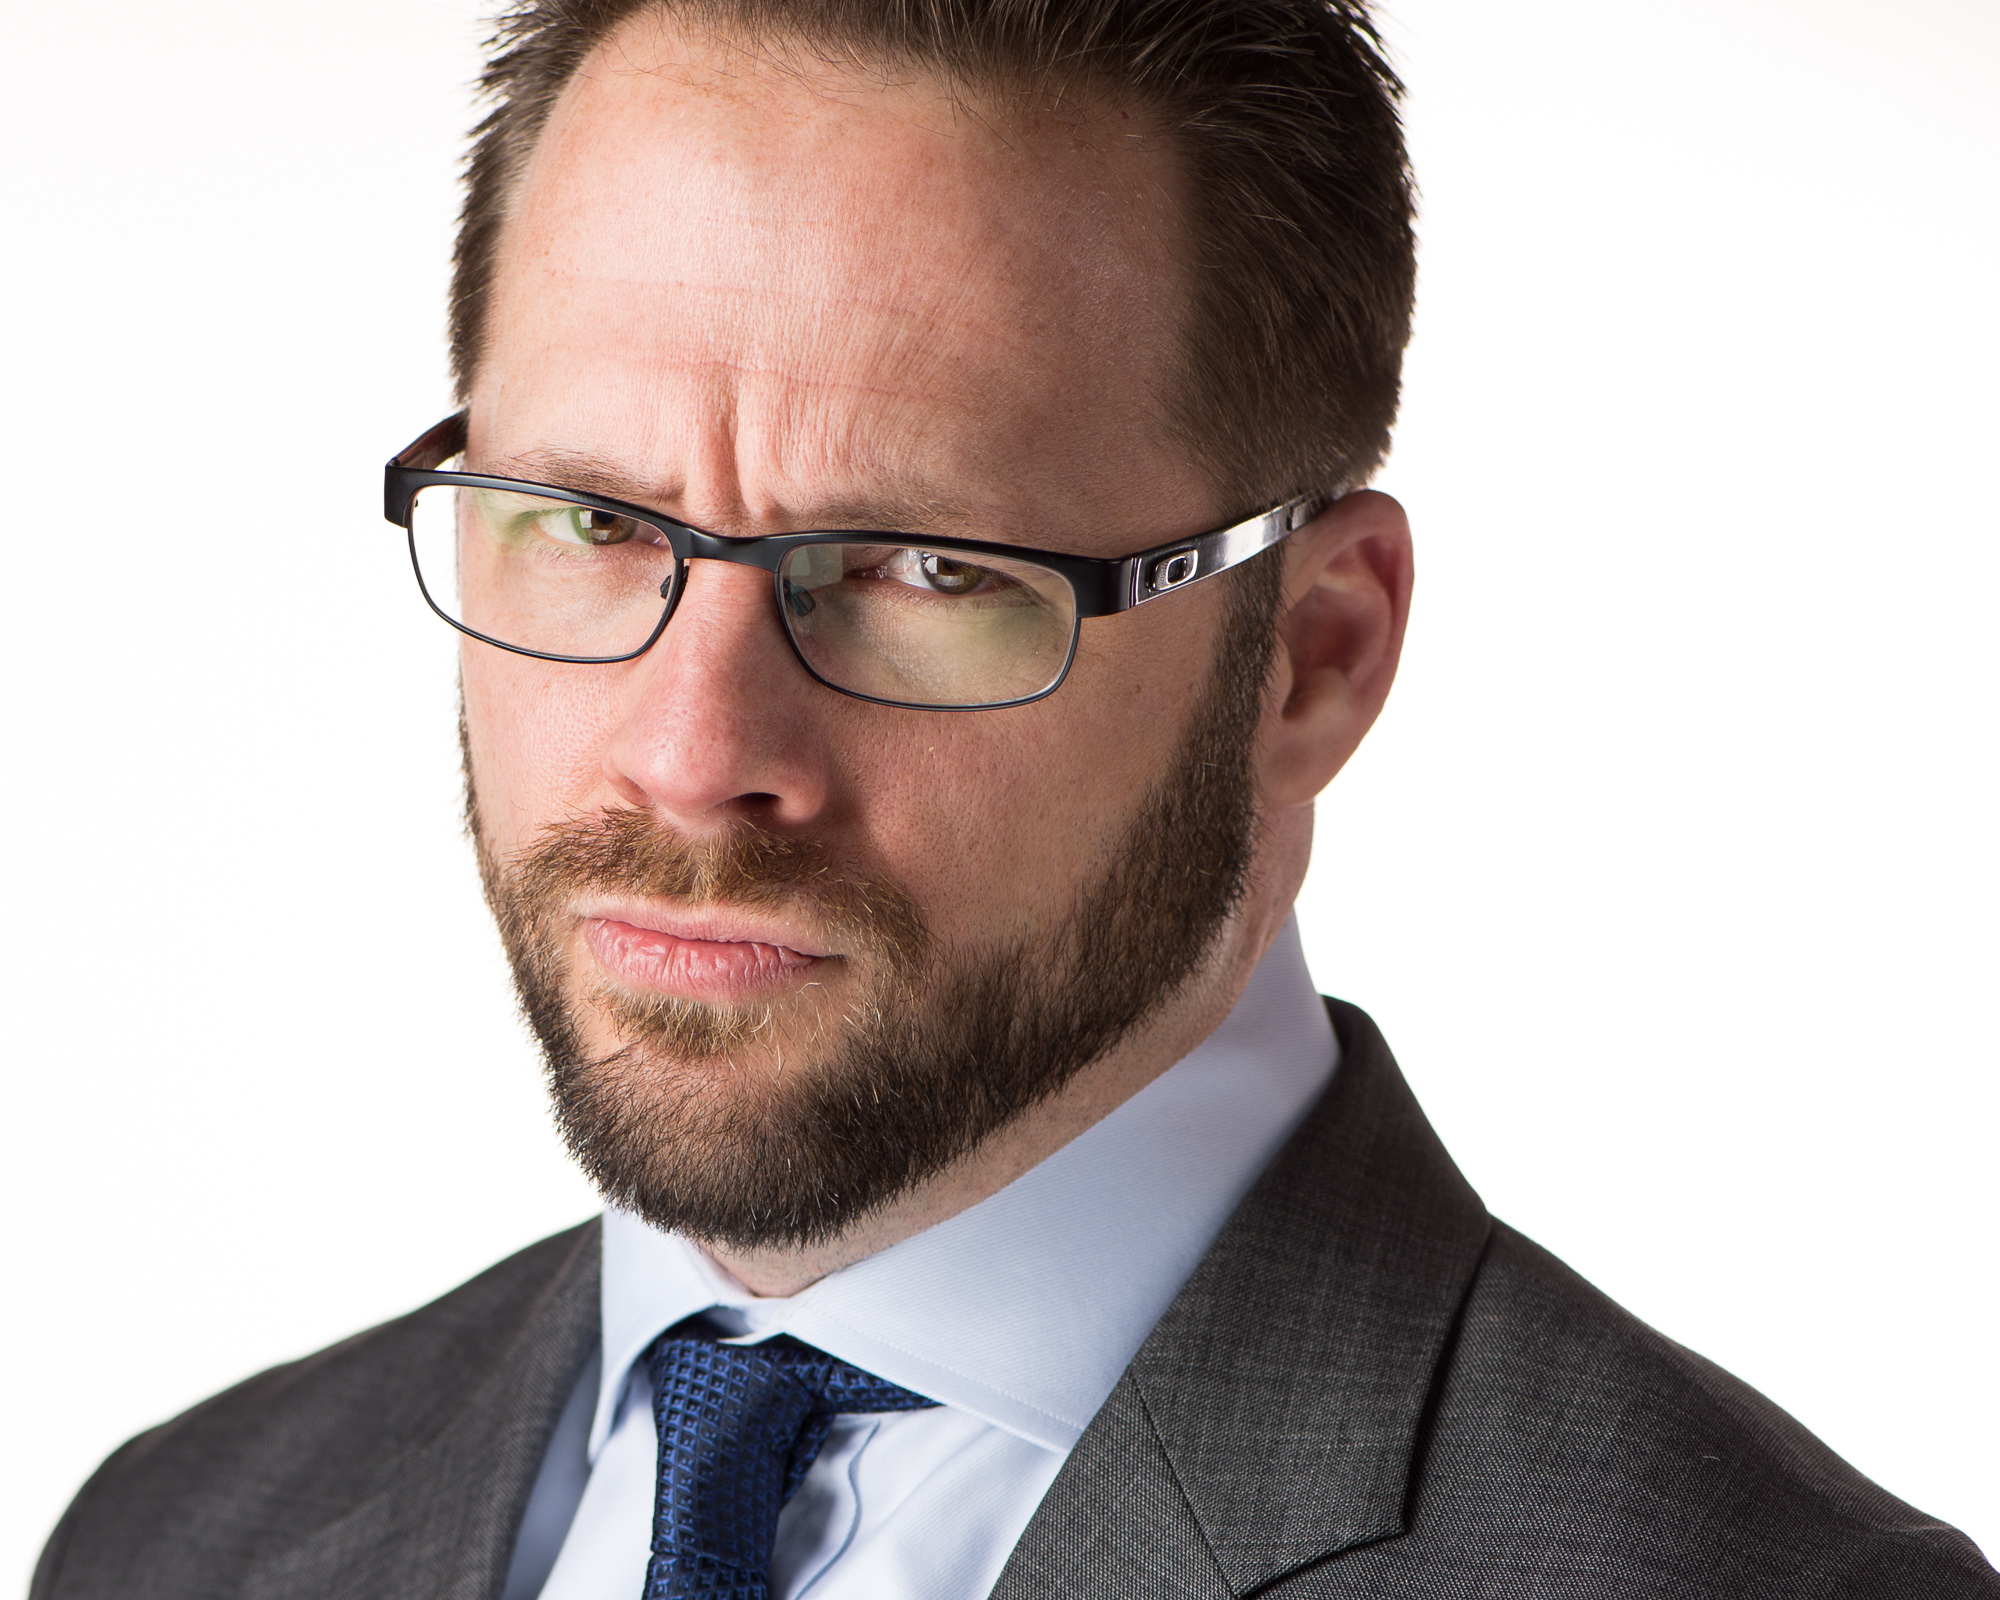
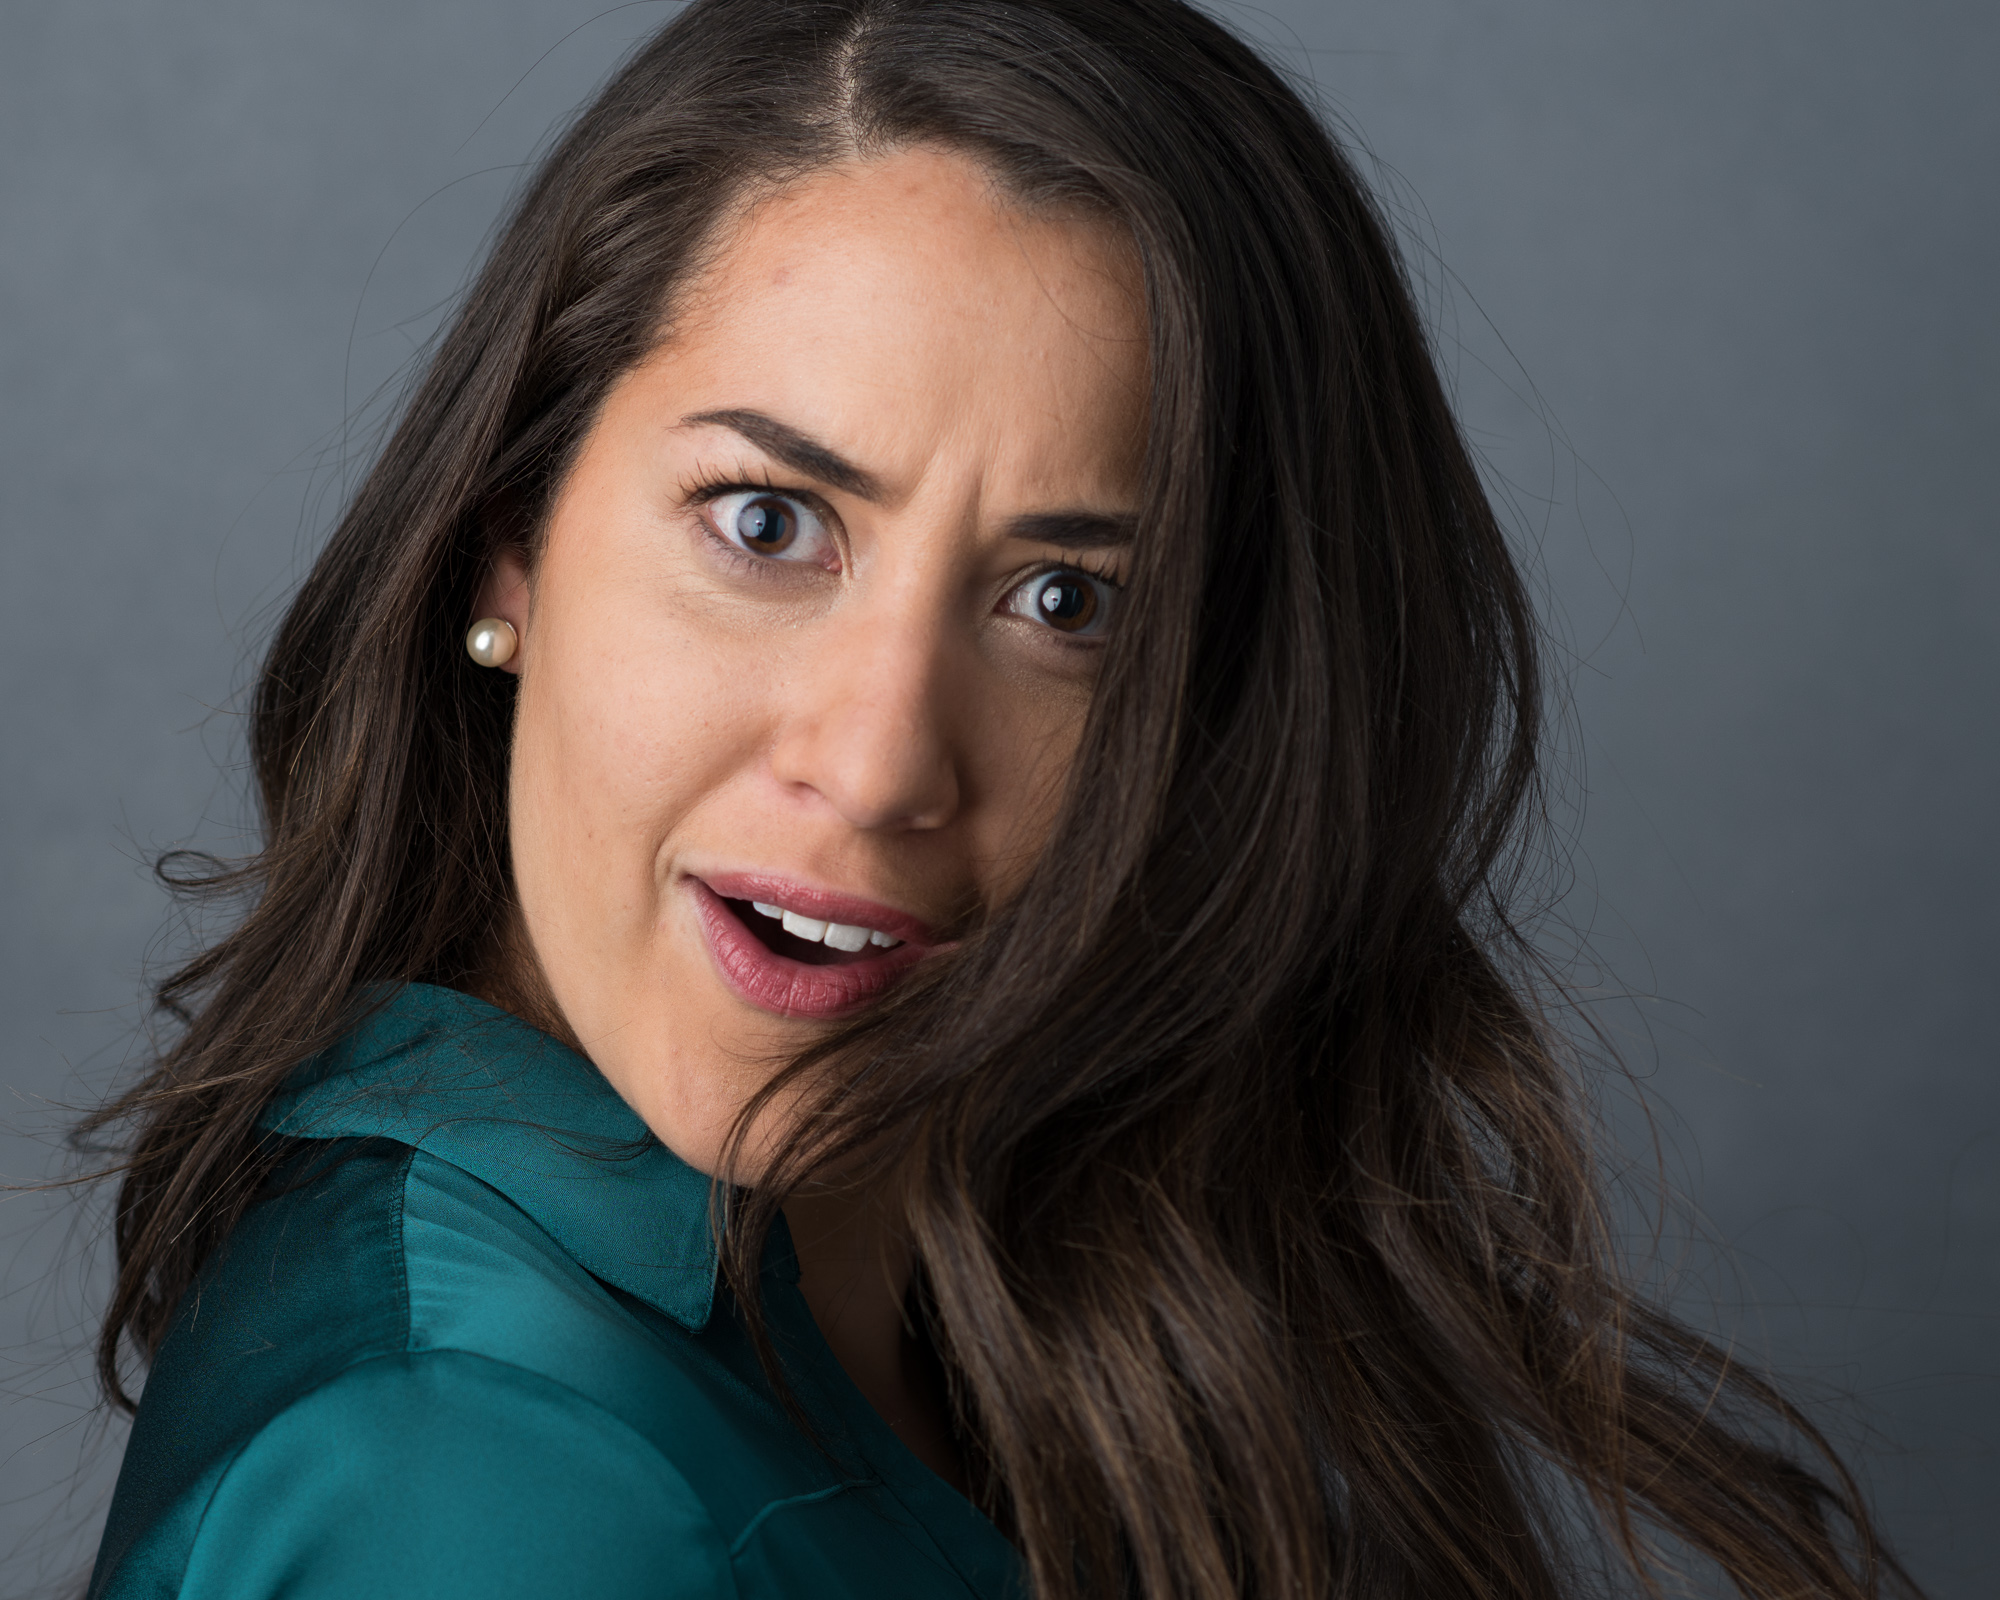
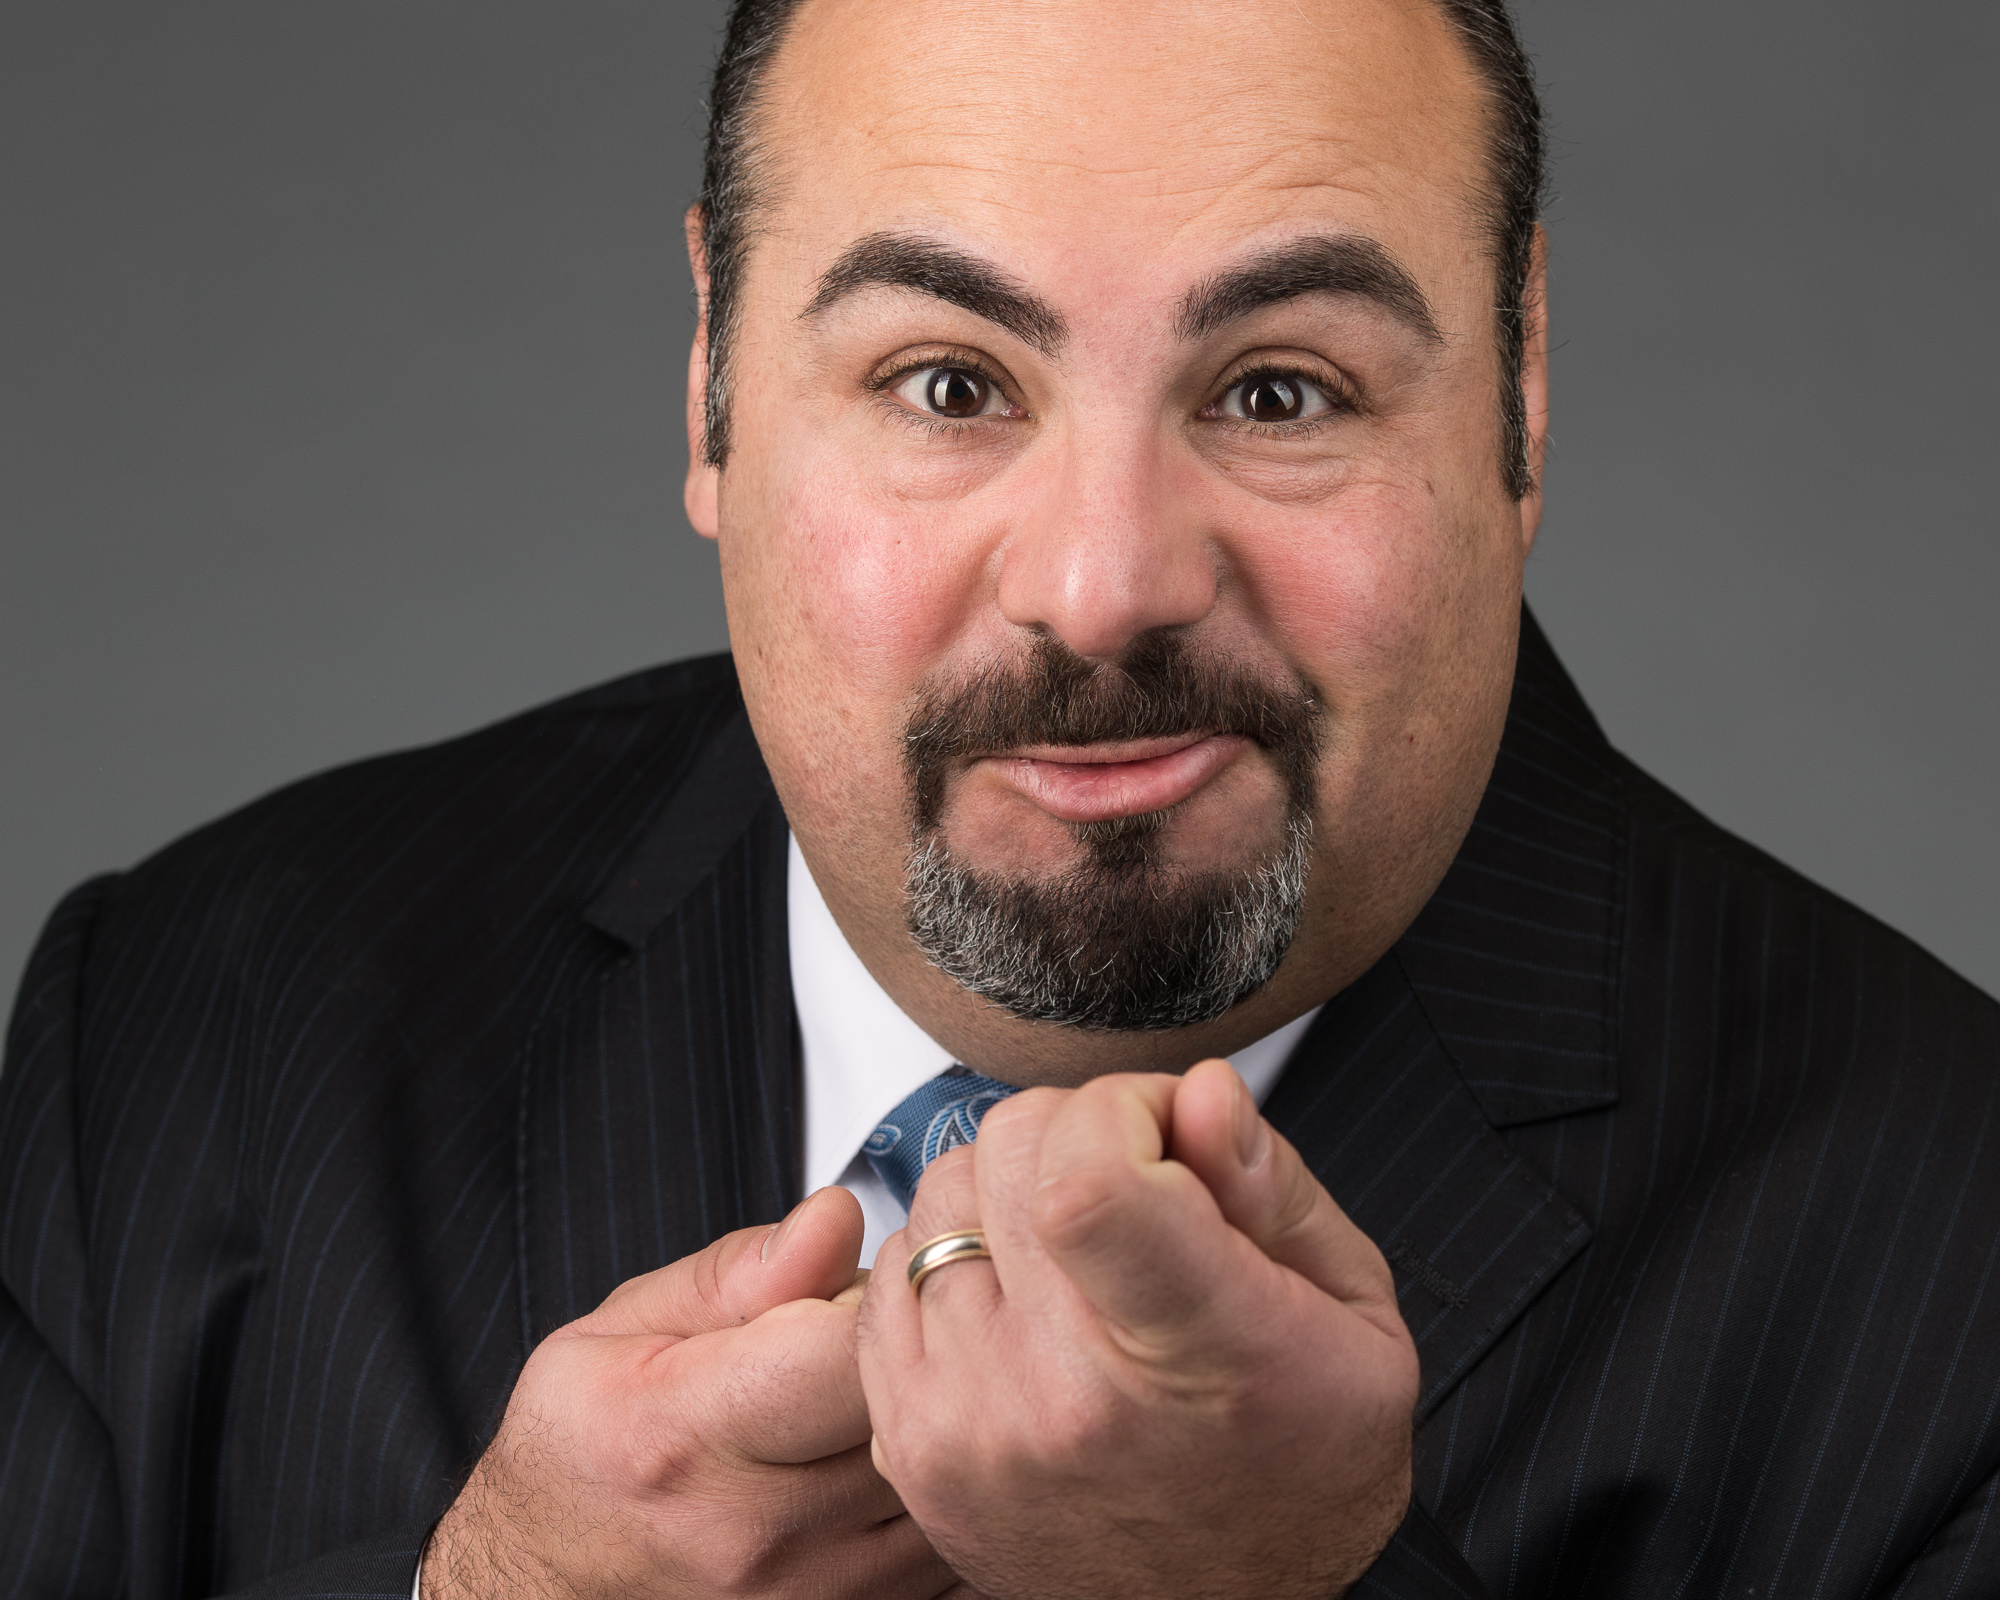
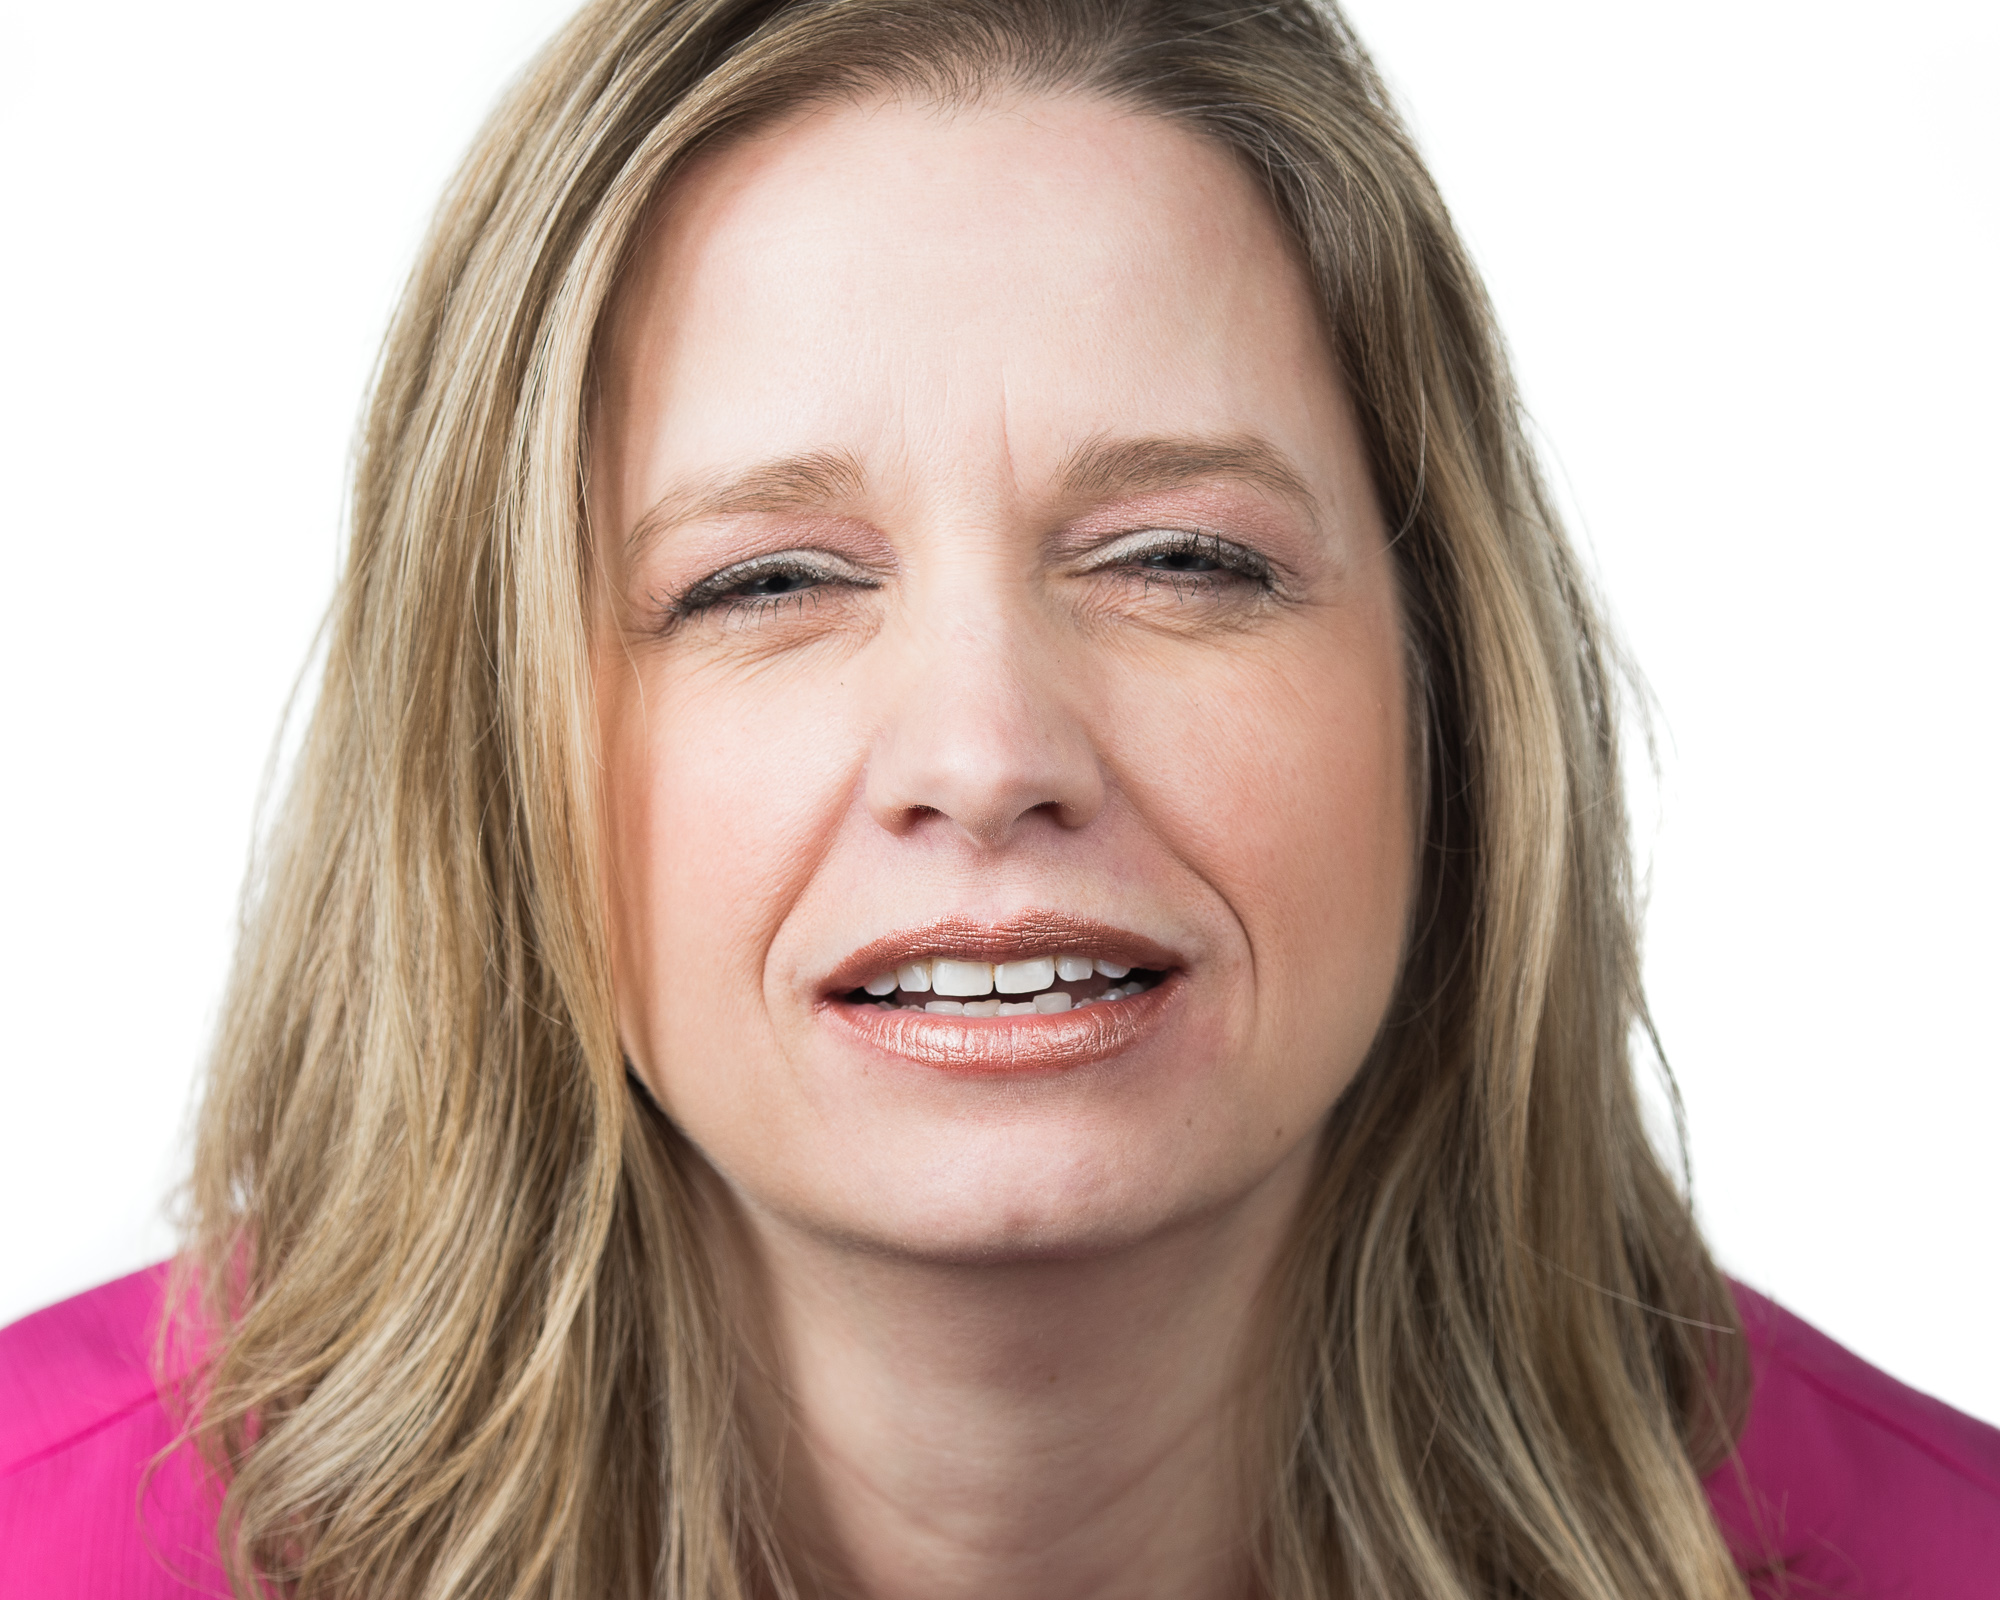
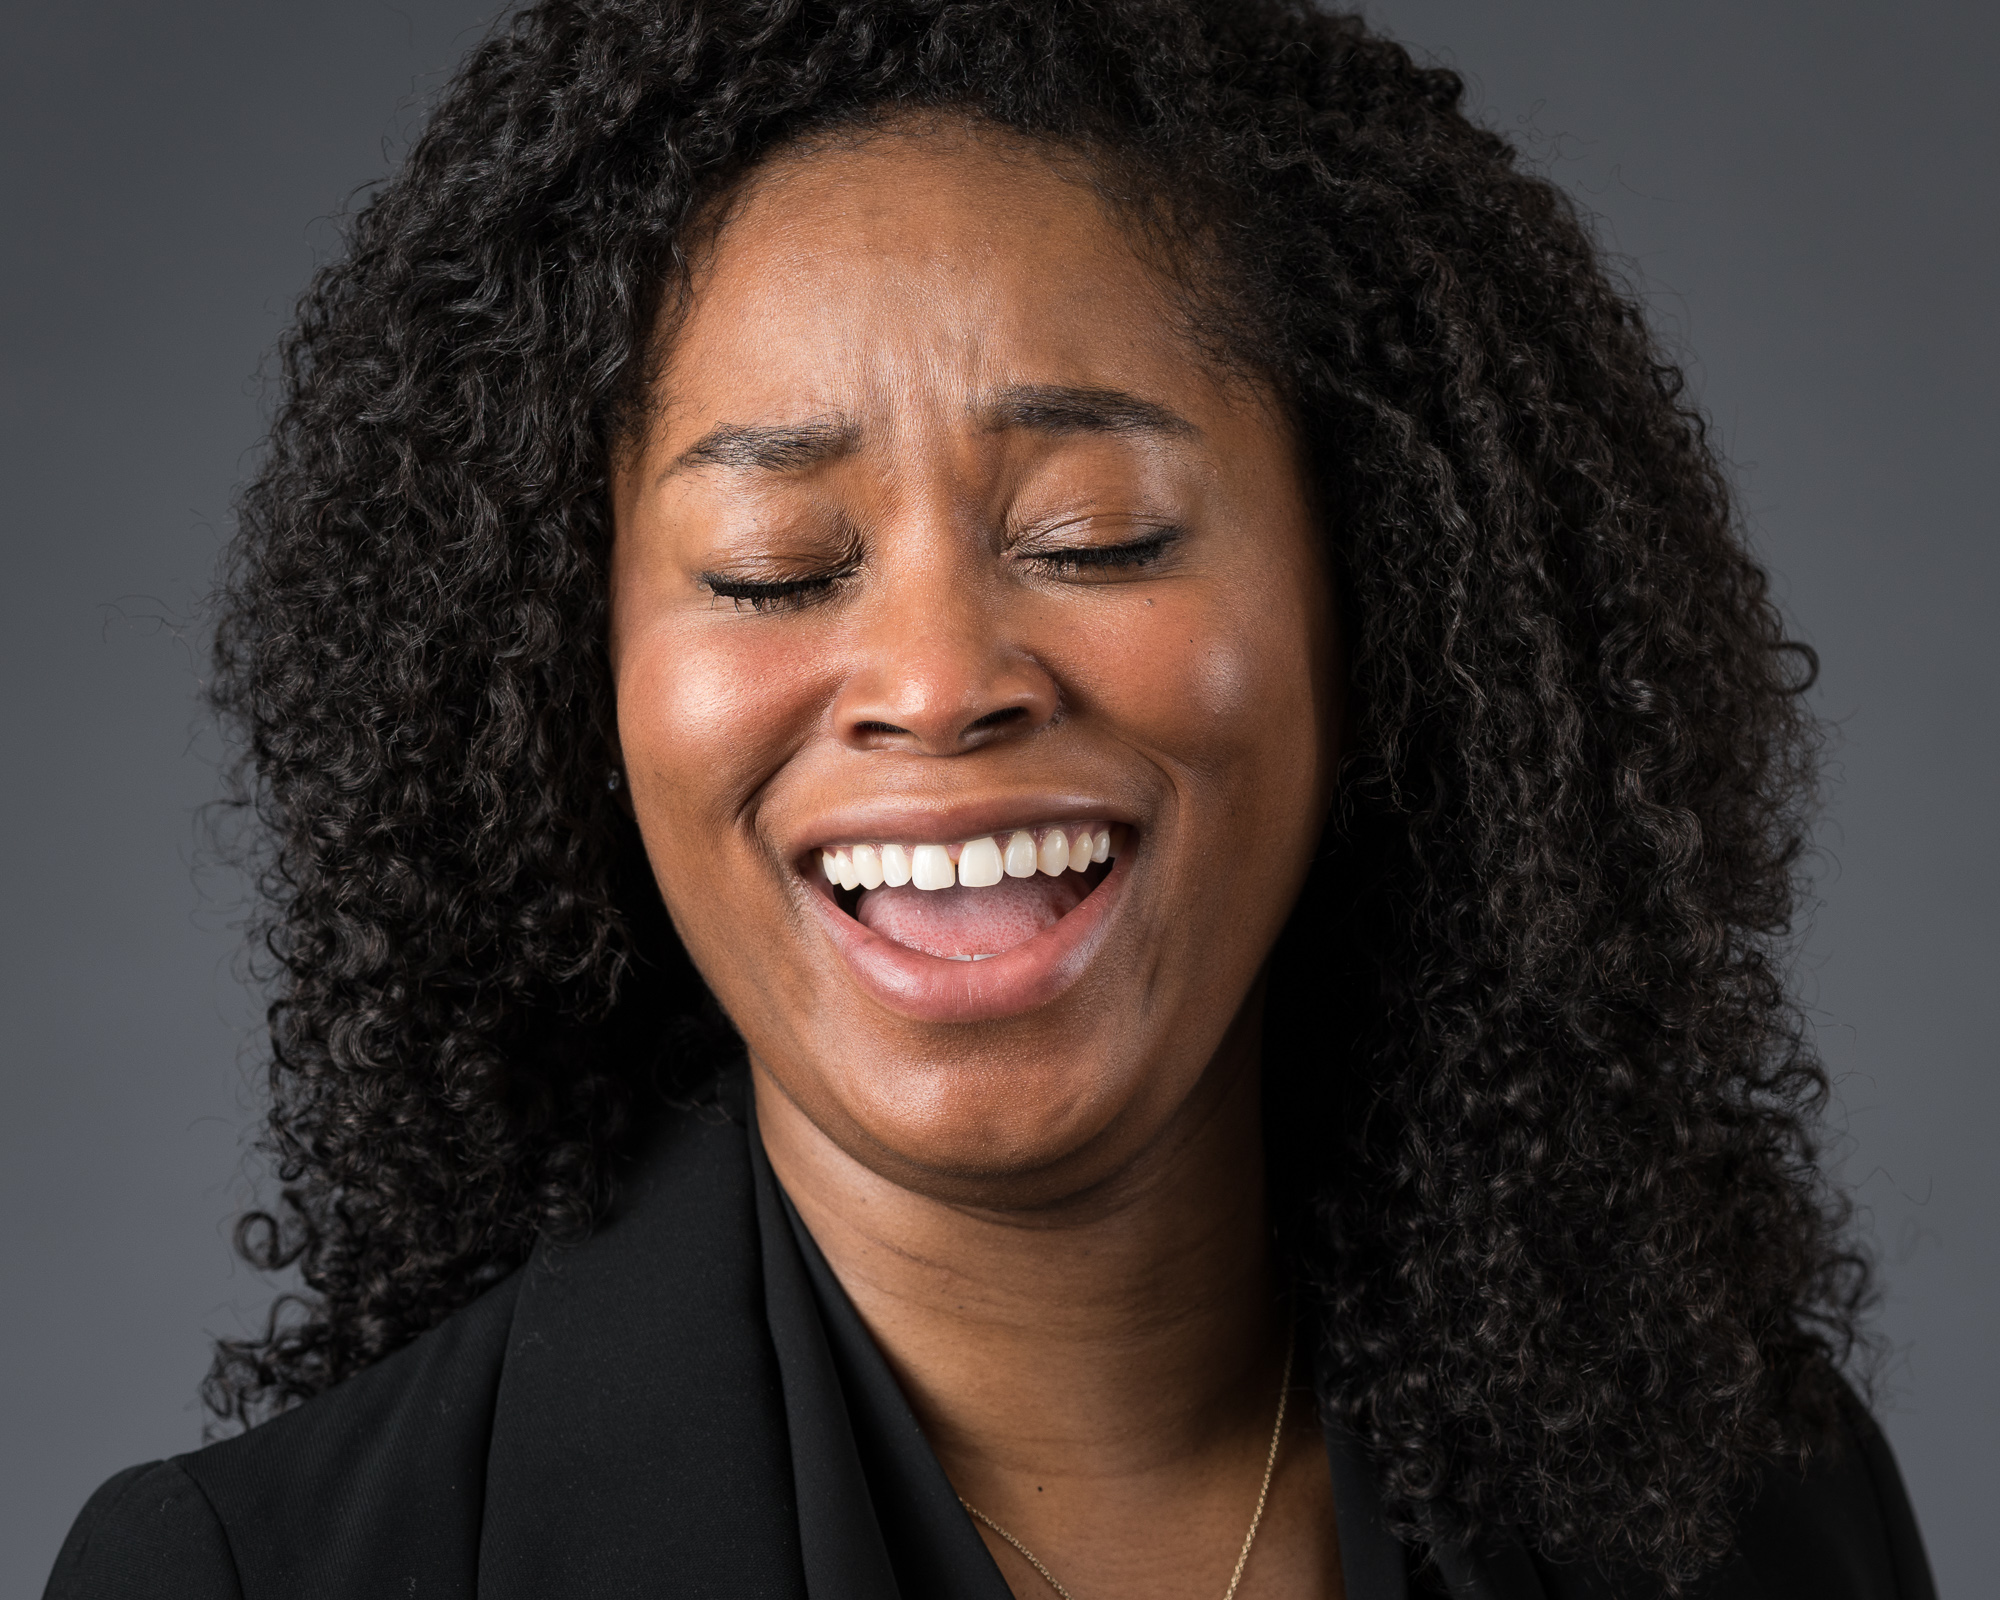
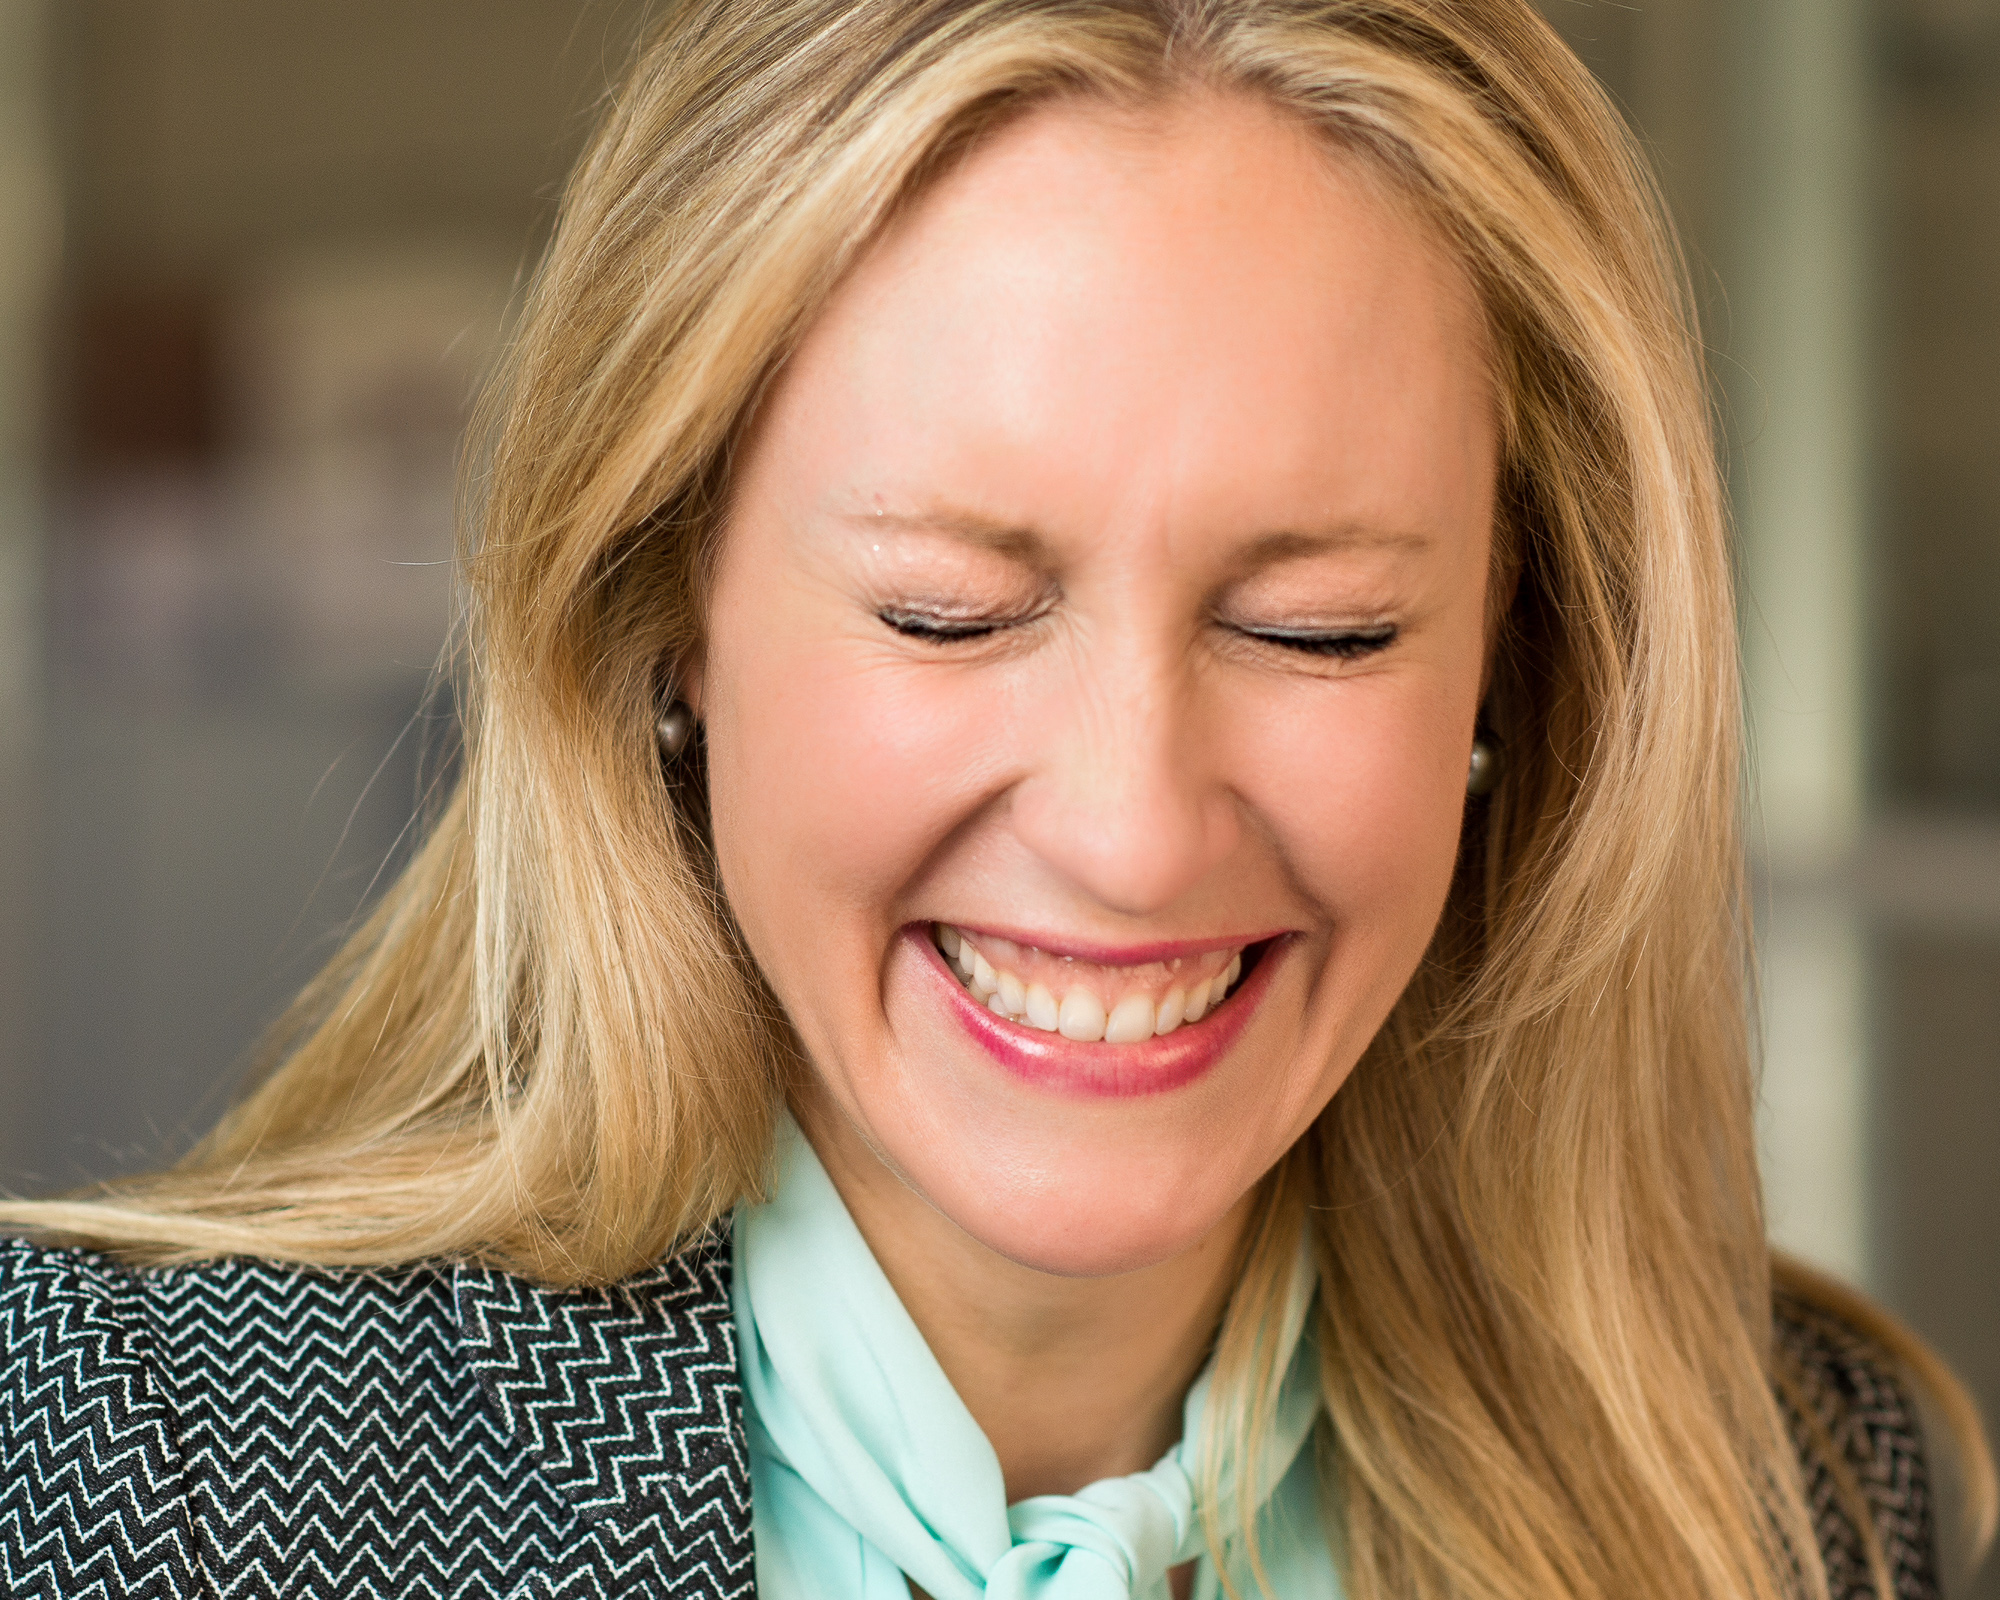
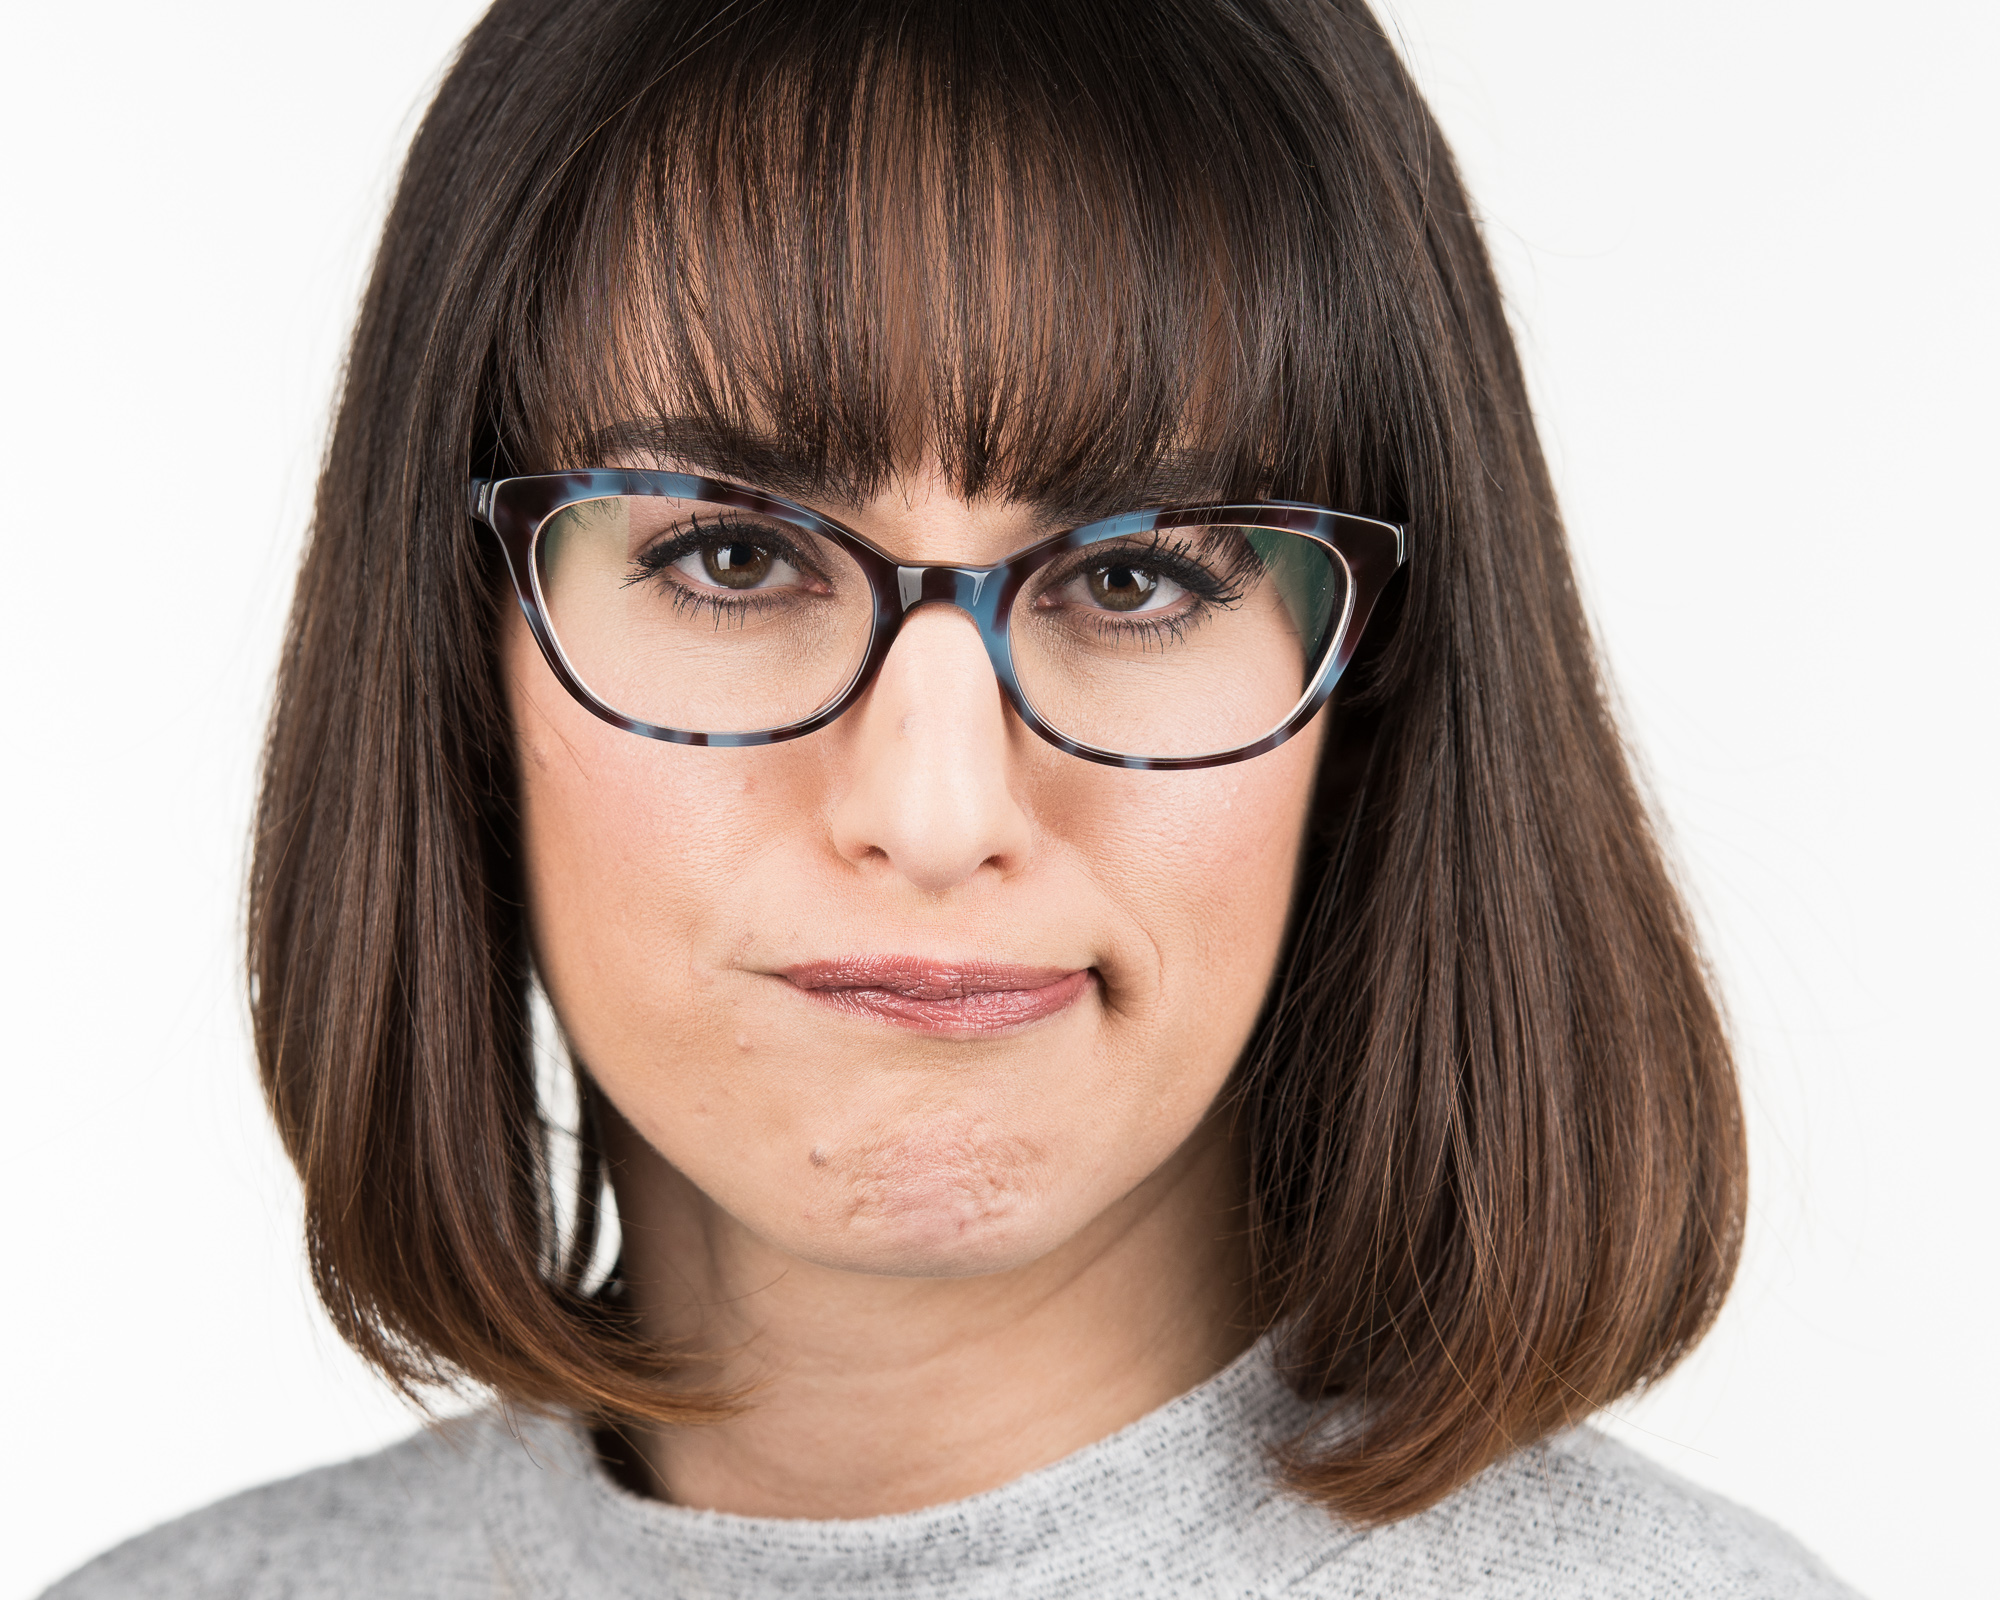
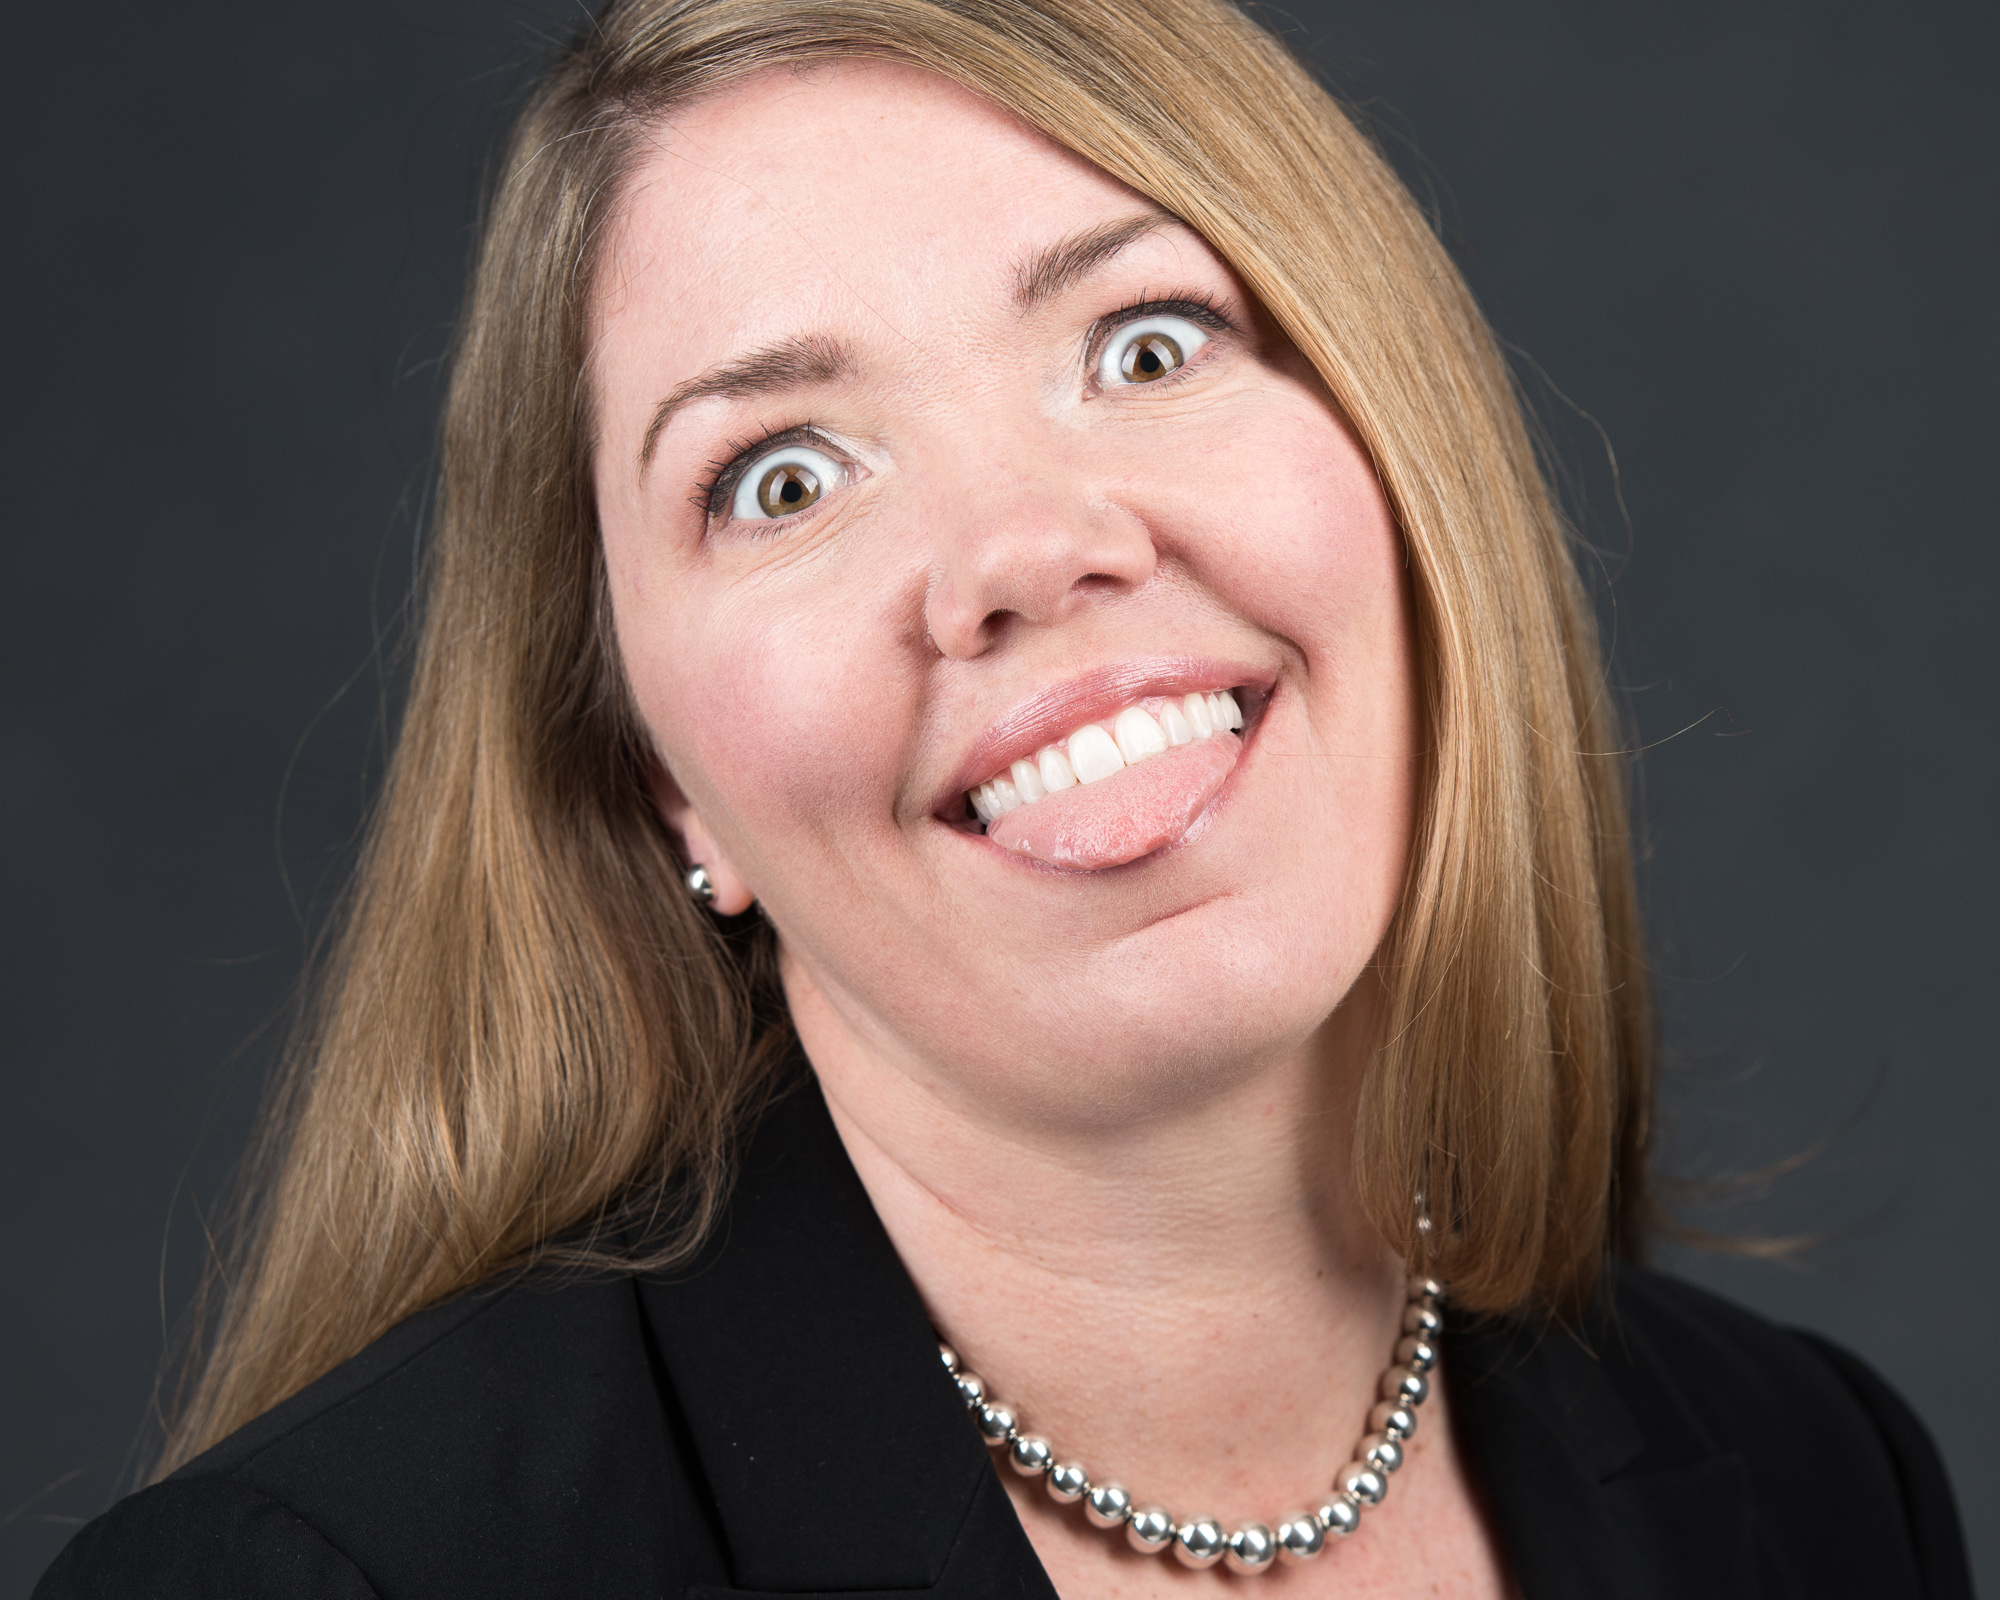
Expressions that fall flat – Clients don’t want to look stiff or scared. Getting natural, confident expressions is one of the hardest (and most important) parts of the job.
And that’s just scratching the surface. I also cover lighting challenges, background choices, and how to handle the wide range of personalities you’ll meet in a corporate setting.
Want to learn more from me? Book a mentoring call where we can chat about all your headshot questions.
Got more headshot questions? Check out the headshot FAQs.
Need help preparing for your headshot session? Check out my Headshot Maximizer Course.

The Best Camera Settings for Headshot Photography
If you’ve ever wondered how to dial in the perfect camera settings for headshots, especially in a studio or controlled environment, this one’s for you. These are my go-to settings when I want consistent, flattering results—without fighting ambient light or burning through my flash batteries.
If you’ve ever wondered how to dial in the perfect camera settings for headshots, especially in a studio or controlled environment, this one’s for you. These are my go-to settings when I want consistent, flattering results—without fighting ambient light or burning through my flash batteries.
Note, I’m typically shooting on a Canon R6ii or R5ii, but the settings are pretty universal. So let’s break down the settings I use in most sessions:
Shutter Speed
When working with strobes, shutter speed controls ambient light—not the flash itself. I shoot at or under 1/200 of a second, which is the standard sync speed for most cameras. Going faster (like 1/500) can cause banding unless you’re using high-speed sync, which adds complexity I usually avoid.
Why block ambient light? Simple: it keeps the look consistent. Overhead office lights, for example, often cause unwanted reflections and color casts. Whenever possible, I turn them off entirely.
Aperture
Aperture controls both your depth of field and how much flash light reaches the sensor. I typically shoot at f/5.6—sharp enough to keep the full face in focus, but open enough to avoid maxing out flash power. If you're working with lower-powered lights or want a dreamier look, f/4 or even f/2.8 can work—but just know you'll get less in focus.
ISO
My ISO stays low to avoid noise and reduce ambient light impact. ISO 200 is my default, but I’ll slide between 100 and 400 depending on flash power and conditions. Need more exposure? Boost ISO—but know that you’re also letting in more of those less than flattering ceiling lights.
Flash Power
Most of my work is done with 250 or 500 watt-second Profoto strobes. For standard headshots, I’m usually sitting at 50–75% power. If you’re maxed out and still not getting enough light, don’t panic—just move the light closer. That simple trick gives you a lot more punch.
These settings give me speed, consistency, and great results without overcomplicating the shoot. And that’s what it’s all about.
Got more headshot questions? Check out the headshot FAQs.
Need help preparing for your headshot session? Check out my Headshot Maximizer Course.
Getting Started in Headshot Photography: Essential Gear You Actually Need
Starting your journey in headshot photography? You're in the right place. As a full-time headshot photographer, I’ve tested a lot of gear—some essential, some nice-to-have, and some... well, let’s just say it’s still in a drawer somewhere.
Starting your journey in headshot photography? You're in the right place. As a full-time headshot photographer, I’ve tested a lot of gear—some essential, some nice-to-have, and some... well, let’s just say it’s still in a drawer somewhere.
In this post, I’ll walk you through exactly what you need to get started and what can wait. Whether you're shooting in a home studio or gearing up for corporate clients, this guide will help you make smart choices from day one.
Camera & Lens
Just about any full-frame mirrorless or DSLR camera will work for headshots. You don’t need the latest and greatest—those high-end models are built for action sports or low-light photography. Headshots are done in controlled settings, so even older models will do just fine.
The Canon R6 Mark II is a fantastic choice. I’ve used the R6 line for years—it’s reliable, fast, and produces stunning portraits. Competing models in the same price range from Sony or Nikon will also do the job well.
For lenses, you’ll want a focal length of 50mm or longer. Popular choices include:
24-105mm f/4 (a 24-70 is usually a little short)
85mm f/1.8 or f/1.2
If you’re sticking to studio work, f/4 lenses are just fine. If you’ll be doing outdoor portraits too, consider investing in an f/2.8 lens—it’s more versatile, and lenses tend to hold their value better than camera bodies.
Tripods
It may not be exciting, but a solid tripod is one of the most important pieces of headshot gear. It adds consistency, helps with repeatable framing, and saves your back during long sessions.
Look for:
A ball head (not pan-tilt) for quick adjustments
A center column for fast height changes
Carbon fiber if you want something lightweight (but it’ll cost more)
Avoid adjusting the tripod legs every time you change subjects. A center column makes that much easier.
Lighting
Technically, you can be a natural light photographer, but if you want to do professional headshots—especially corporate work—you’ll hit limitations fast. Learning to use artificial light is a game-changer, and it’s not as hard as it sounds. There are so many great options that can meet most budgets.
You’ll also need a trigger to fire the flash from your camera. Some strobes include one; others you’ll need to buy separately.
Backgrounds
Want your headshots to look polished and consistent? Use a consistent background. I love Savage seamless paper. It travels well and works in all kinds of setups.
Pro Tip: Keep your subject 2–3 feet away from the background. That little bit of separation adds depth and polish to your images. Otherwise, it might start to look more like a passport photo.
Final Advice
Know Your Gear Cold. You’ll hear it a lot, and it’s true: practice is key. But even more important is owning your gear. If something goes wrong during a session, your client should never feel it.
Getting started in headshot photography doesn’t require a mountain of gear—just the right gear. Stick with the essentials, learn your tools inside and out, and focus on capturing authentic expressions.
Got more headshot questions? Check out the headshot FAQs.

Canon 70-200 2.8 L IS USM Z Quick Look
When Canon announced the updated design, I was instantly intrigued. While the original RF 70-200mm f/2.8 was a great lens, I never fully loved the telescoping zoom design. The long zoom ring throw felt cumbersome, and while the compact size was beneficial for discreet travel (like an architecture photography tour I did in LA), it wasn’t ideal for my typical studio and corporate headshot sessions.
The jump to Canon’s new RF hybrid lenses has been an interesting experience, and I’ve quickly found a new favorite for my studio work. The Canon RF 24-105mm f/2.8 has become my go-to lens thanks to its versatile focal range, fast aperture, and well-designed tripod collar that makes switching between vertical and horizontal orientations effortless. The iris control ring is another nice touch for video work, making this lens a true hybrid performer. Most of the time, I rarely need to grab another lens.
But when I do, it’s the Canon RF 70-200mm f/2.8—a staple in professional photography. When Canon announced the updated design, I was instantly intrigued. While the original RF 70-200mm f/2.8 was a great lens, I never fully loved the telescoping zoom design. The long zoom ring throw felt cumbersome, and while the compact size was beneficial for discreet travel (like an architecture photography tour I did in LA), it wasn’t ideal for my typical studio and corporate headshot sessions.
The New RF 70-200mm: A More Traditional Feel
The updated Canon RF 70-200mm f/2.8 now has a fixed-length design, making it feel more like a classic pro lens. The short zoom ring throw allows for quick adjustments with just a flick of the thumb—whether you’re shooting stills or video, this is what a professional lens should do. Plus, the black version is a nice option for those who prefer a more discreet aesthetic.
For video shooters, the bulkier size of these hybrid lenses may be a downside for handheld work. But for corporate interviews, b-roll, and headshots, having this kind of range in a single lens reduces the need to carry multiple primes. The added compatibility with teleconverters further expands its capabilities, making it a powerhouse for both stills and video.
Should You Upgrade?
The hybrid RF lenses aren’t cheap, but the good news is that the previous RF 70-200mm f/2.8 has solid resale value. I traded mine in with KEH, and the process was seamless (consider reaching out for an affiliate link if you’re looking to sell yours). If you’re considering an upgrade and can take advantage of the incremental improvements and video-friendly features, I think it’s a worthwhile investment.
Are you planning to upgrade? Let me know in the comments!
Learn more about corporate headshot options.
Got more headshot questions? Check out the headshot FAQs.

Corporate Headshot Poses That Work
As a full-time headshot photographer for over a decade, I’ve coached countless clients into their best poses—and I’m here to share my go-to tips for looking polished, confident, and approachable.
As a full-time headshot photographer for over a decade, I’ve coached countless clients into their best poses—and I’m here to share my go-to tips for looking polished, confident, and approachable. If you need a full crash course to prep for your headshot, check out my Headshot Maximizer Course. Use the code SMILE for $30 off.
Standing Poses for Chest-Up Crops

These poses are ideal for LinkedIn profiles, social media avatars, and email signatures. Your hands won’t be visible in the frame, so keep them relaxed at your sides or in your pockets. Make sure your shoulders don’t creep up—relax them! A few notes:
Push your forehead slightly toward the camera and lower your chin (without tucking).
Maintain direct eye contact with the camera.
For variations, add a slight turn to the left or right, bringing your head back around to face the camera. This angle works for most body types. Or, play with your head turn slightly—but stop short of 90 degrees.
Keep your smile natural, no need to overdo it.
Standing Vertical Poses

These vertical poses, framed from the hips up, are versatile for multiple crops—perfect for website bios, marketing materials, or group composites of your team. Remember to:
Hinge forward slightly at the waist.
Mix up your hand positions: one in a pocket or resting naturally at your side.
Shift your weight from one foot to the other for a relaxed stance.
For additional variations, turn slightly to one side and bring your head back around for audience engagement. For an even more polished look, place a hand on your jacket button, as if buttoning it. Keep your fingers relaxed and avoid making a fist. Check out the video for a few additional tips on these vertical options.
Try Multiple Poses
Not every pose works for every body. Your movement, body type, and clothing all play a role. Trying a few options ensures you’ll find the pose that makes you look your best.
Remember, If you need extra preparation, check out my Headshot Maximizer Course for detailed advice on everything from posing to headshot usage tips.
The Blog
Headshot tips, client features, and more!