
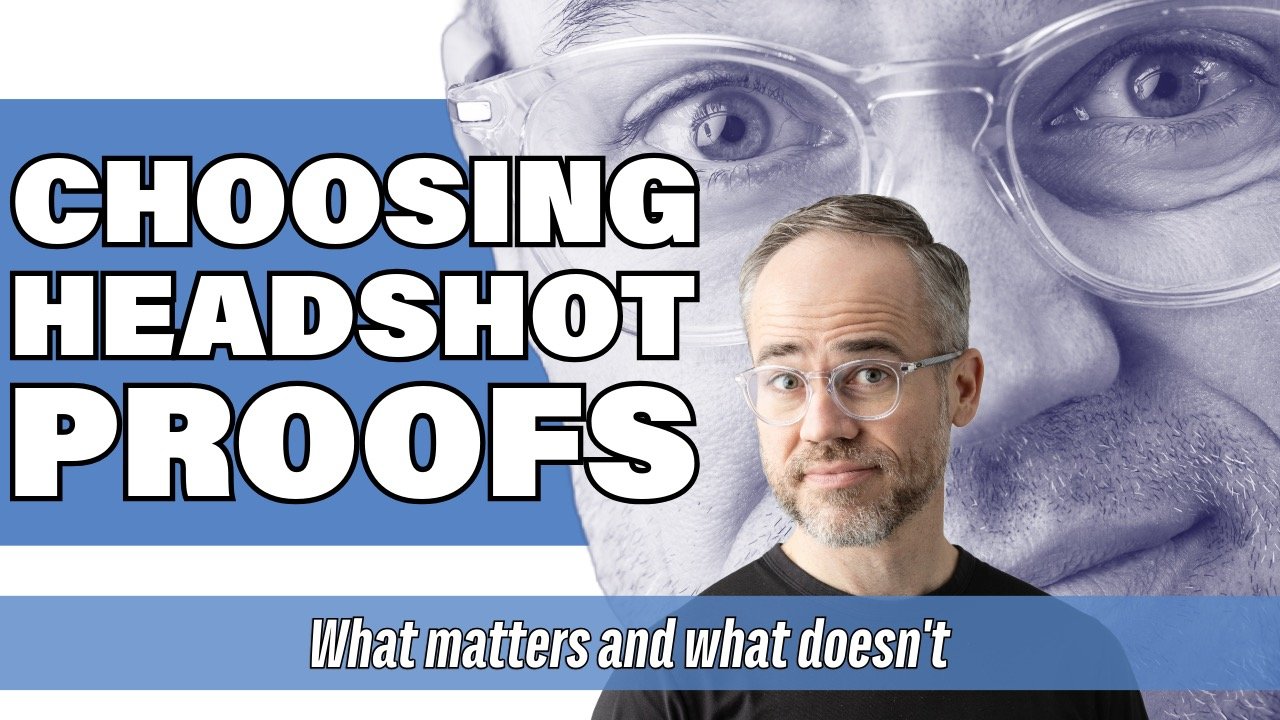
Five Headshot Posing Mistakes You’re Probably Making (And How to Fix Them)
A great headshot should look confident and natural, not forced or uncomfortable. After over a decade of coaching professionals into their best headshots, I’ve seen the same posing mistakes pop up time and time again. So let’s talk about five key things to avoid during your session.
Looking stiff or awkward on camera is one of the biggest concerns my clients have—and honestly, it’s a fair point. A great headshot should look confident and natural, not forced or uncomfortable. After over a decade of coaching professionals into their best headshots, I’ve seen the same posing mistakes pop up time and time again. So let’s talk about five key things to avoid during your session.
Forget the "Grandma Posture" Advice
Remember when you were told to stand up straight, chin up, shoulders back? Forget it. While that advice might work for a formal event, it doesn’t translate well on camera. Lifting your chin too high minimizes the impact of your eyes and facial features—two of the most important aspects of a great headshot. Instead, bring your chin down slightly and push your forehead out just a bit. This small adjustment makes a huge difference.
No Selfie-Style Angles
It’s tempting to lift the camera above eye level like you would for a selfie, but for a professional headshot, this is a mistake. A high angle puts you in a non-dominant position, making you look less confident. Instead, keep the camera at or slightly below eye level for a balanced, authoritative look.

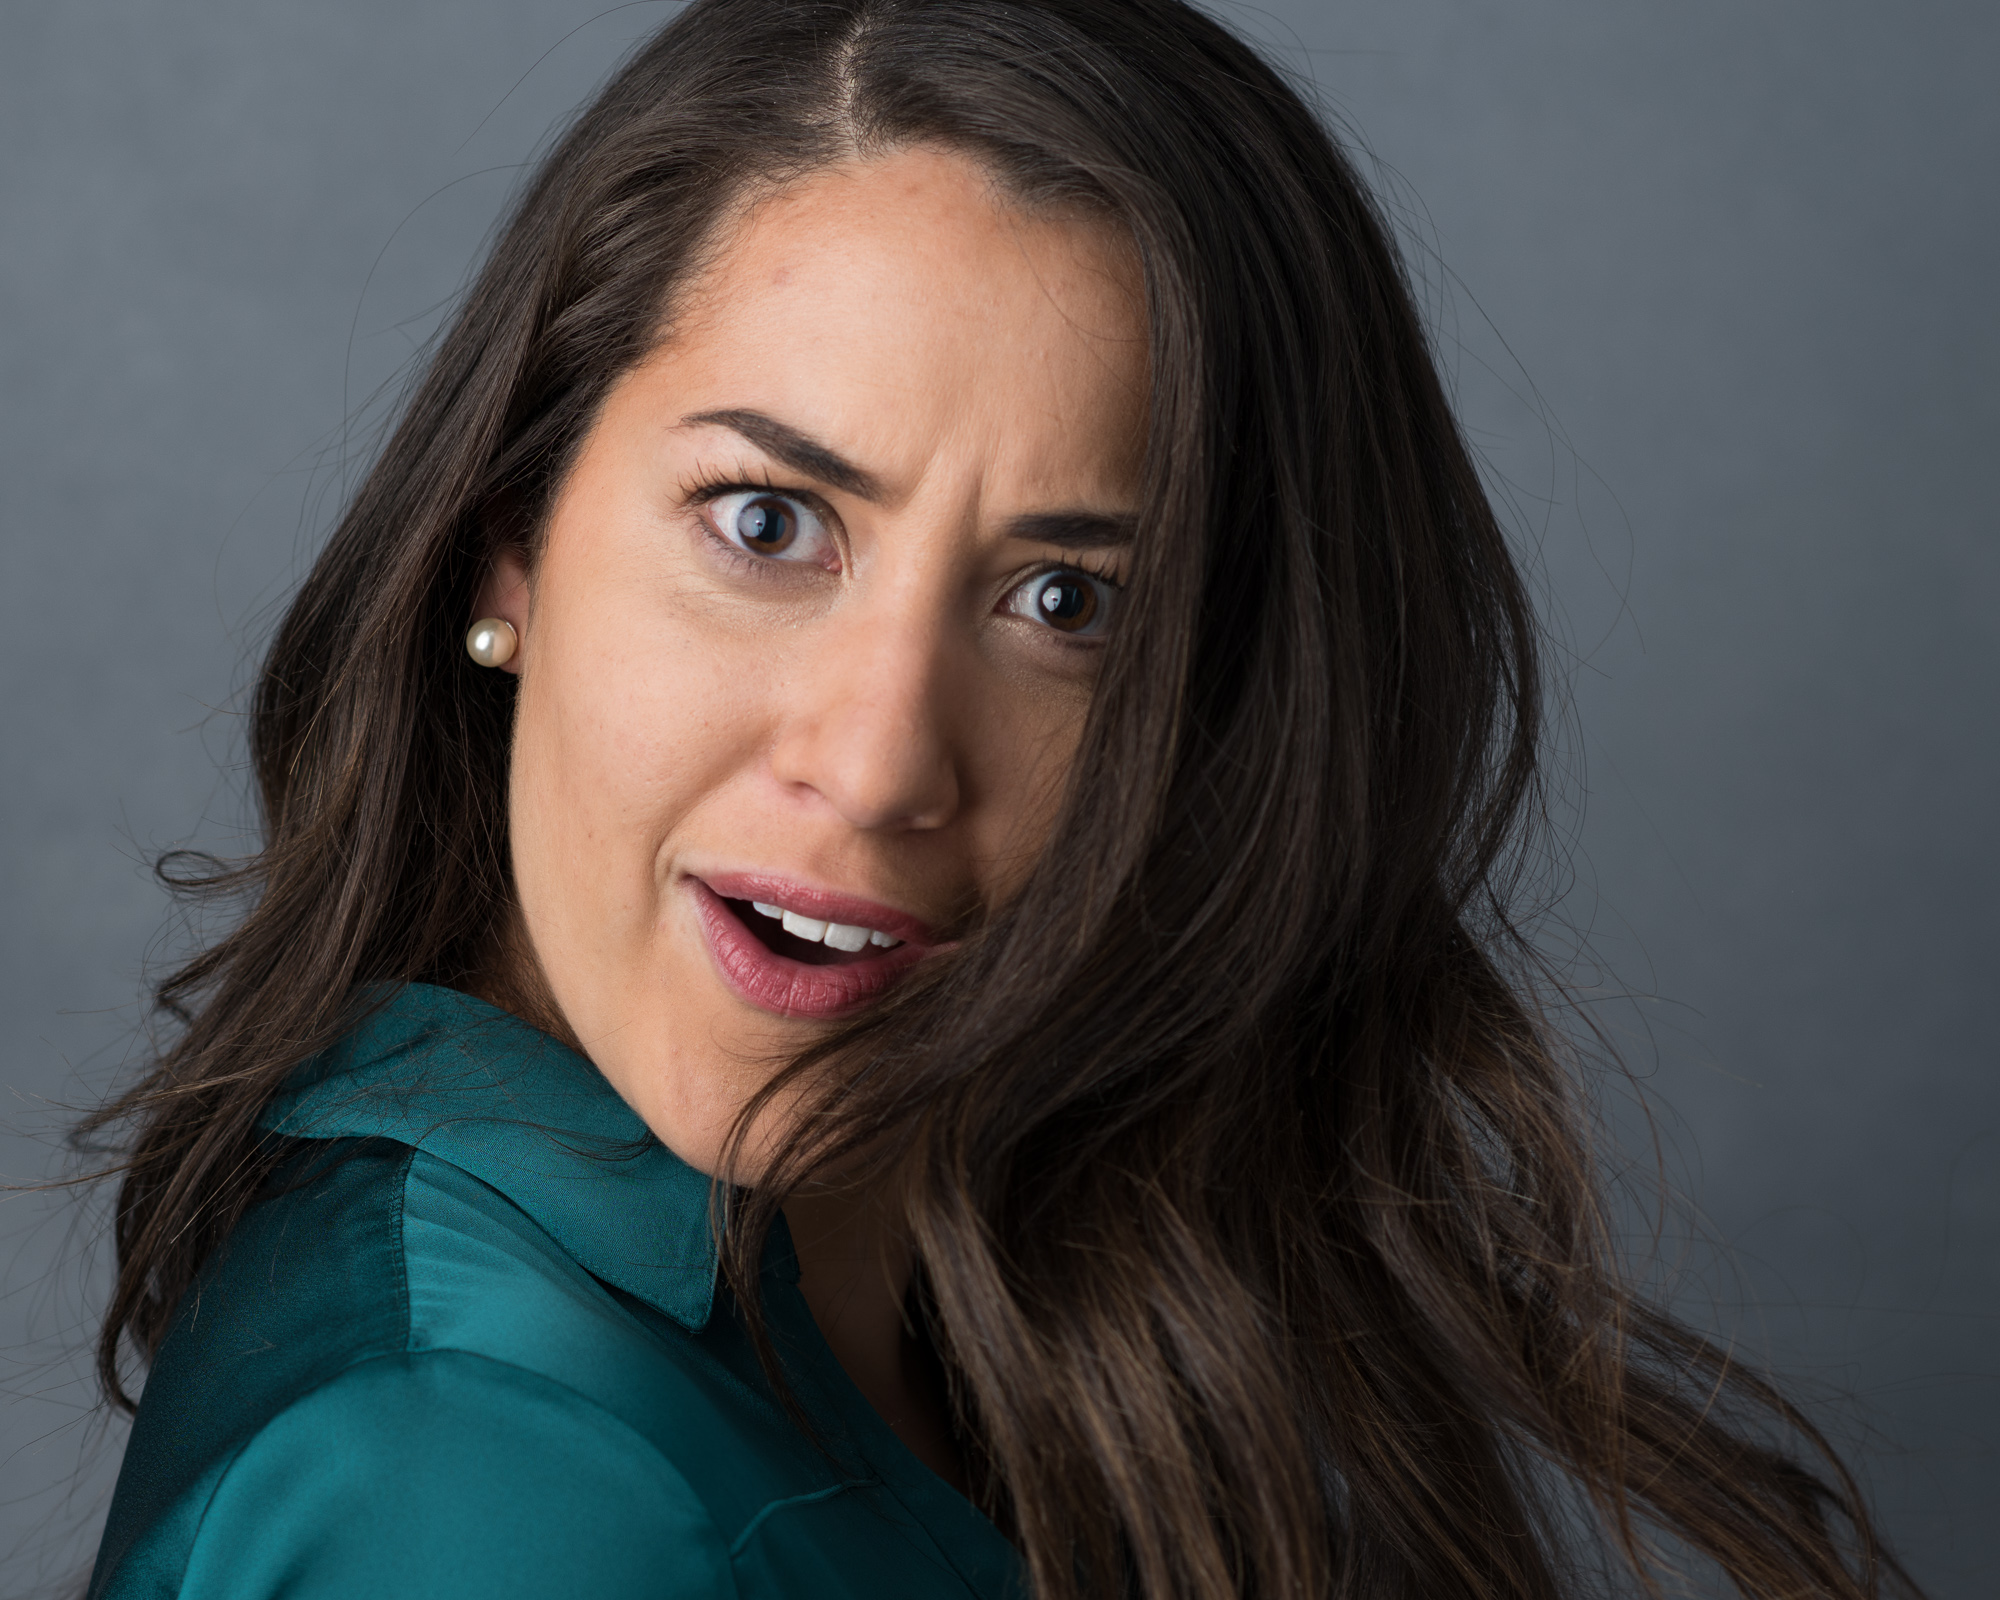
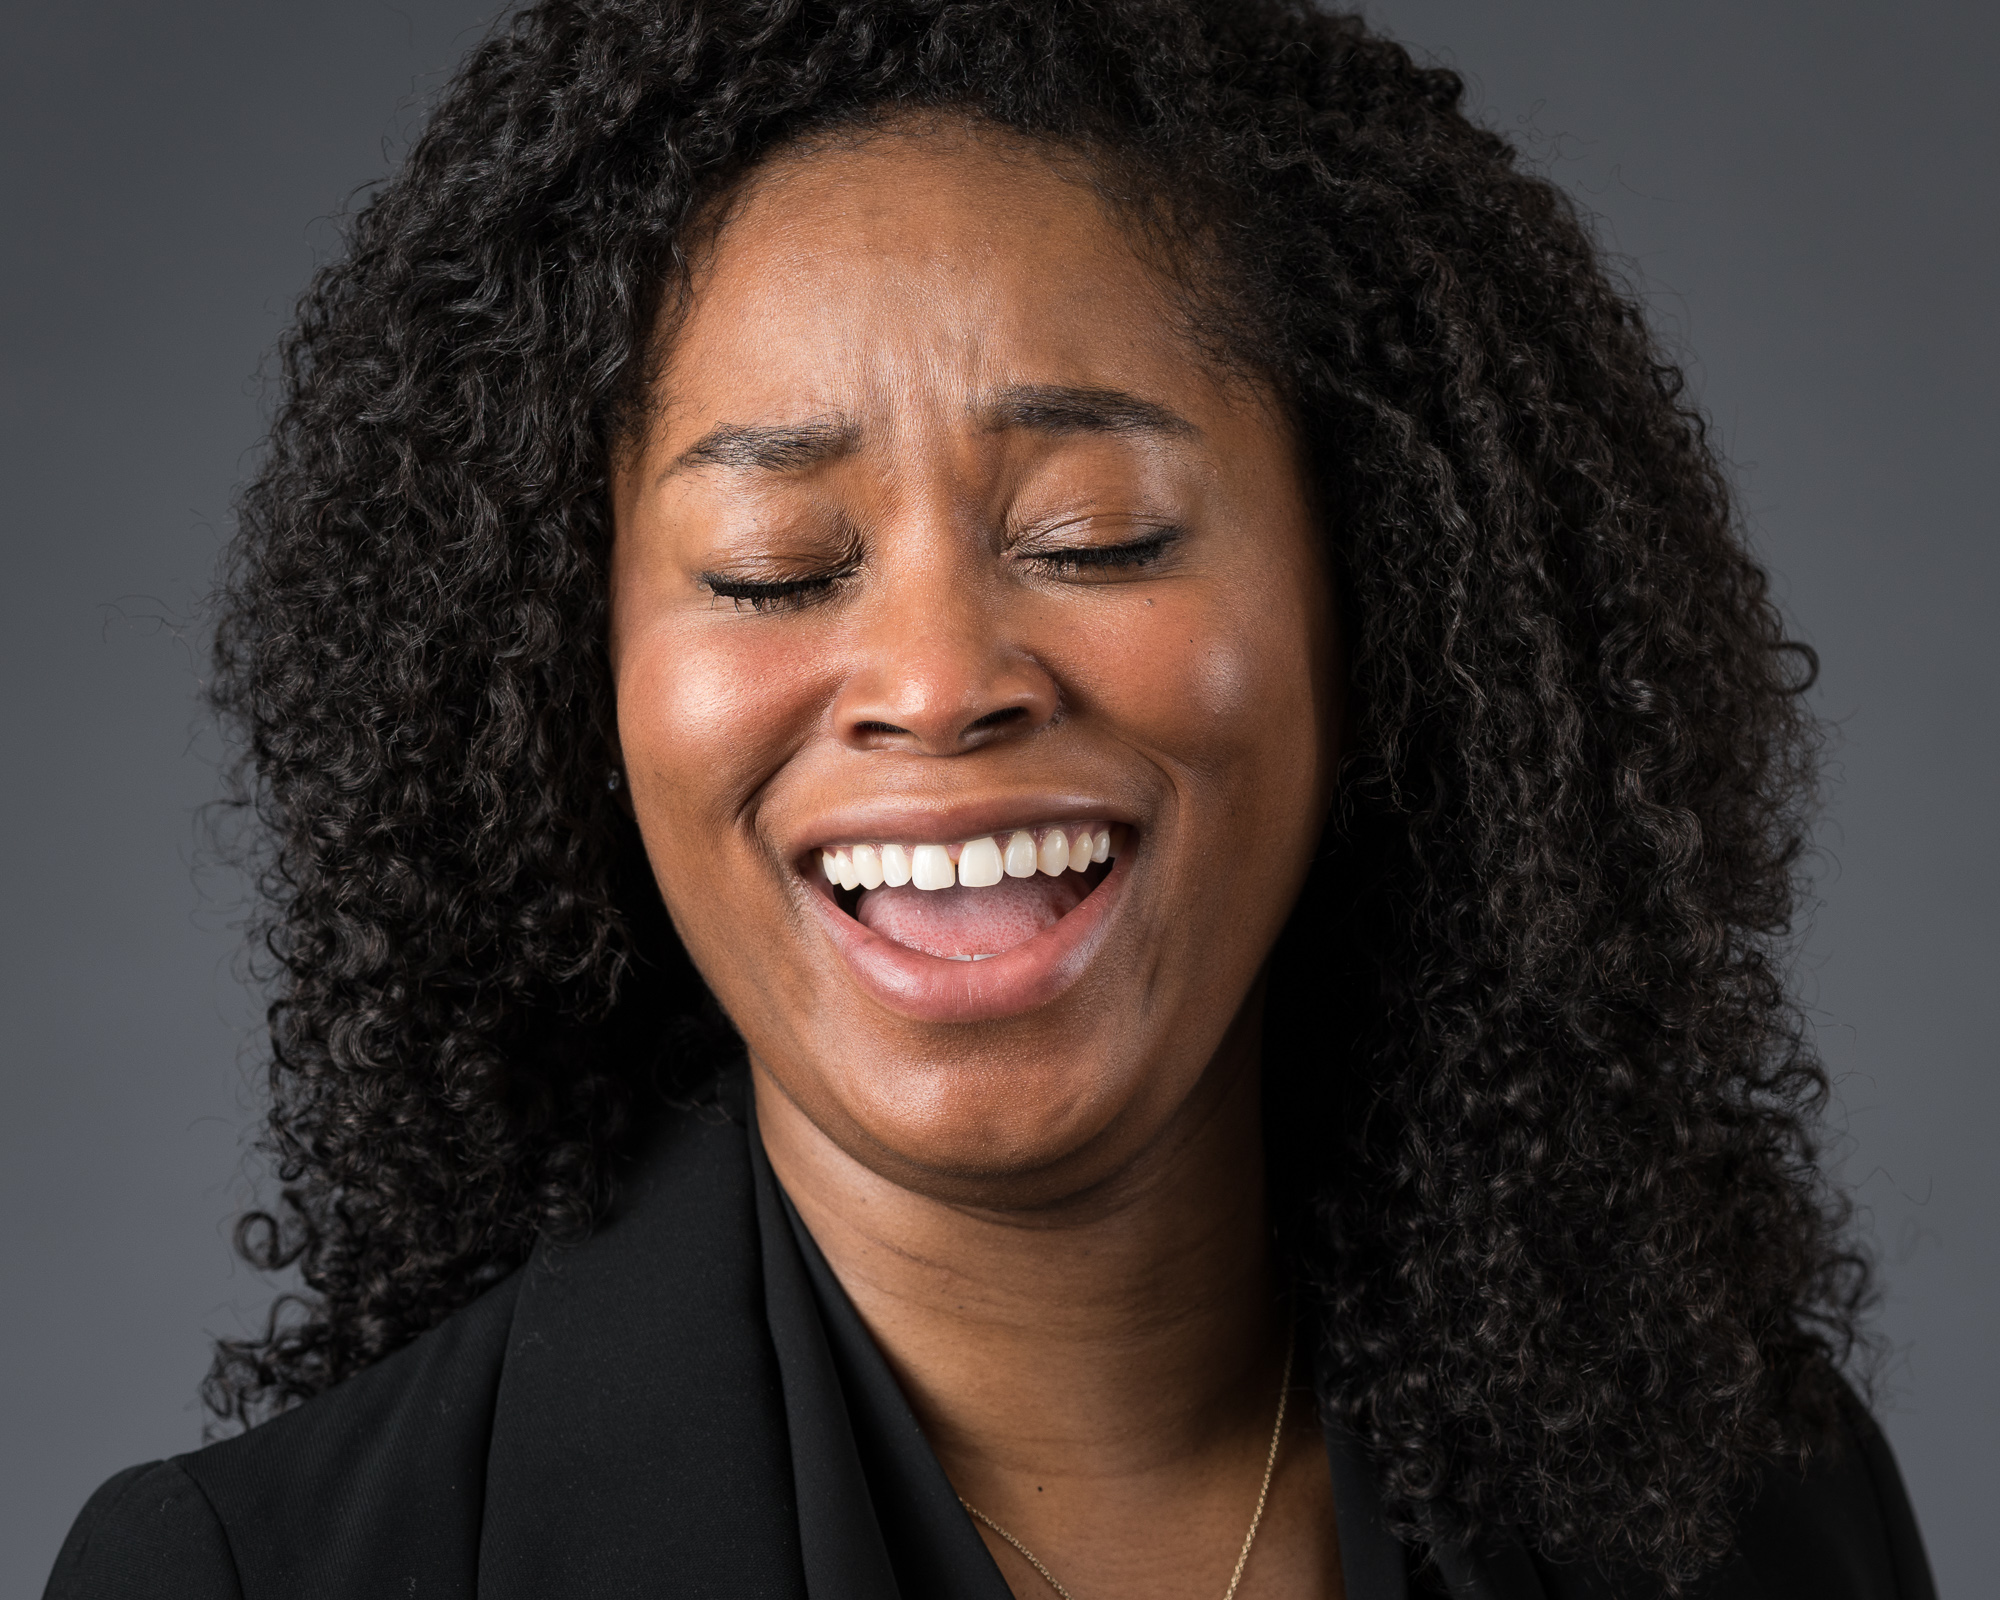
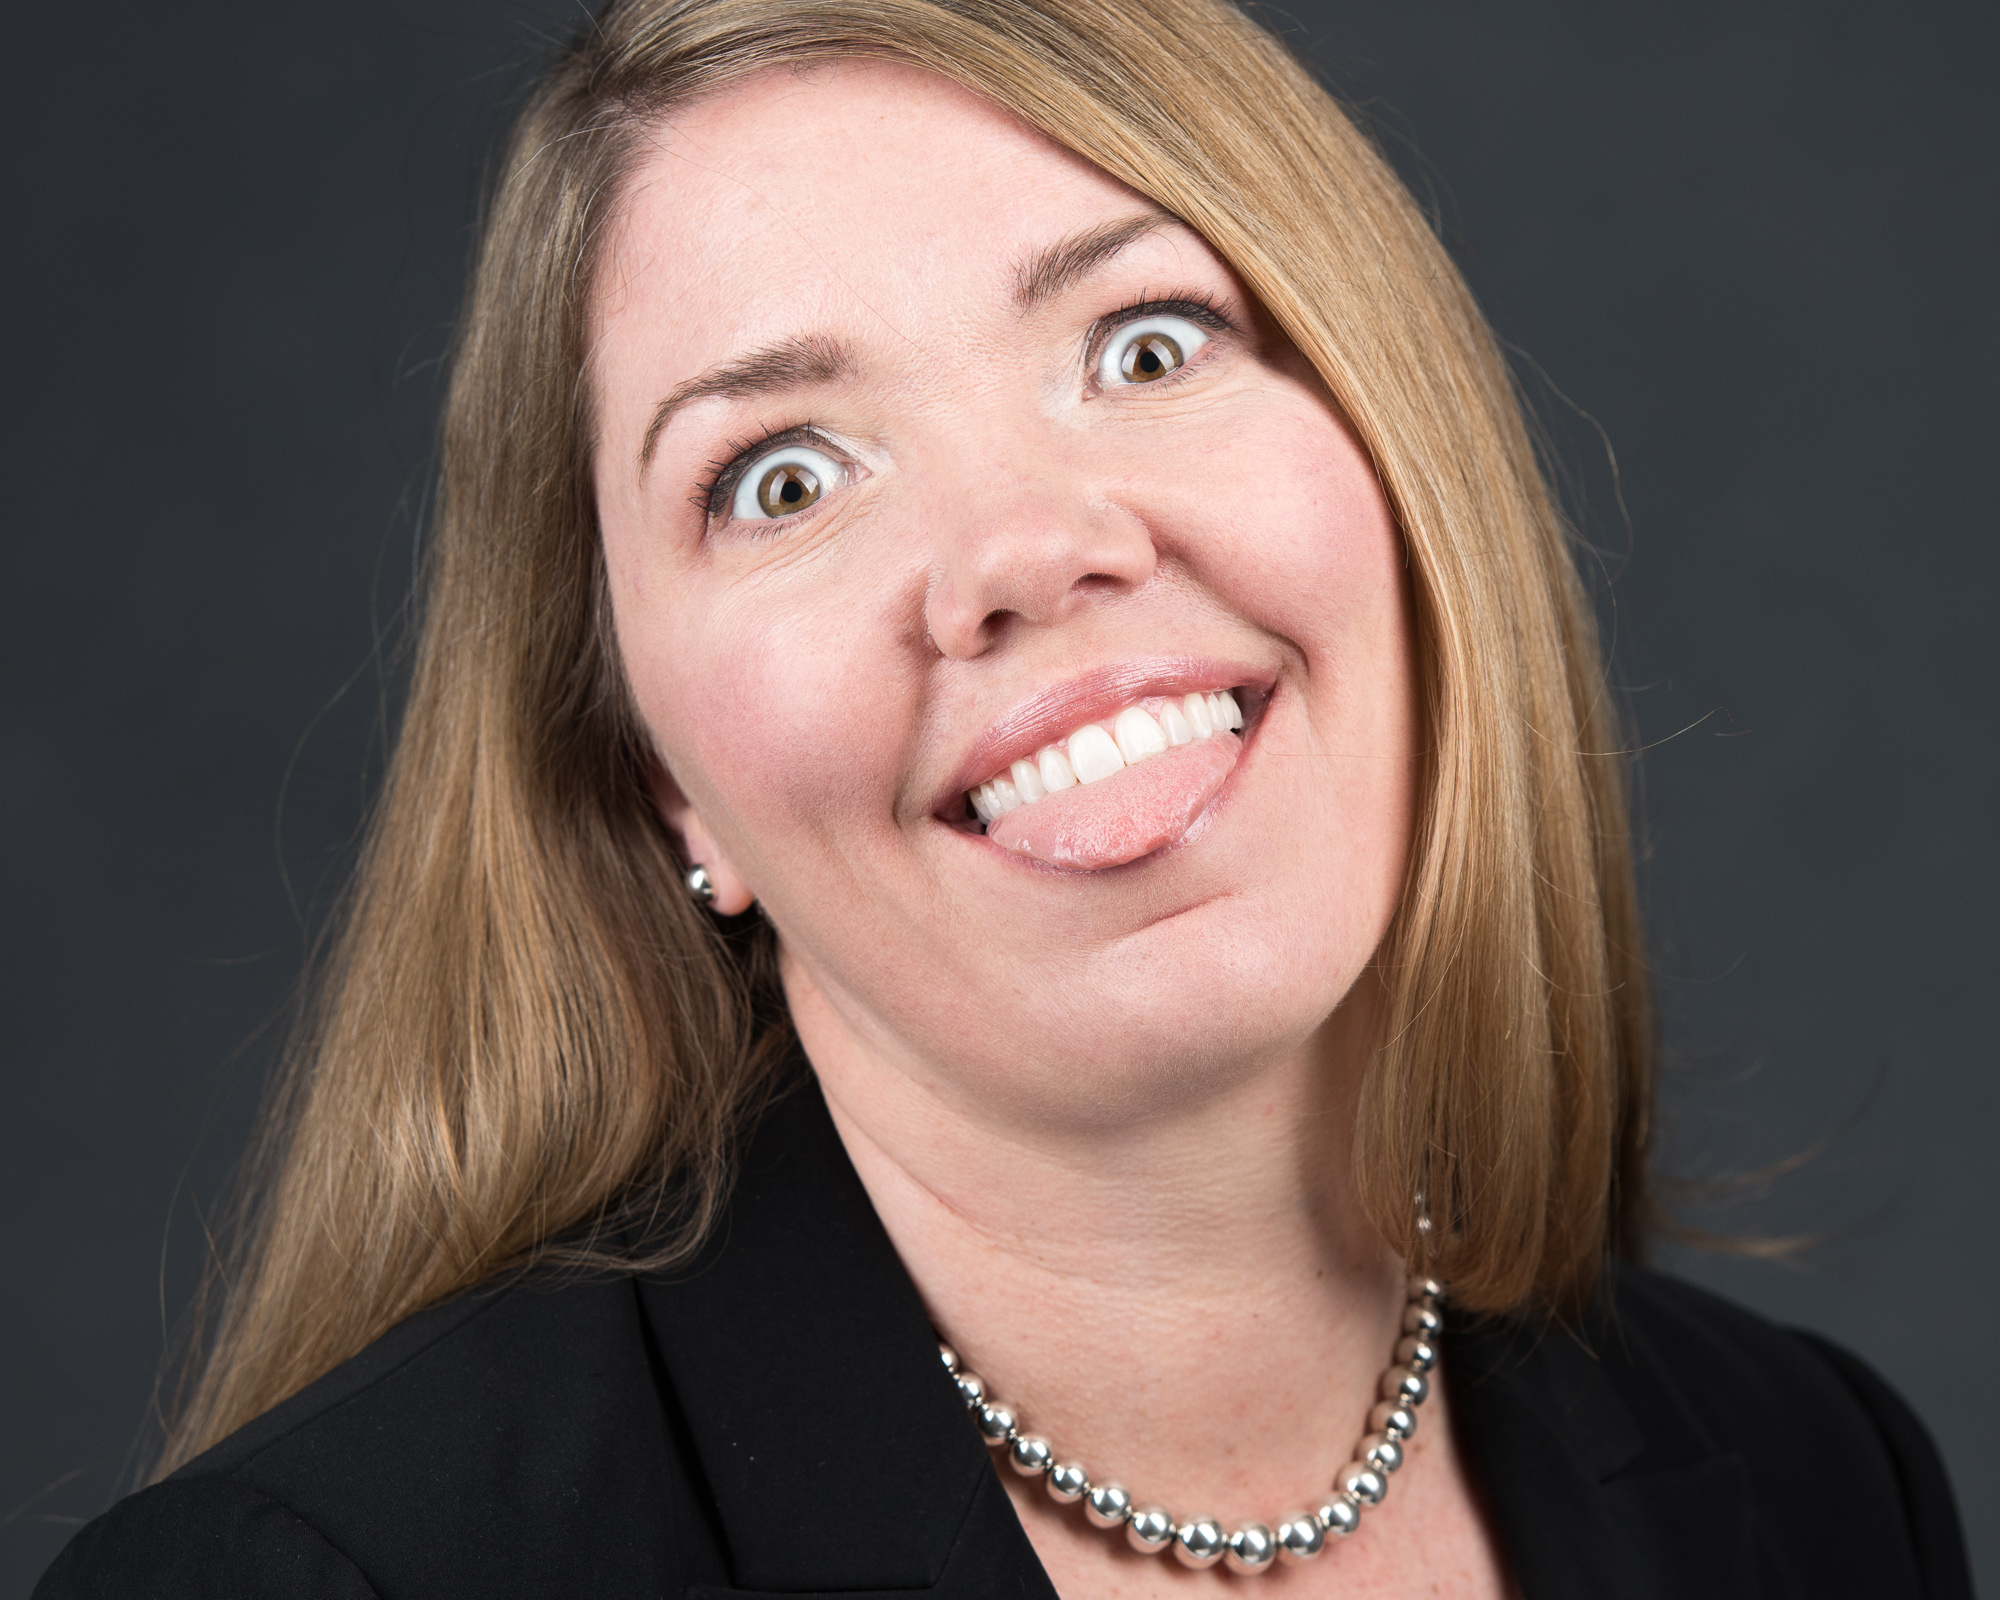
Skip the Super Cheesy Smile
A forced, jaw-clenched, gum-showing grin feels awkward—and it looks awkward too. Over-the-top smiling can make young professionals look even younger and, honestly, a bit too eager. A great headshot photographer will guide you through a range of expressions to find a natural, authentic smile that suits you.
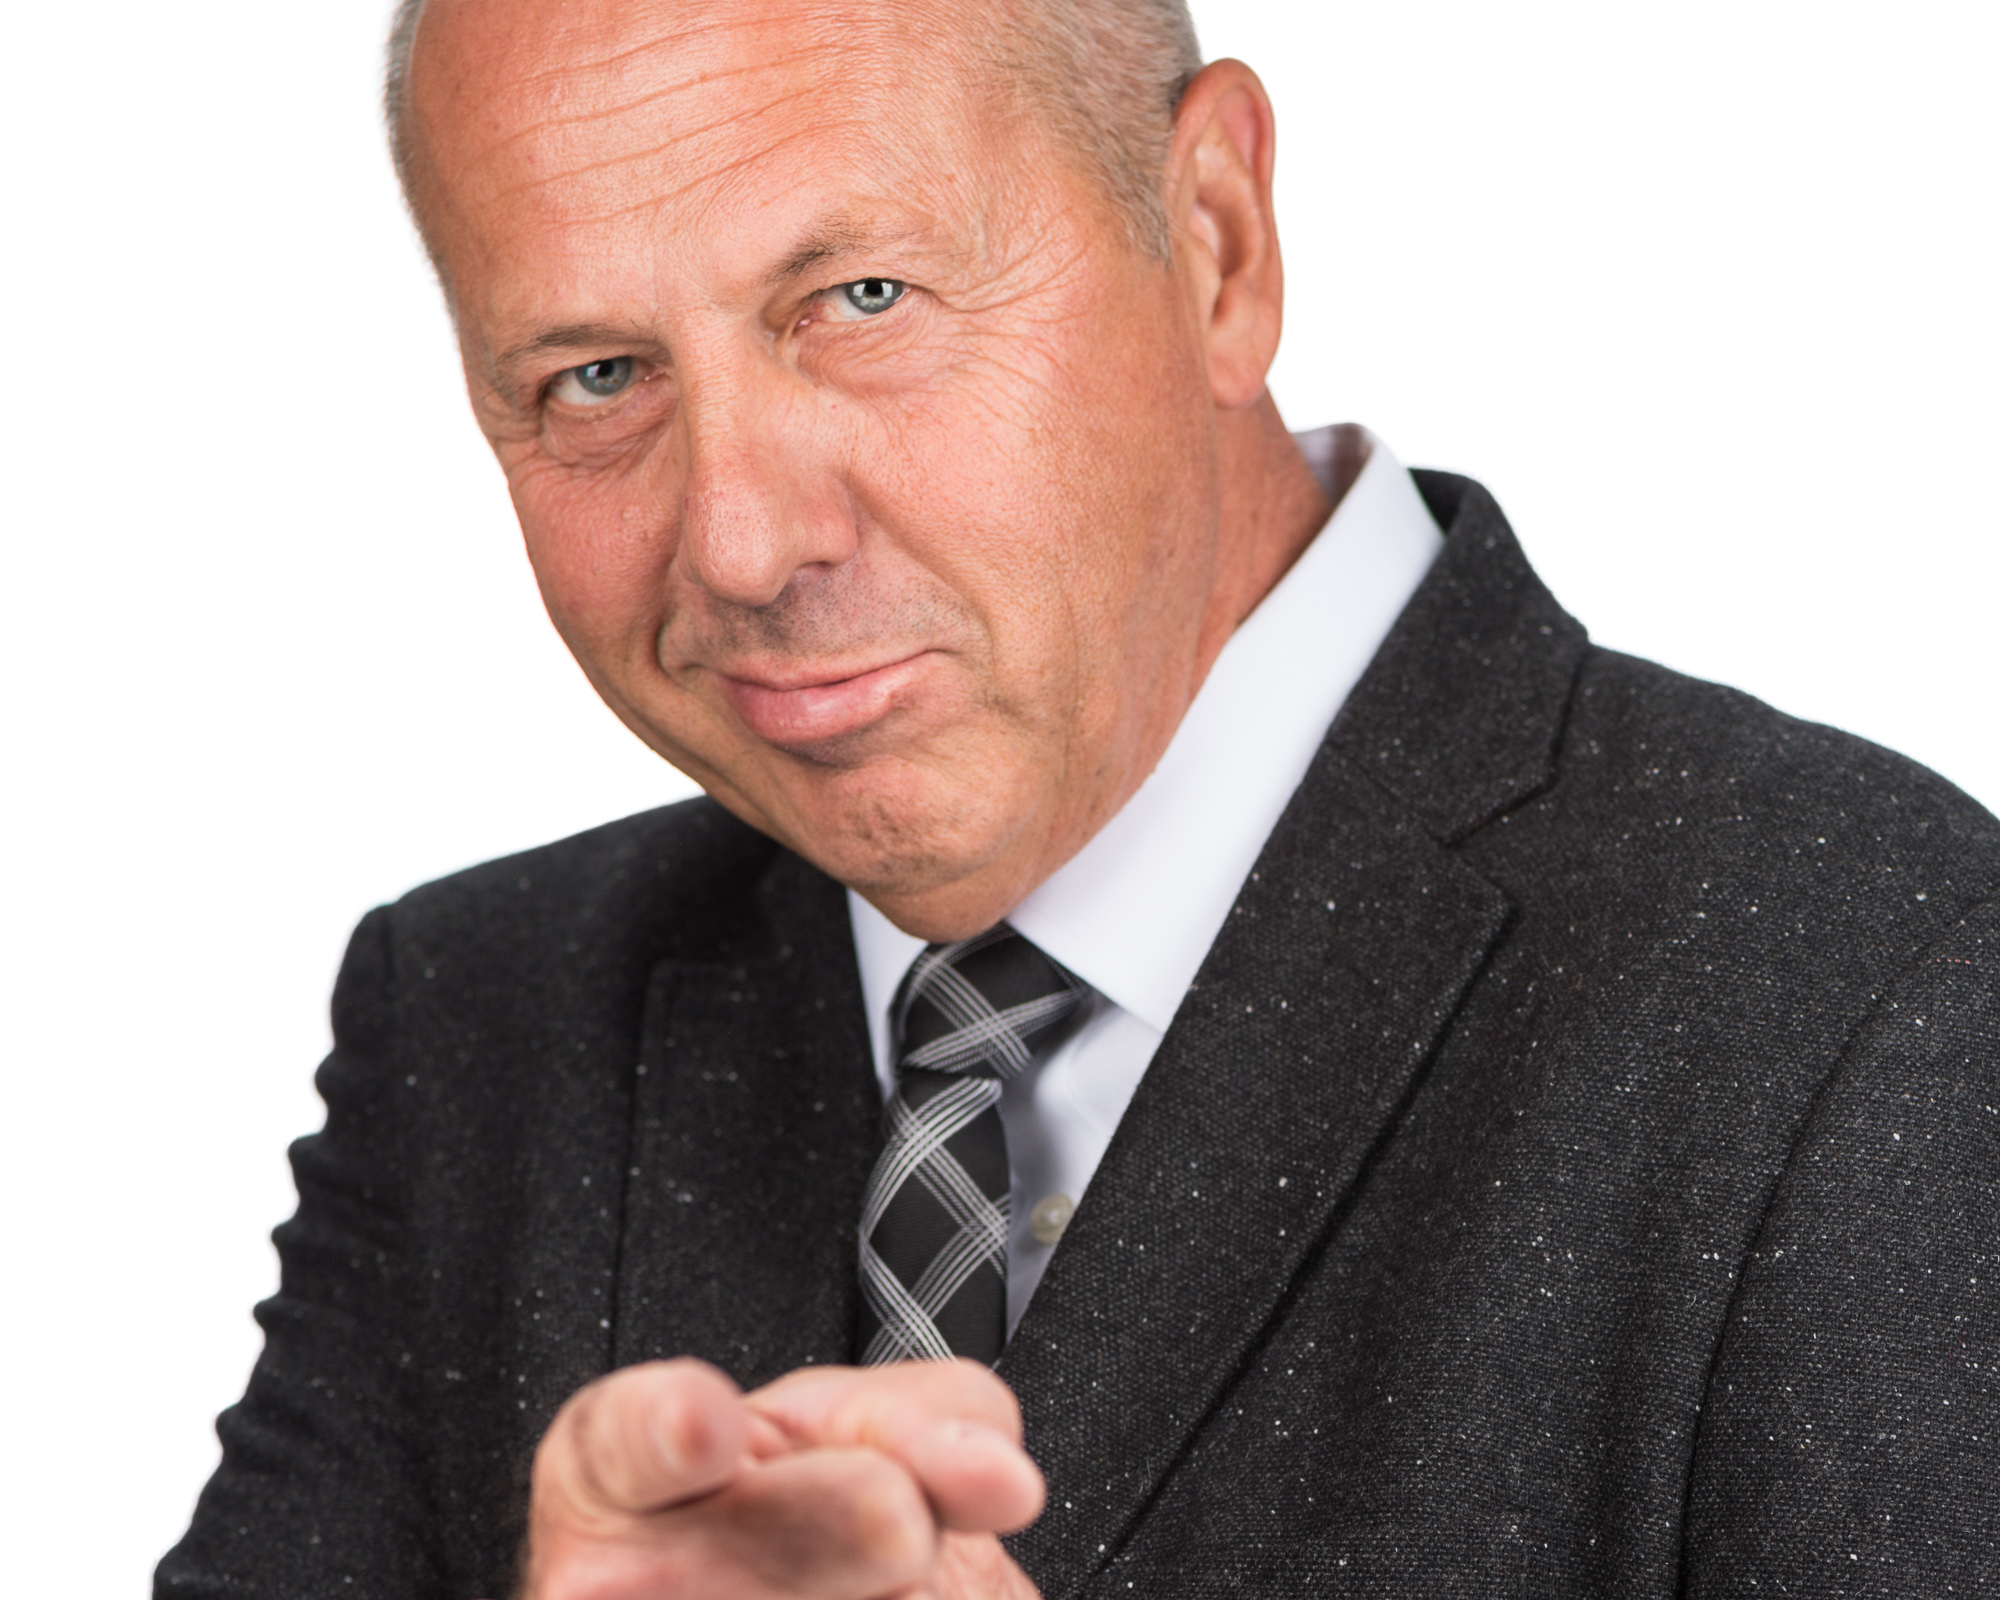
Avoid the Straight-On Pose
Standing with your shoulders square to the camera is one of the toughest looks to pull off. Most people appear wider than they actually are, which isn’t usually the goal of a headshot. Instead, turn your body slightly (about 30-45 degrees) and then turn your head back toward the camera. This small shift creates a more flattering, dynamic composition.

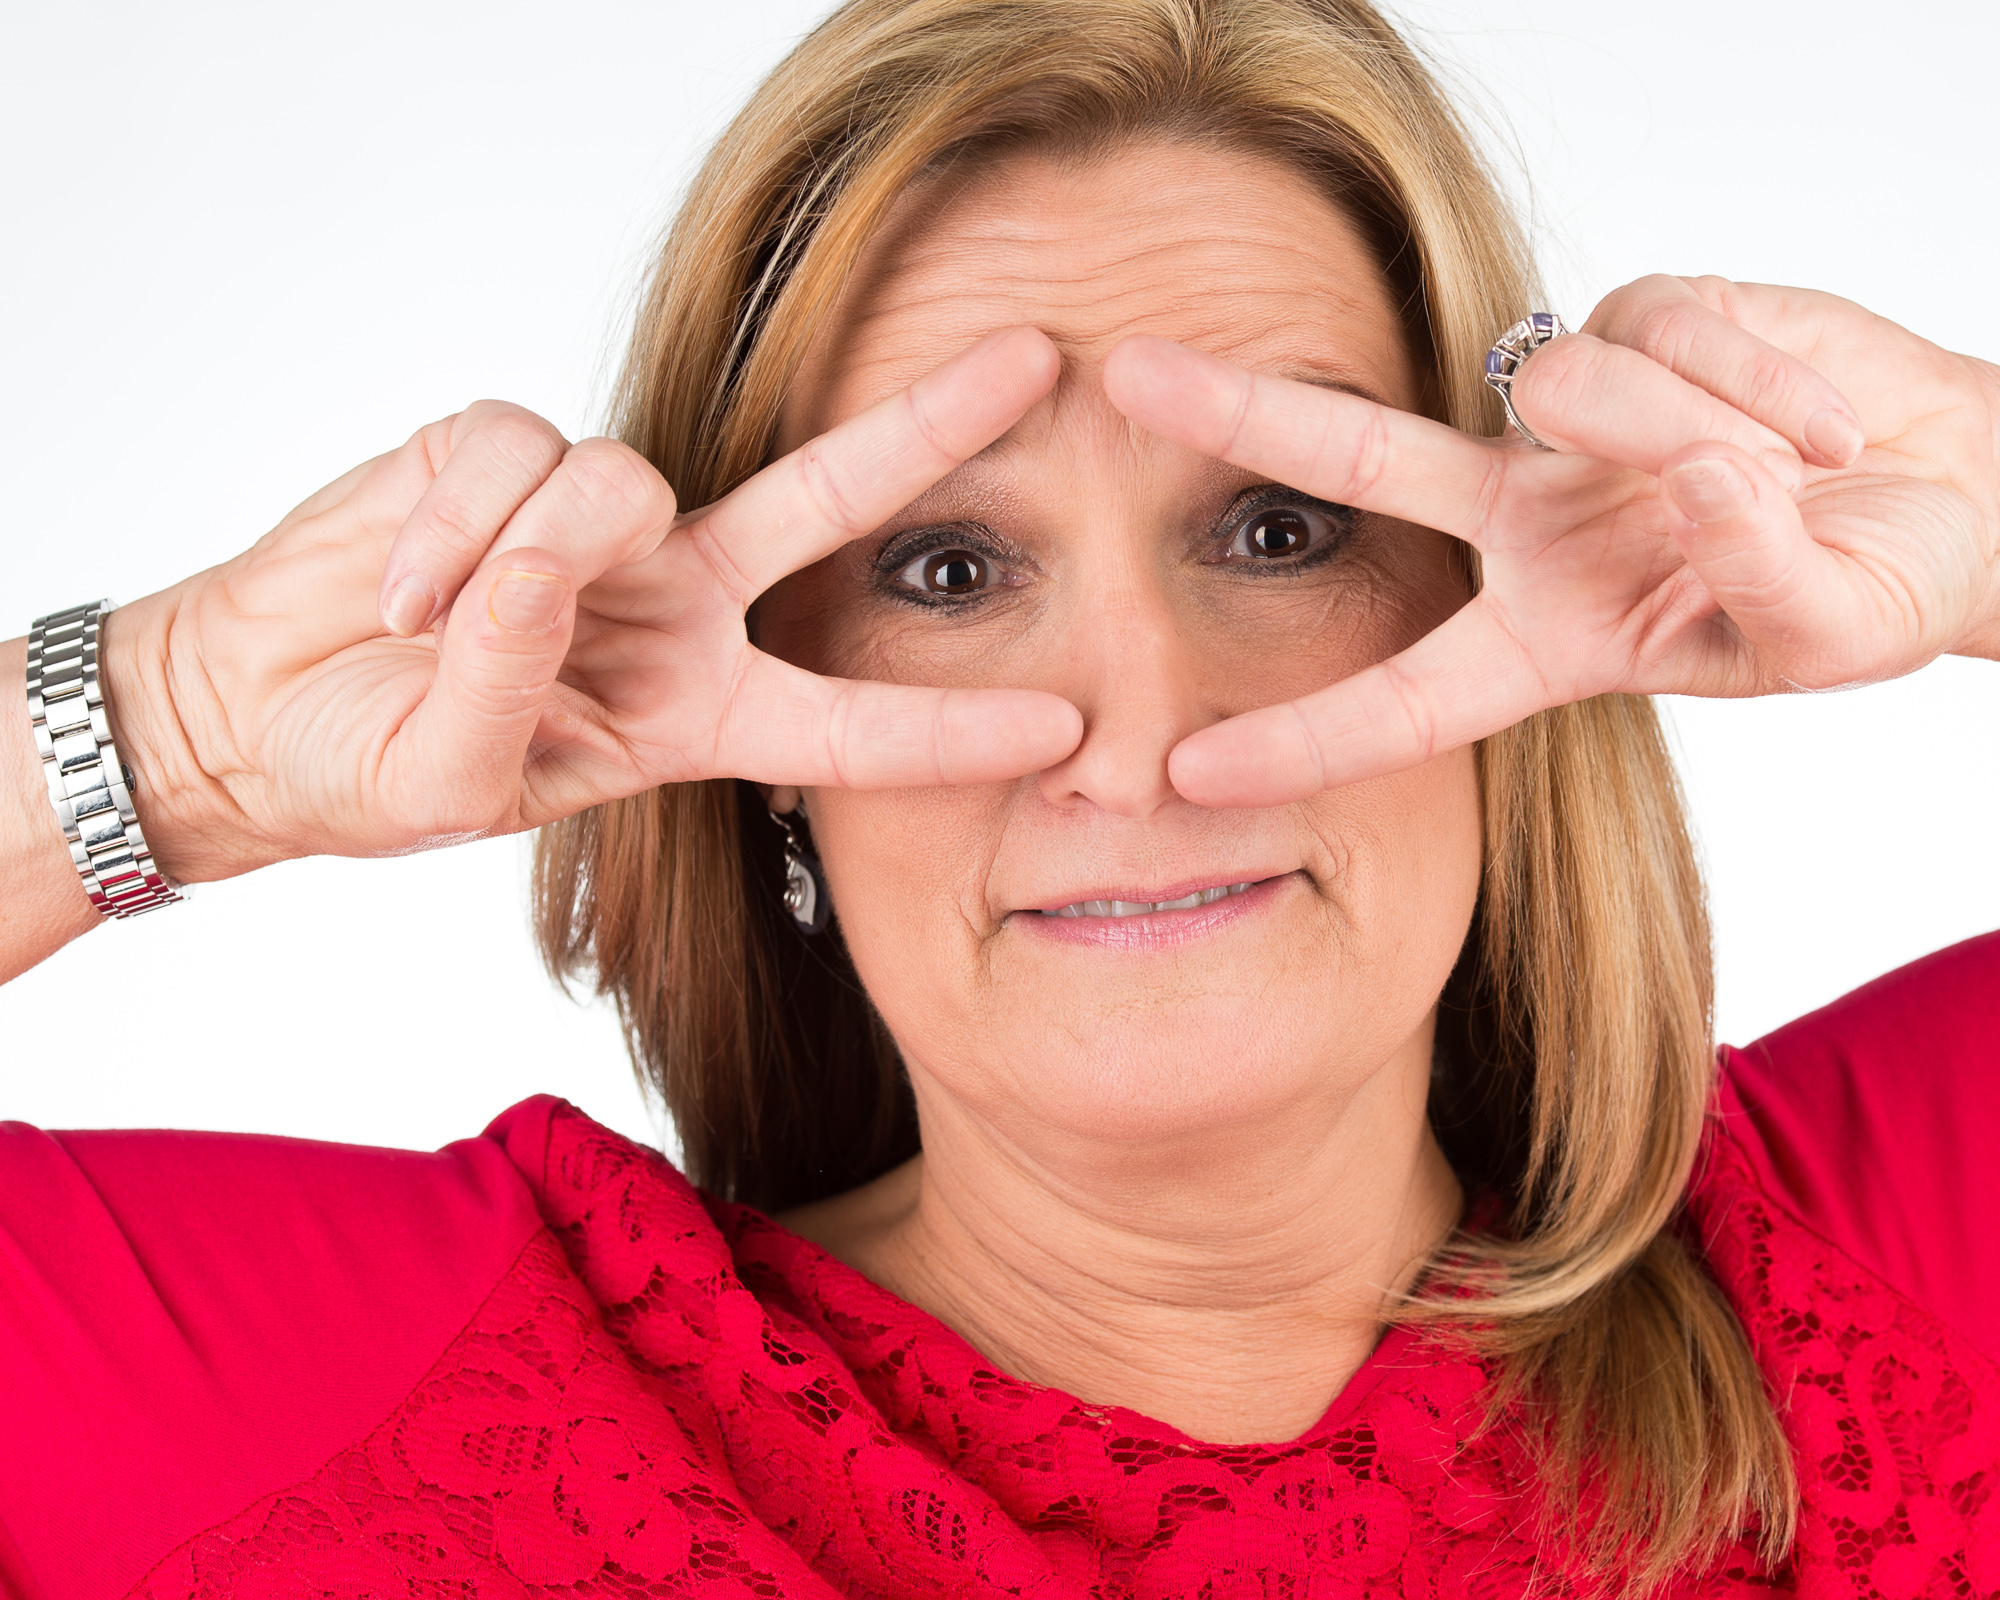
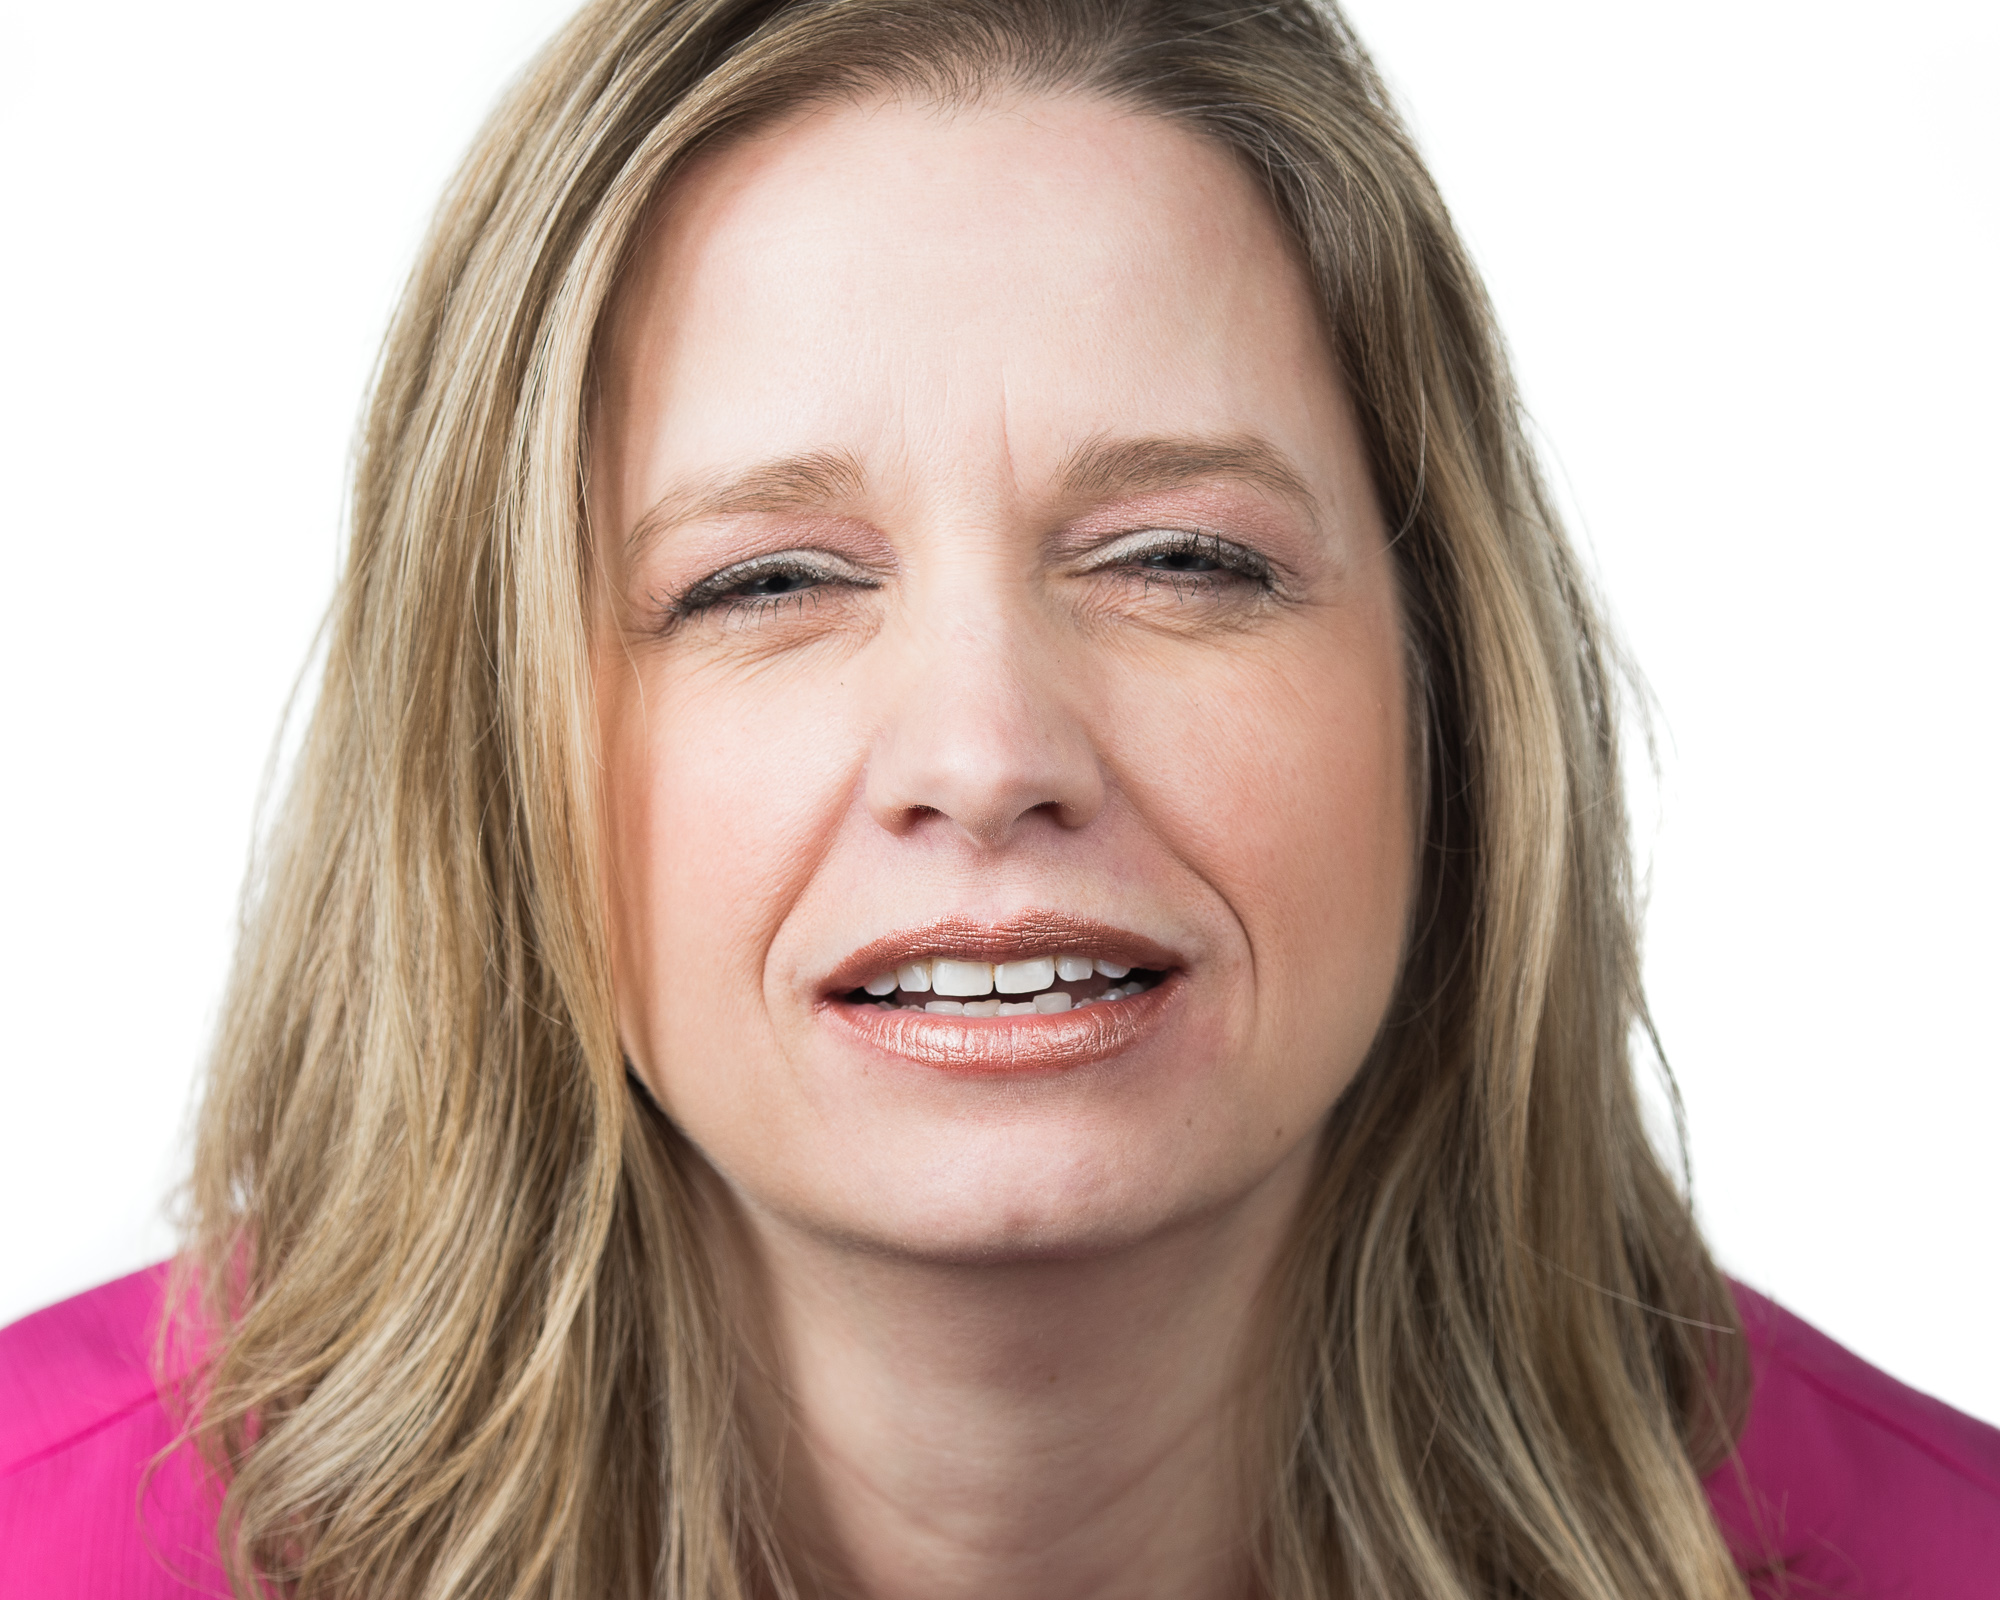
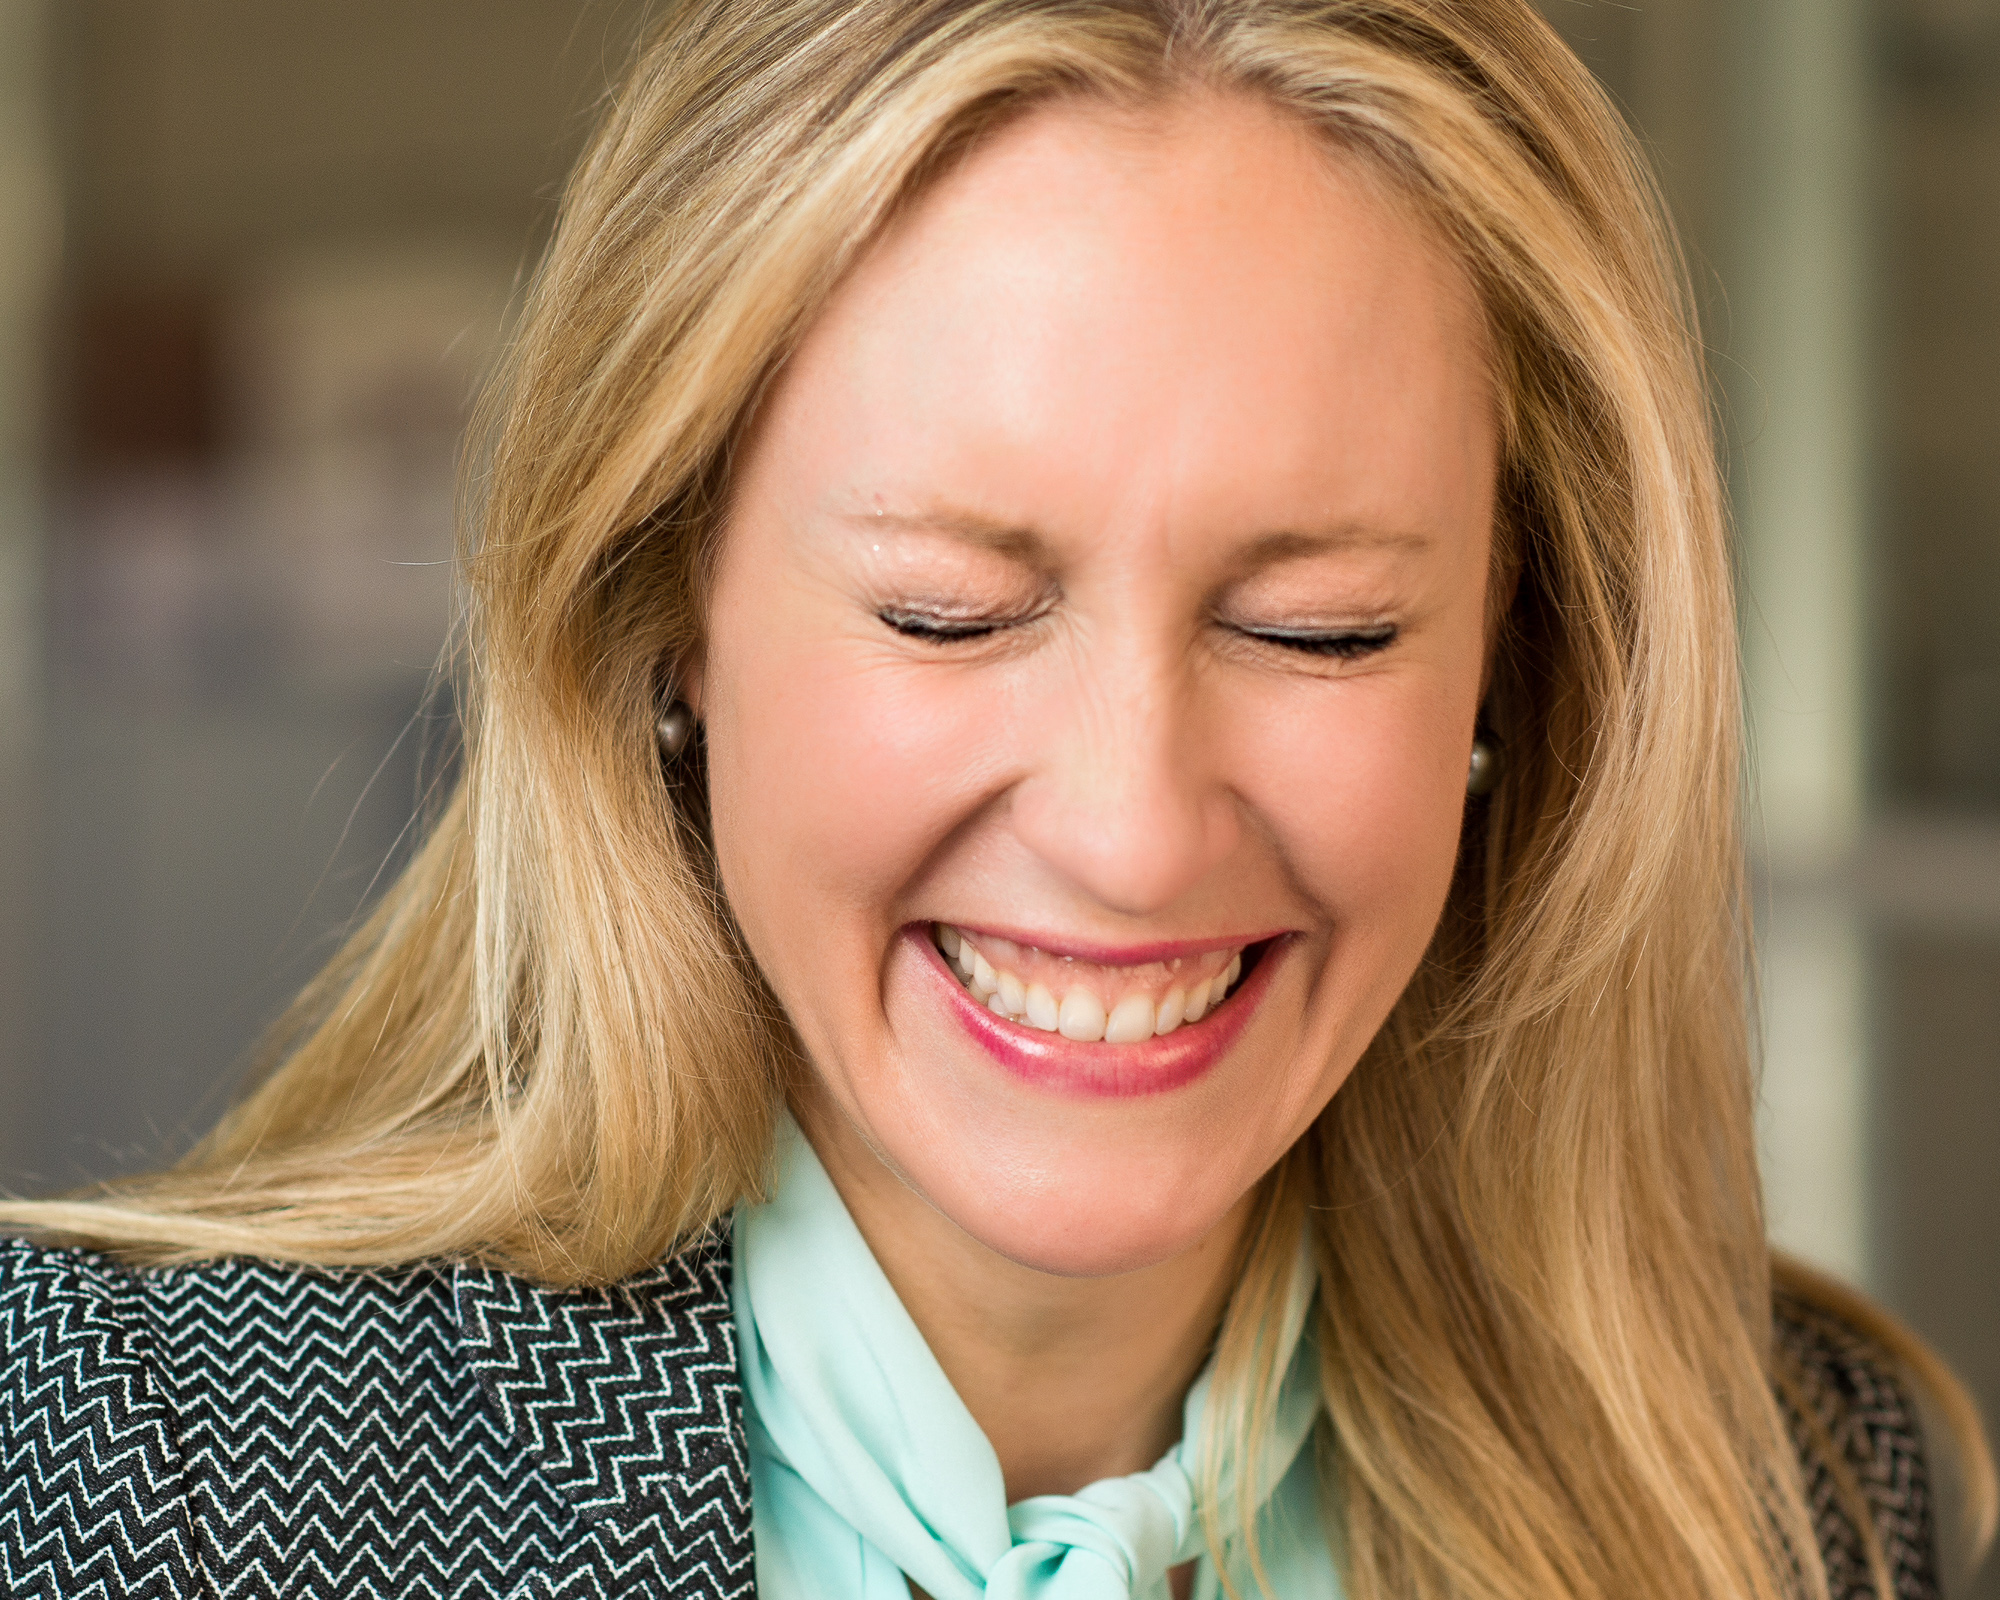
Don’t Force Your Eyes Open Wide
Worried about your eyes looking squinty? Don’t try to overcorrect by forcing them open. This is one of the most unnatural-looking expressions on camera. The truth is, a slight squint happens naturally when we smile, and it’s what makes expressions look genuine. Trust that it will look great in your final image.
These five simple adjustments can completely transform your headshot, making you look more relaxed and confident.
Want more posing advice? Let me know your biggest headshot concerns in the comments!
If you need a full crash course to prep for your headshot, check out my Headshot Maximizer Course. Use the code SMILE for $30 off. As a full-time headshot photographer for over a decade, I’ve coached countless clients into their best poses—and I’m here to share my go-to tips for looking polished, confident, and approachable.

Corporate Headshot Poses That Work
As a full-time headshot photographer for over a decade, I’ve coached countless clients into their best poses—and I’m here to share my go-to tips for looking polished, confident, and approachable.
As a full-time headshot photographer for over a decade, I’ve coached countless clients into their best poses—and I’m here to share my go-to tips for looking polished, confident, and approachable. If you need a full crash course to prep for your headshot, check out my Headshot Maximizer Course. Use the code SMILE for $30 off.
Standing Poses for Chest-Up Crops

These poses are ideal for LinkedIn profiles, social media avatars, and email signatures. Your hands won’t be visible in the frame, so keep them relaxed at your sides or in your pockets. Make sure your shoulders don’t creep up—relax them! A few notes:
Push your forehead slightly toward the camera and lower your chin (without tucking).
Maintain direct eye contact with the camera.
For variations, add a slight turn to the left or right, bringing your head back around to face the camera. This angle works for most body types. Or, play with your head turn slightly—but stop short of 90 degrees.
Keep your smile natural, no need to overdo it.
Standing Vertical Poses

These vertical poses, framed from the hips up, are versatile for multiple crops—perfect for website bios, marketing materials, or group composites of your team. Remember to:
Hinge forward slightly at the waist.
Mix up your hand positions: one in a pocket or resting naturally at your side.
Shift your weight from one foot to the other for a relaxed stance.
For additional variations, turn slightly to one side and bring your head back around for audience engagement. For an even more polished look, place a hand on your jacket button, as if buttoning it. Keep your fingers relaxed and avoid making a fist. Check out the video for a few additional tips on these vertical options.
Try Multiple Poses
Not every pose works for every body. Your movement, body type, and clothing all play a role. Trying a few options ensures you’ll find the pose that makes you look your best.
Remember, If you need extra preparation, check out my Headshot Maximizer Course for detailed advice on everything from posing to headshot usage tips.

What To Expect When Booking Corporate Headshots
Are you planning a headshot day for your colleagues in the office? Or maybe you’re hosting a conference and need a headshot booth? Either way, choosing the right photographer for your corporate headshot project can be a daunting task.
Are you planning a headshot day for your colleagues in the office? Or maybe you’re hosting a conference and need a headshot booth? Either way, choosing the right photographer for your corporate headshot project can be a daunting task.
With a decade of experience in corporate headshots, I’m here to guide you through what to expect when booking.
Specialized Expertise for Corporate Headshots
Corporate headshots require a different approach compared to individual or creative photoshoots. The images need to be consistent and professional, maintaining a uniform look for all participants. This involves specific posing, lighting, shooting, and processing techniques to ensure repeatable results throughout the day and in the future.
Remember, most participants aren’t professional models, and being photographed isn’t their favorite activity. Often, we work in conference rooms with simple setups—no elaborate scenery or props. This makes the photographer’s skill crucial.
Leveraging Technology for Better Results
Software plays a significant role in achieving excellent headshot results efficiently. I use a great tool called Headshot Tools, which has quickly become the industry standard for corporate and event headshot photography. By shooting directly into a computer, clients can see previews during the session, allowing for immediate adjustments to hair, clothing, or other details. This eliminates surprises and ensures everyone is happy with their images.
Streamlined Workflow with Headshot Tools
Headshot Tools offers several features that make the process smoother for both the photographer and the client. For project organizers, receiving files named by employee name saves the hassle of renaming files. Moreover, each subject gets a private gallery link within minutes of their session, so they can select their favorite image for retouching without the whole office seeing their proofs.
Once retouched, the images are delivered back through the same proof gallery. This means you, as the project organizer, don’t need to send numerous individual emails. Instead, you receive a master gallery link to download all the finished images in one place.
Ready to Book?
When choosing a headshot photographer, be sure to ask about the software workflow (it might just save you hours or days of work after the event). Reviews, local reputation, image portfolio, studio availability, and options for new hires are also important to the experience.
Reach out if you’re interested in learning more about headshot options for your team or your next event or conference. I’m Detroit based, but I do travel for larger projects. For smaller projects outside Michigan, I might be able to recommend a fellow photographer that can offer a similar level of service.

Learn more about corporate headshot options.
Got more headshot questions? Check out the headshot FAQs.
How to Pick Your Best Headshot
Let’s be honest, seeing yourself through the lens of high-resolution photography can be daunting. Many of us are accustomed to the forgiving nature of Instagram filters or Zoom enhancements, which skew our perception of reality. This shift can make viewing unretouched headshot proofs a challenge.
Let’s be honest, seeing yourself through the lens of high-resolution photography can be daunting. Many of us are accustomed to the forgiving nature of Instagram filters or Zoom enhancements, which skew our perception of reality. This shift can make viewing unretouched headshot proofs a challenge. But I assure you, you have better things to worry about. Here are a few things to keep in mind for context.
Straight Out of the Camera
Headshot photographers, often show proofs that are straight out of the camera, with only minor adjustments for color and contrast. The goal is to capture a great image right from the start, minimizing the need for heavy retouching and keeping the image as natural as possible. Yet, the best in camera captures will reveal minor imperfections like facial lines or flyaways. And that’s ok.
Too Close For Comfort
One common pitfall is the urge to zoom into these proofs to pixel-level detail. This level of scrutiny is unnecessary and unhelpful, as no one else will inspect your headshot with such intensity. People viewing your headshot, whether on LinkedIn, a company website, or a business card, will focus on your major facial features and overall expression. These images are generally viewed at a much smaller scale where many minor imperfections become invisible.
Don’t Zoom In & Second Opinions
So when reviewing your proofs, please resist the temptation to zoom in! Instead, view your images at the intended display size. Thumbnails, for example, are an excellent way to gauge the effectiveness of a headshot. Ask for feedback from trusted friends or family, who are likely to view your photo more objectively than you might.
Remember, the goal of a headshot is to represent you as you are today. Your audience wants to see the real you (today, not from twenty years ago). A little retouching is perfectly acceptable but stay true to your current appearance. You've hired a photographer to handle (and worry about) the details, so you don’t have to.
Book your session today!
Learn more about corporate headshot options.
Got more headshot questions? Check out the headshot FAQs.
Banner Photography for Sports Teams
Large format banners not only serve as a powerful display of team pride at games, competitions, and fundraisers but also play a crucial role in building morale among players and fans alike. Typically showcased on stadium fences or gym walls, these banners can range from 6 to 8 feet wide, offering a grand visual statement.
Welcome to the dynamic world of team sports banner photography, an essential element for high school and college sports teams to show their spirit and unity.
Large format banners not only serve as a powerful display of team pride at games, competitions, and fundraisers but also play a crucial role in building morale among players and fans alike.
Typically showcased on stadium fences or gym walls, these banners can range from 6 to 8 feet wide, offering a grand visual statement.
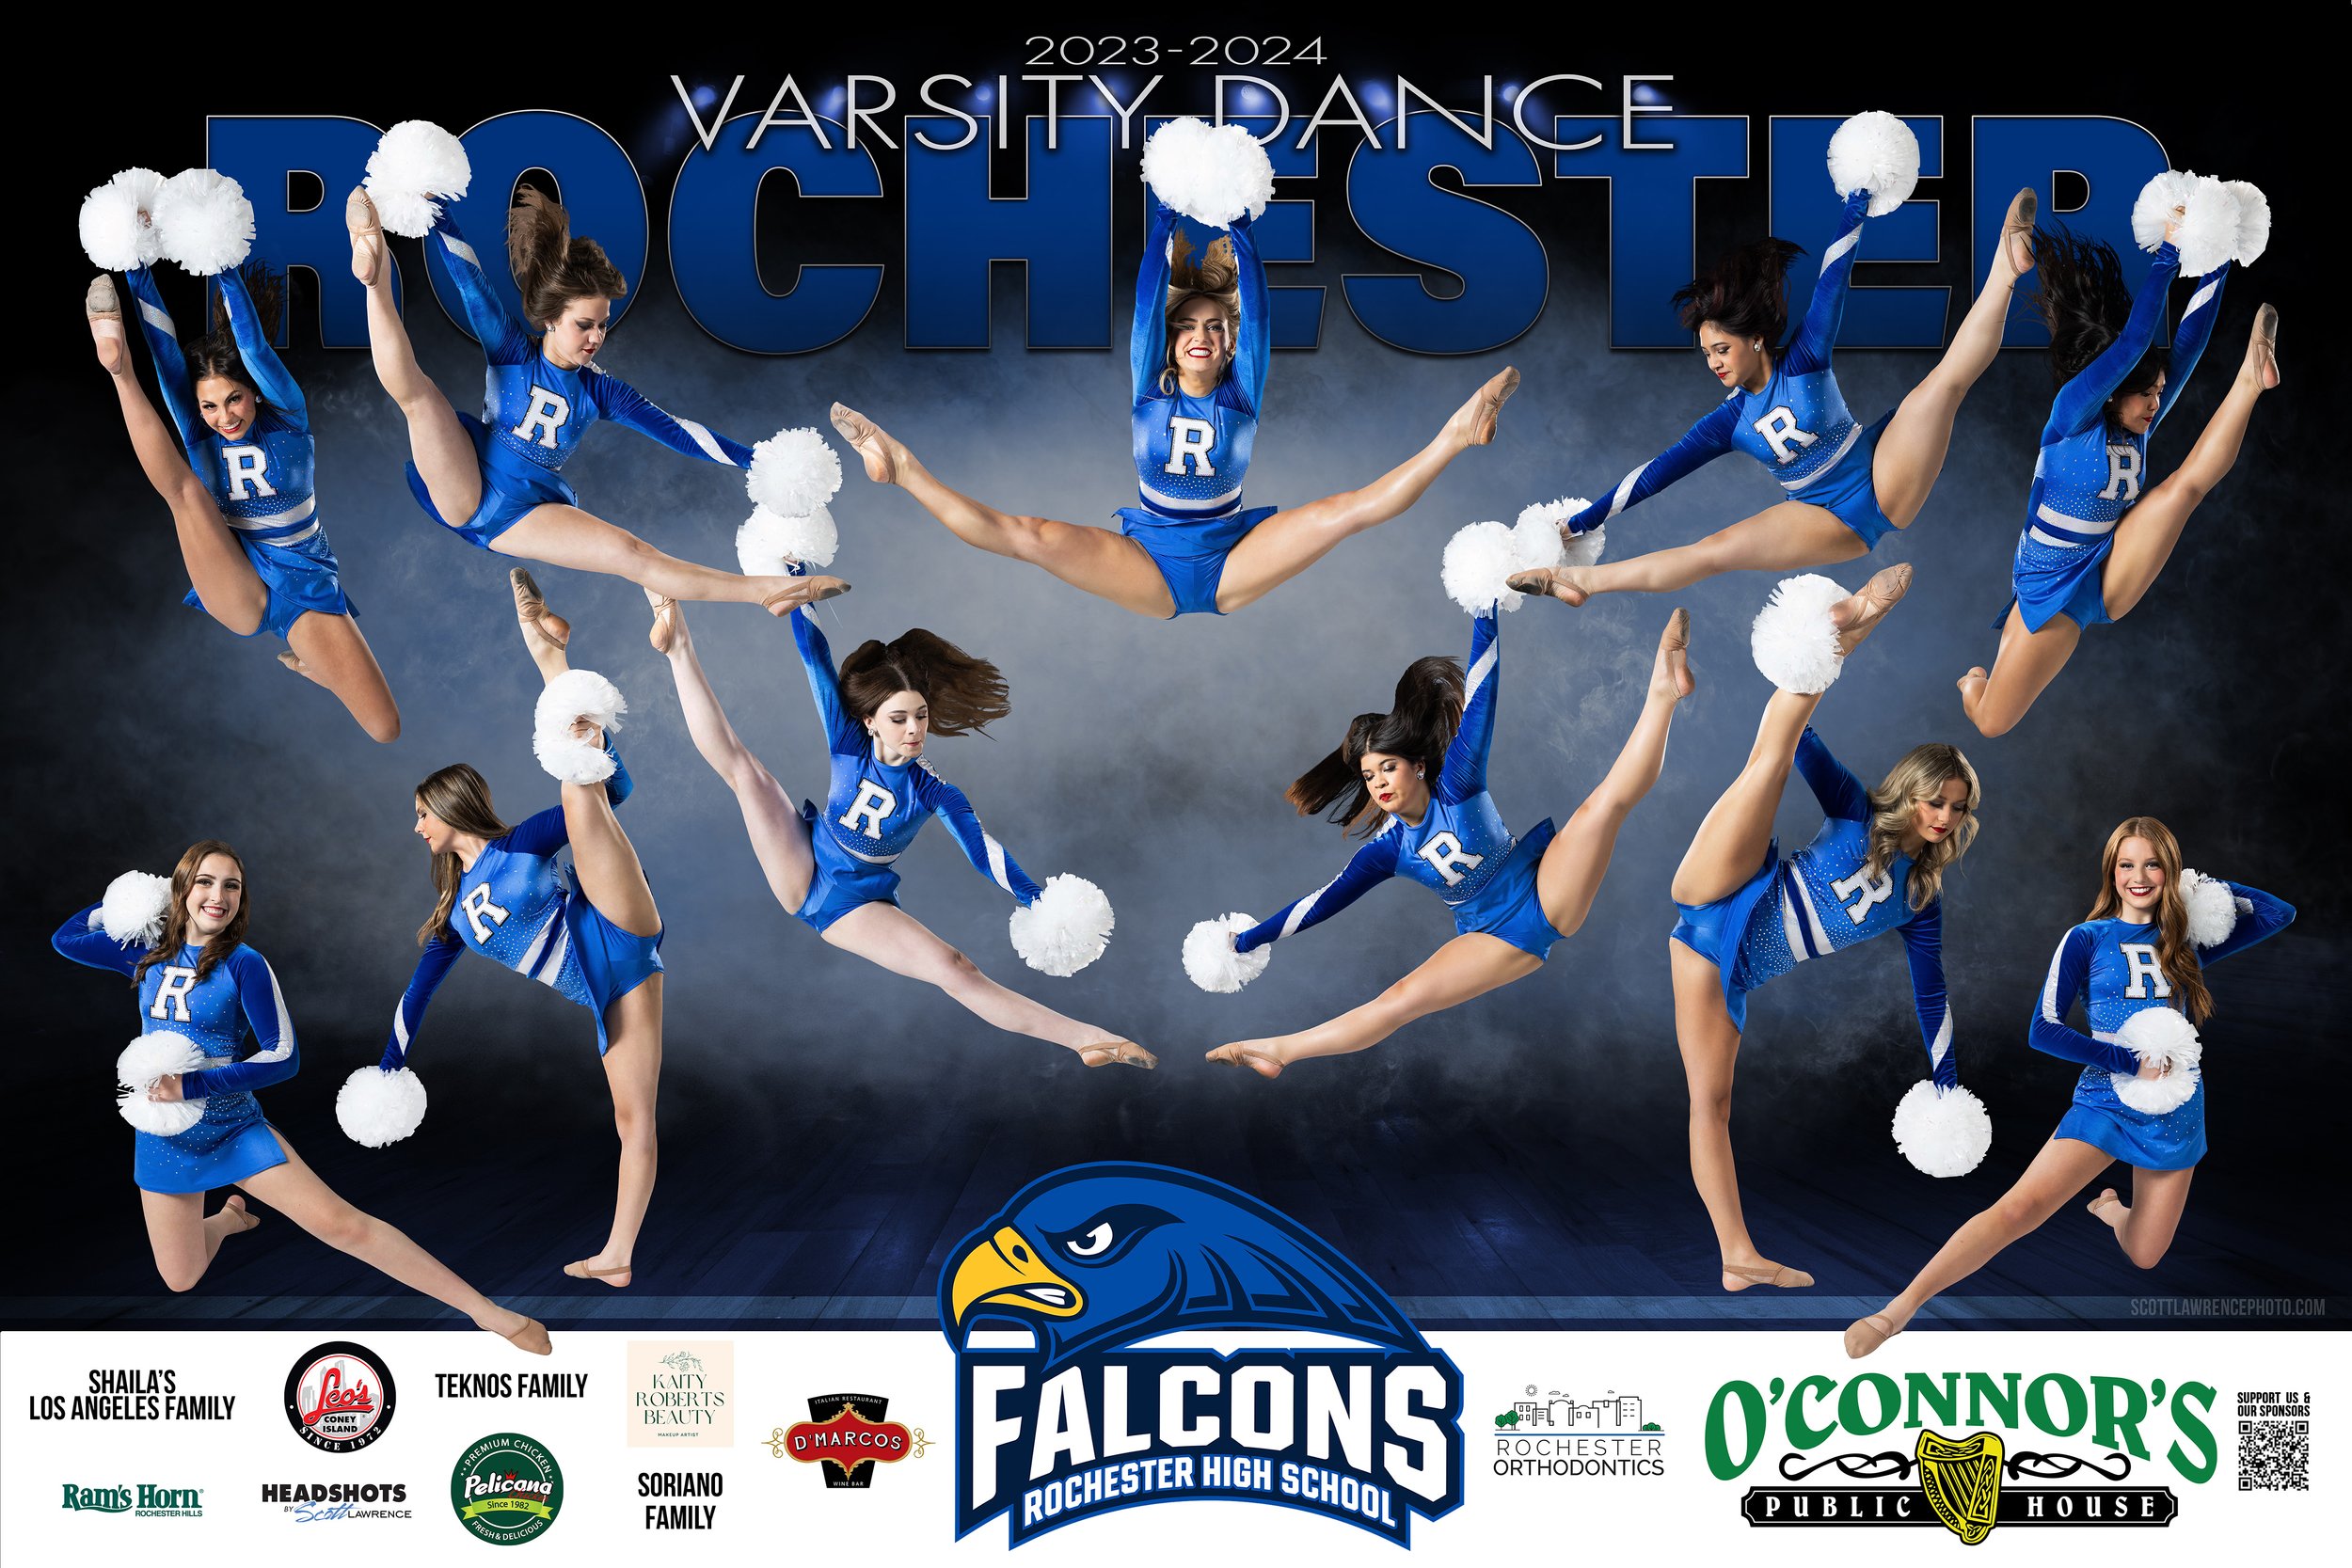
Crafting the Perfect Team Banner
The process of creating a team banner starts with understanding the size and composition of your team. For larger teams, simpler poses are recommended to ensure everyone fits seamlessly into the design, whereas smaller teams can explore more dynamic and complex arrangements. Additionally, individual senior banners offer a personalized touch to celebrate the final year of athletes, providing a memorable keepsake.
It's important to note that the aim is to capture the athletes in a more competitive and aggressive stance, moving away from the traditional, more casual school photo approach. This captures the essence of the team's spirit and determination, signaling a bold message to competitors.

The Photographic Process
The photography session is meticulously planned, with each athlete photographed individually under studio lighting, typically within a spacious school facility. This allows for a controlled environment to achieve the best possible individual shots, which are then expertly combined into a cohesive team composite. This process also includes an opportunity for light retouching and customization, ensuring each athlete looks their best.

Choosing a theme or template for the banner is a collaborative process, incorporating team logos and colors to create a visually striking design that resonates with the team's identity.
Usage and Impact
Team banners find their place in a variety of settings, from outdoor stadiums to indoor gymnasiums. The versatility of these banners extends to different occasions, with some teams opting for multiple banners to suit various events throughout the season. The size of the banner is crucial, as it needs to make an impact even from a distance, hence the recommendation to opt for slightly larger dimensions than initially considered.

Banners also offer an excellent opportunity to engage local businesses and sponsors, providing valuable exposure while supporting the team financially. This mutual benefit encourages community involvement and can significantly aid in covering the costs associated with creating the banners and other team expenses.
Beyond the Banner: Media Day
The banner photography session can be transformed into a comprehensive media day for the team. This offers a chance to capture a wide range of images for use across social media, effectively creating a stock catalog of images ready for the entire season. Planning for multiple uniforms and incorporating props can add a dynamic layer to the content, enriching the team's visual narrative.
Final Thoughts

Creating a sports team banner is a collaborative and detailed process that requires early planning and coordination. It's not just about the banner itself but about capturing the spirit, determination, and unity of the team in a visual format that can be shared and celebrated. For more information on the process, options, and pricing, engaging with a professional photographer early in the season is key.
Remember, a team sports banner is more than just a decorative element; it's a symbol of pride, achievement, and community. So, take the step to elevate your team's spirit and visibility with a professionally crafted sports banner.
Ready to Book?
Complete the form below and we’ll be in touch!
Got headshot questions? Check out the headshot FAQs.
The Blog
Headshot tips, client features, and more!